Gated Content
Configure a teaser-to-reveal touchpoint that unlocks protected content and a call-to-action button.
Tease something worth unlocking, then reveal the real content and a button once people complete what you ask of them — for example, sign up to read a guide or claim a code.
People see two views
Until someone unlocks it, the touchpoint shows its teaser banner, title, and subtitle. After they gain access, the Gated Content view shows the revealed description and the button that opens your destination.
Before you begin
Assets you'll need
Gated content leads with a banner that sits above the teaser title and subtitle.
Banner Image
OptionalThe header image for an activity, offer, receipt challenge, or treasure hunt.
- Optional
- Size900 × 600 px
- Aspect ratio3:2
- FormatsJPEG / WEBP / PNG
For every image spec in one place, see Image & asset specs.
What people go through
People first see the teaser — the banner, title, and subtitle that explain why the content is worth unlocking. Once they meet the access rules you set, the revealed description and the call-to-action button appear. What unlocks it depends on the opt-in, restrictions, or dates you configure around this touchpoint, so test the full journey in OmniLab Pages before launch.
Configure the touchpoint
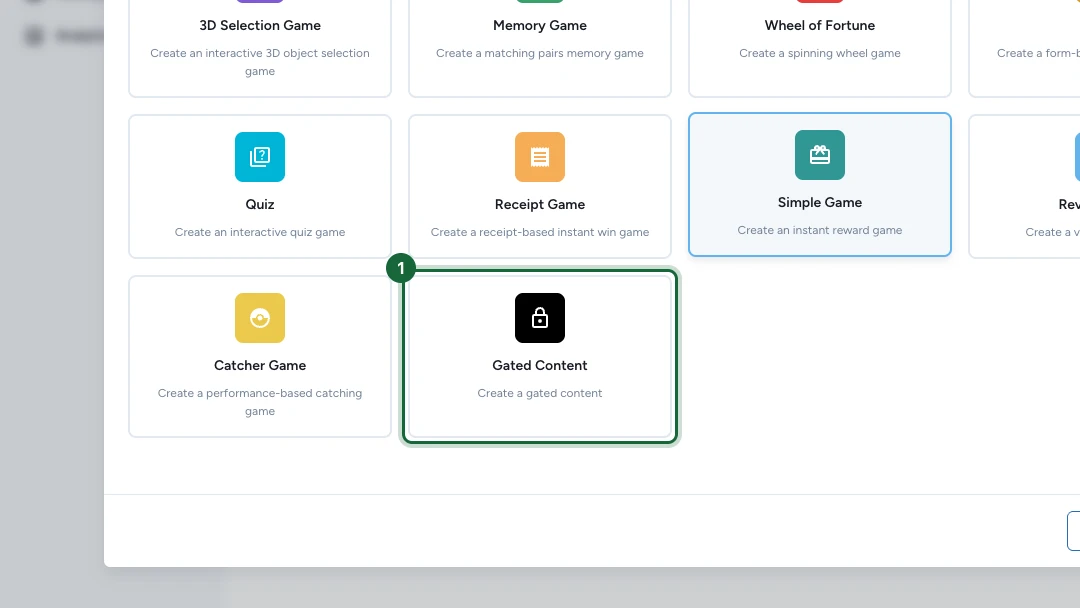
Choose the Gated Content type
In Build, open the Touchpoints tab and select Add New Touchpoint. In the type picker, choose Gated Content ("Create a gated content"), then click Create.
Give the touchpoint a clear internal name. That same name appears in validation messages when something needs fixing.
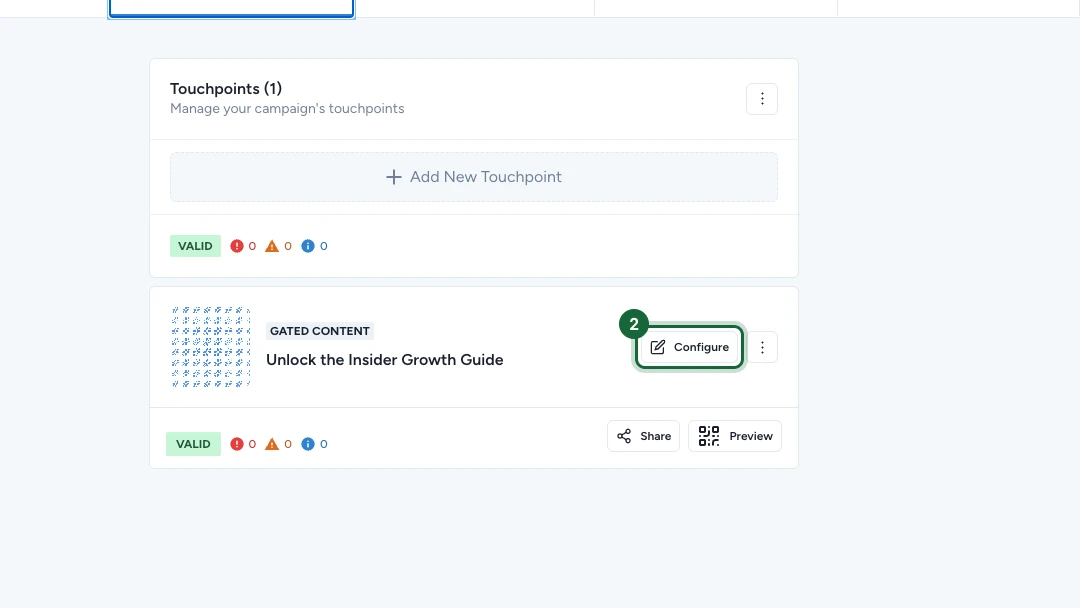
Open the touchpoint
Find the Gated Content touchpoint in the Touchpoints list and select Configure to open its settings.
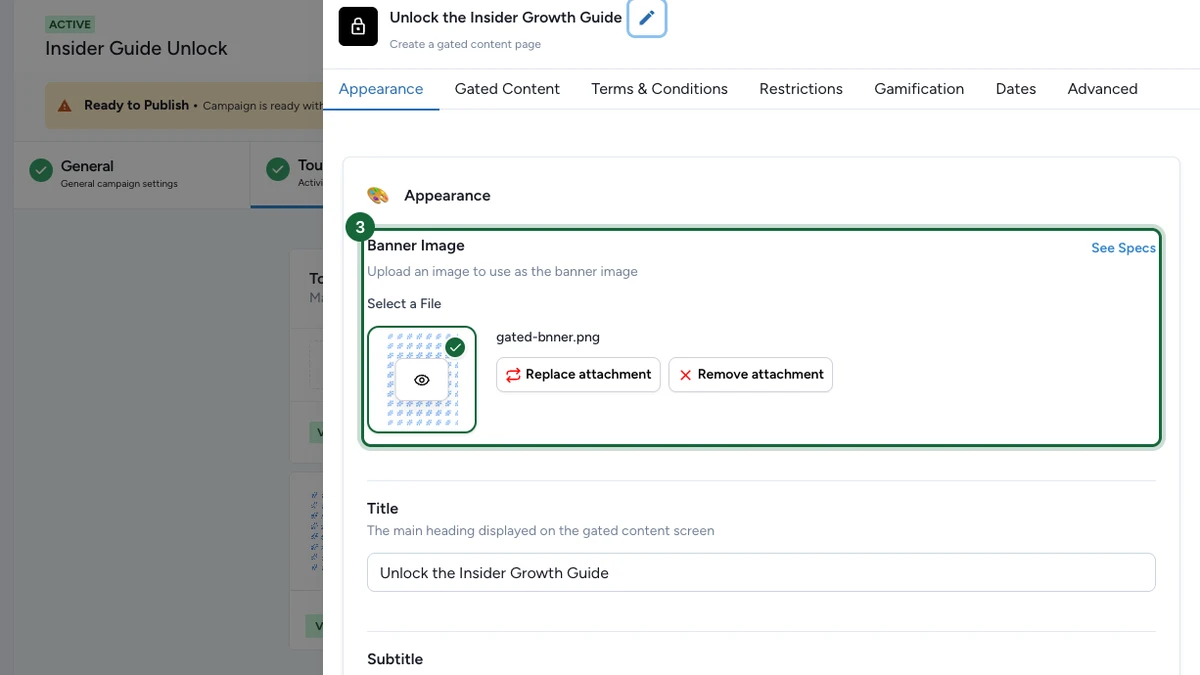
Add the banner image
In the Appearance tab, use Banner Image to upload the visual that leads the teaser.
This is the first thing people see, so pick something that makes the content feel worth unlocking.
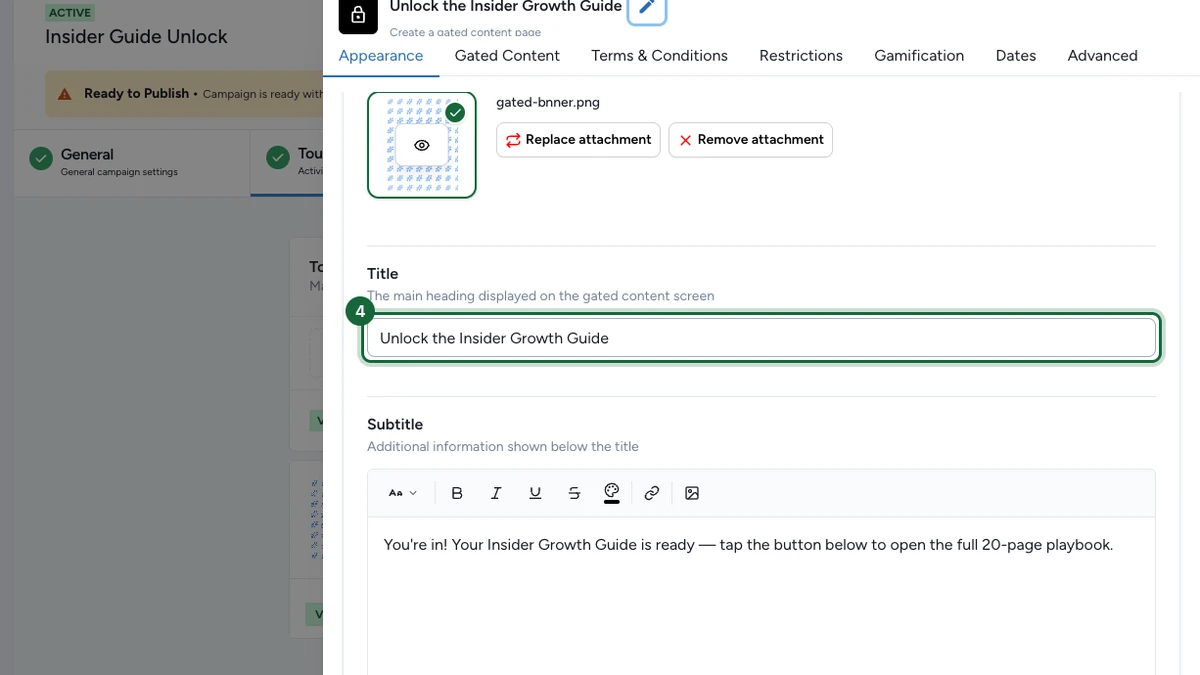
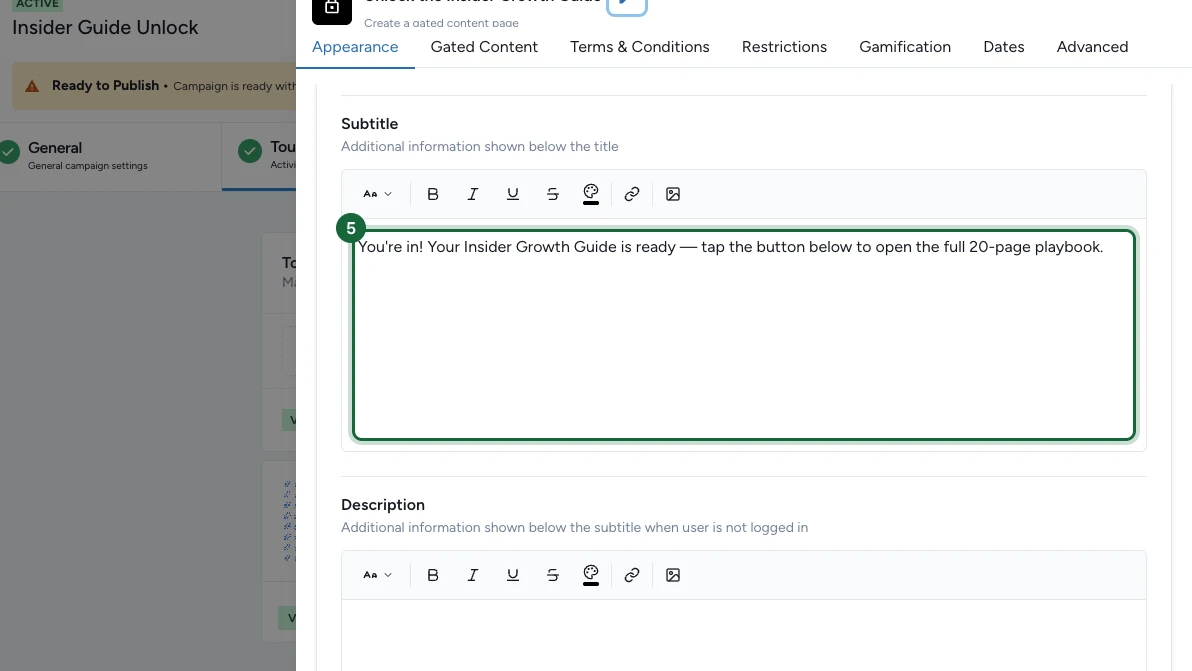
Add the subtitle
Use the Subtitle to spell out why the content is worth it. It sits just below the title on the teaser.
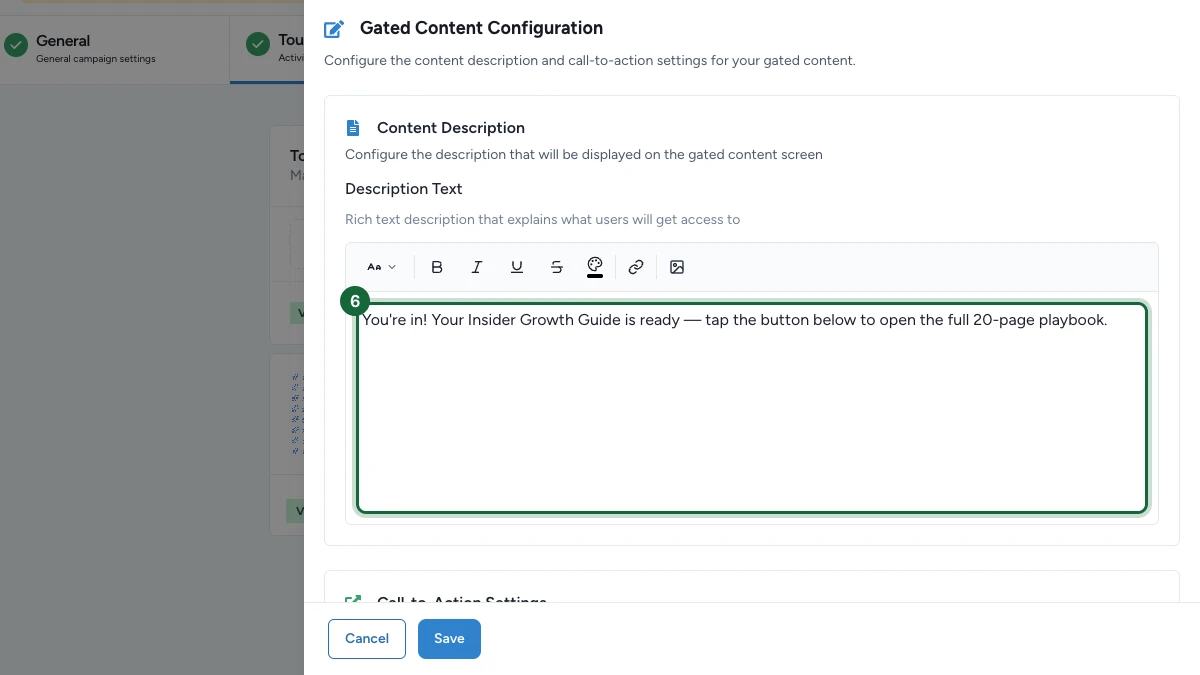
Write the revealed description
Open the Gated Content tab and fill in the Description Text that appears once people gain access.
Use it to explain what they just unlocked and what to do next. The rich-text toolbar formats the copy.
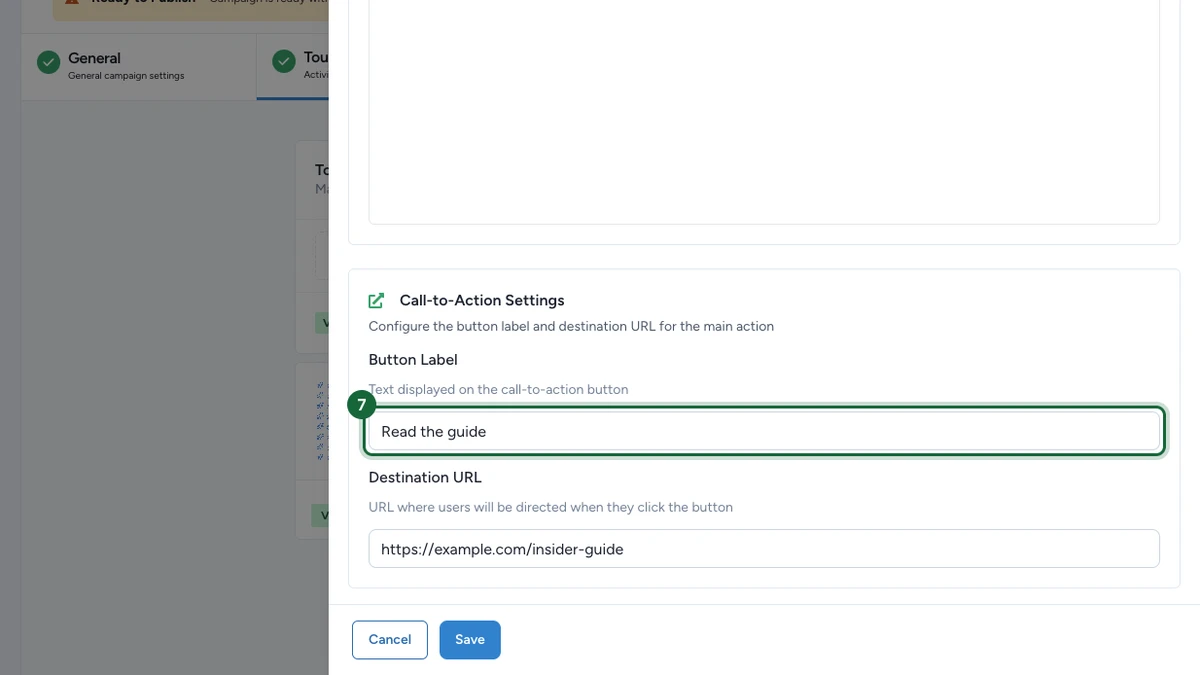
Set the button label
In Call-to-Action Settings, set the Button Label people tap after the content unlocks.
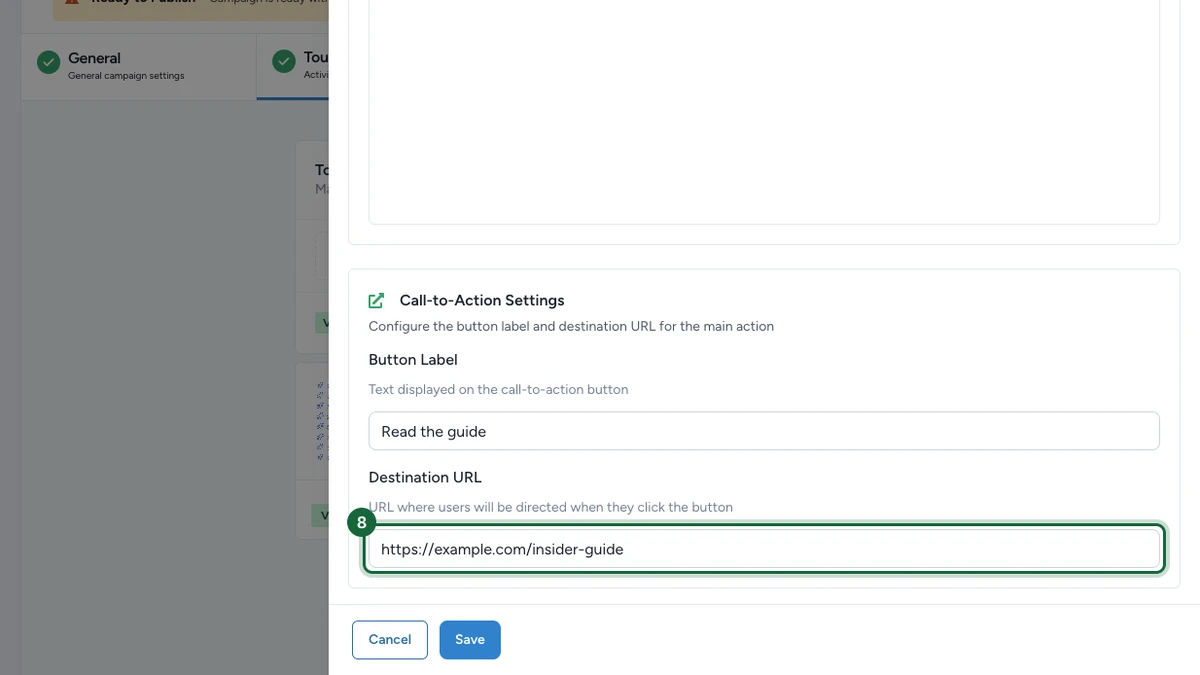
Set the destination URL
Set the Destination URL the button opens — often a booking page, partner site, PDF, or download.
Point it at the final destination, not another unclear in-between page.
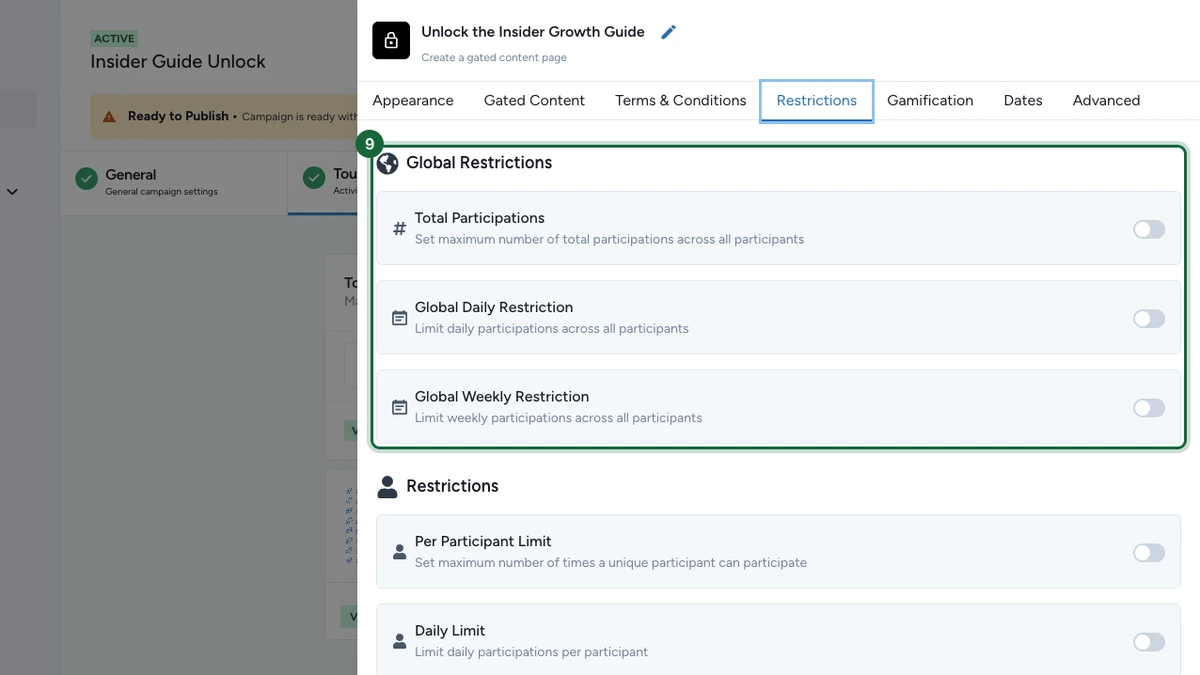
Set the access rules
Open the Restrictions tab to decide what people must do before the content appears — for example, limit participations per person, per day, or by time window.
Keep those rules in line with what the teaser promised.
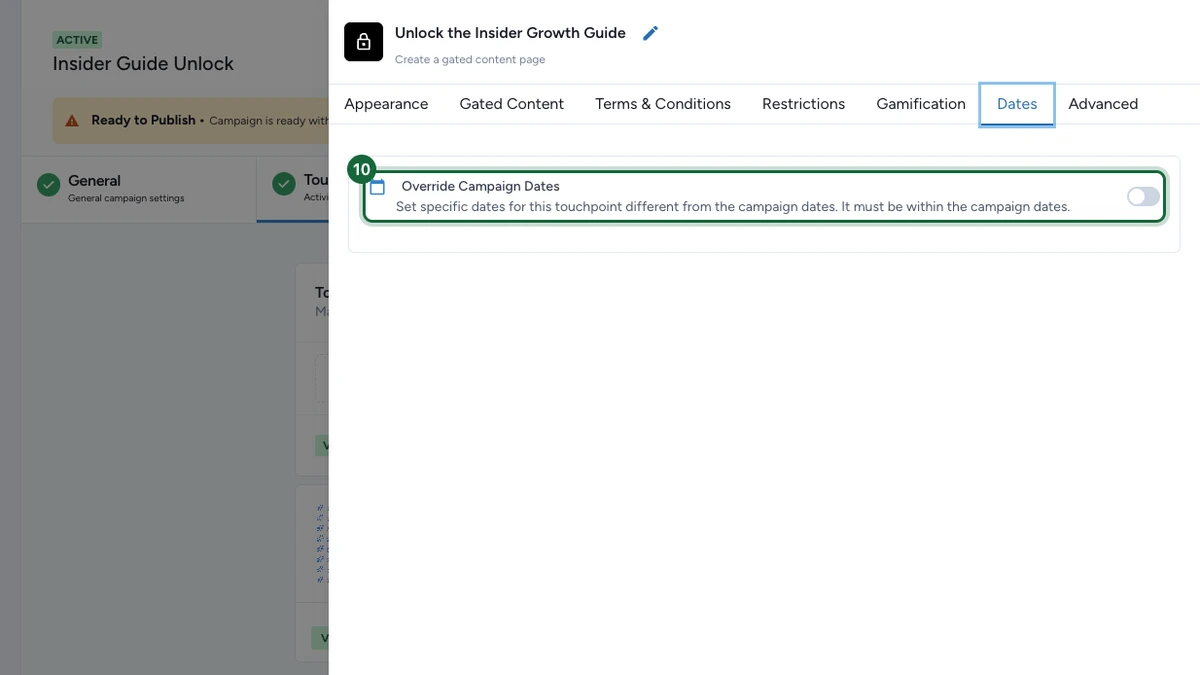
Set availability and test
Open the Dates tab for overall availability. Turn on Override Campaign Dates to give this touchpoint its own window inside the campaign dates.
Save the touchpoint, then test it once before access and once after — confirm the teaser, the revealed content, and the button all work. Review both views on mobile before launch.
Result
The touchpoint shows a teaser banner, title, and subtitle until someone unlocks it, then swaps to the revealed description and the call-to-action button once they meet the access rules.
If publishing is blocked
A few common reasons and how to fix them:
- The banner image is missing — open the touchpoint and upload a Banner Image in Appearance.
- The title is missing — add a Title people will see in Appearance.
- The revealed description is empty — open the Gated Content tab and write the Description Text.
- The button has no label — set a Button Label in Call-to-Action Settings.
- The destination URL is missing or invalid — add a full URL (starting with
https://) in Destination URL.
Configure the shared settings
Beyond appearance and the gated content, this touchpoint shares the standard settings. Configure the ones your campaign needs:
Appearance and branding
Deep dive into titles, banners, and backgrounds shared across touchpoints.
Restrictions
Limit who can unlock the content and how often.
Opt-in
Require consent or sign-up before the content unlocks.
Notifications
Email people when they unlock the content.
Dates
Give this touchpoint its own availability window.
Gamification
Award a badge for unlocking the content.
Related
Offer Pass
Use Offer Pass when the outcome is a claimable offer instead of protected content.
About opt-in in OmniLab
Review the shared opt-in layer when content should unlock only after consent or sign-up.
Restrictions (number, frequency, time slots, validation codes)
Control who can unlock the content and how often.
Pick a game type
Compare Gated Content with Offer Pass and the other OmniLab Games formats.