Touchpoint dates override

Override campaign dates for one touchpoint while keeping its schedule inside the campaign window.

4 min read

Give one Touchpoint its own start and end dates inside the campaign — so it can open later, close earlier, or run for just one phase, all on its own schedule.

Touchpoints follow the campaign schedule by default

A Touchpoint uses the campaign's dates unless you say otherwise. Turn on an override only when one Touchpoint needs its own start and end dates inside the campaign window.

By default, a Touchpoint follows the campaign schedule. To give it its own window, turn on Override Campaign Dates, set a start and end date inside the campaign dates, and optionally add custom before/after messages with Override Campaign Messages.

Before you begin

  • Campaign dates are already set. If not, see Campaign dates.
  • The Touchpoint already exists in the campaign.

Configure the override

Open the Dates tab

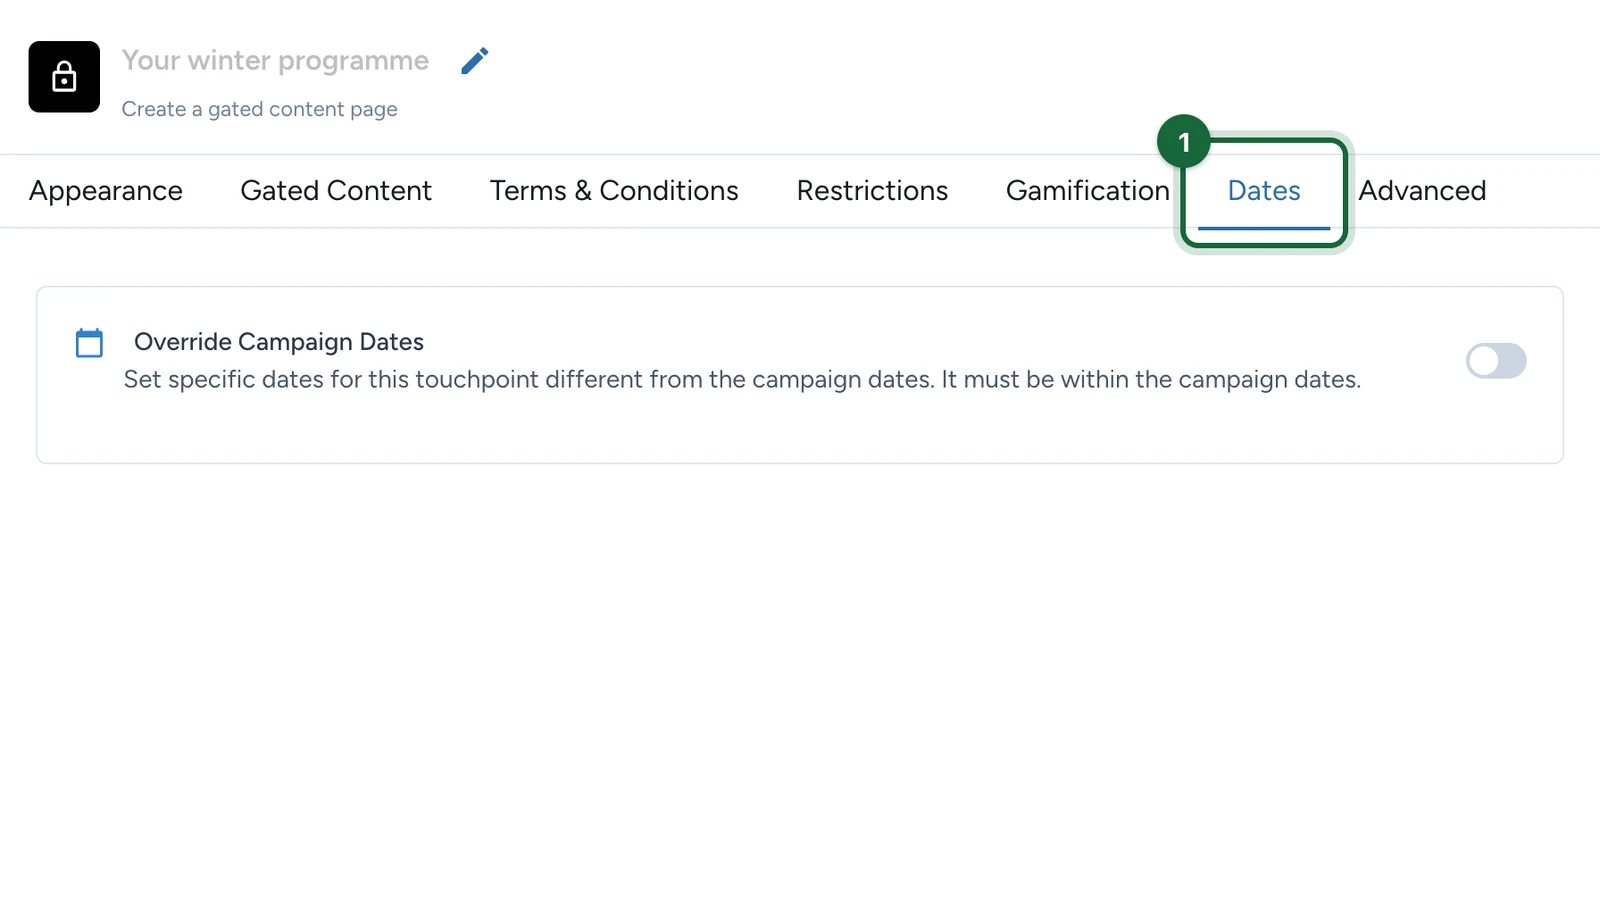
Open Build > Touchpoints, select Configure on the Touchpoint, then open the Dates tab.

This area uses the campaign schedule until you turn the override on.

Touchpoint editor with the Dates tab highlighted

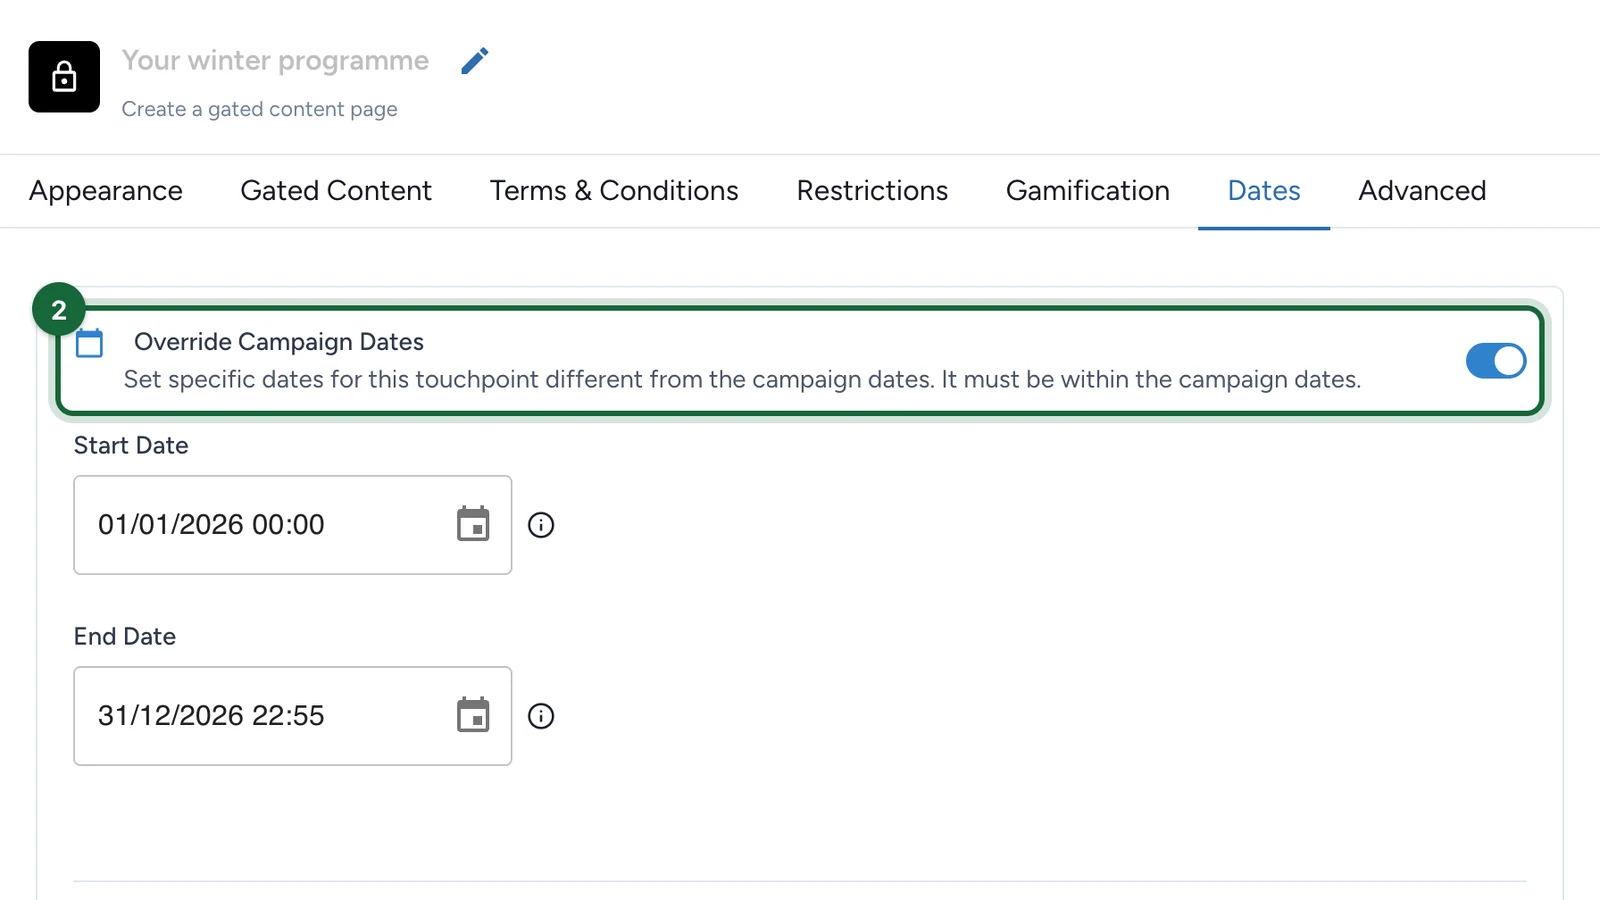
Turn on Override Campaign Dates

Turn on Override Campaign Dates when the Touchpoint should not follow the full campaign window.

Use this when one Touchpoint starts later, ends earlier, or should be available only during a specific phase of the campaign.

Dates tab with the Override Campaign Dates toggle highlighted

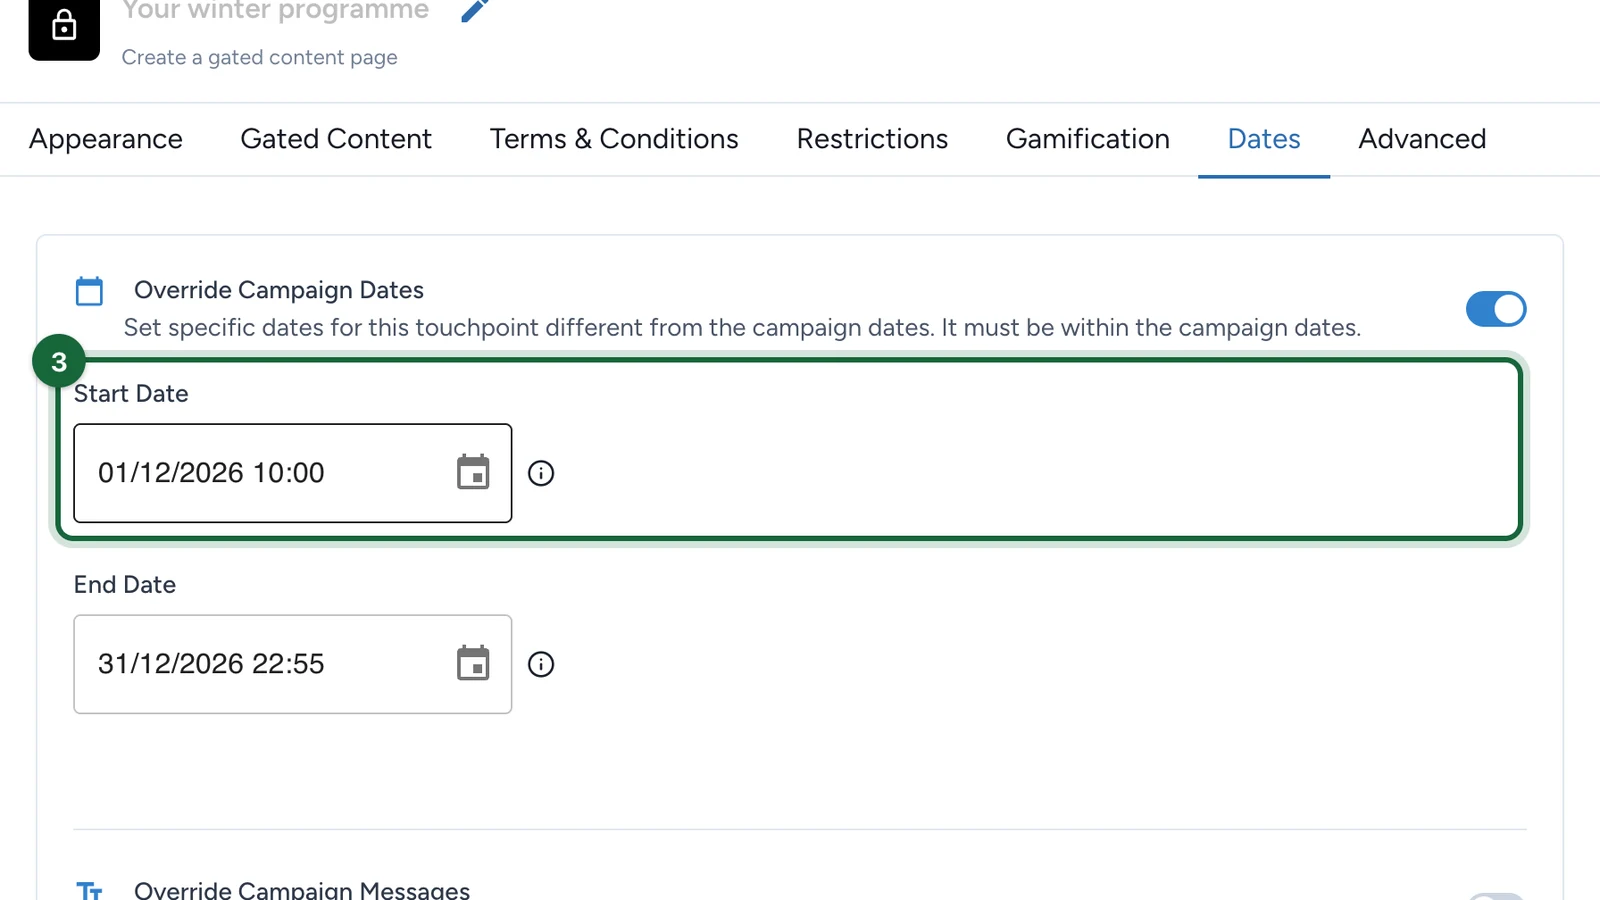
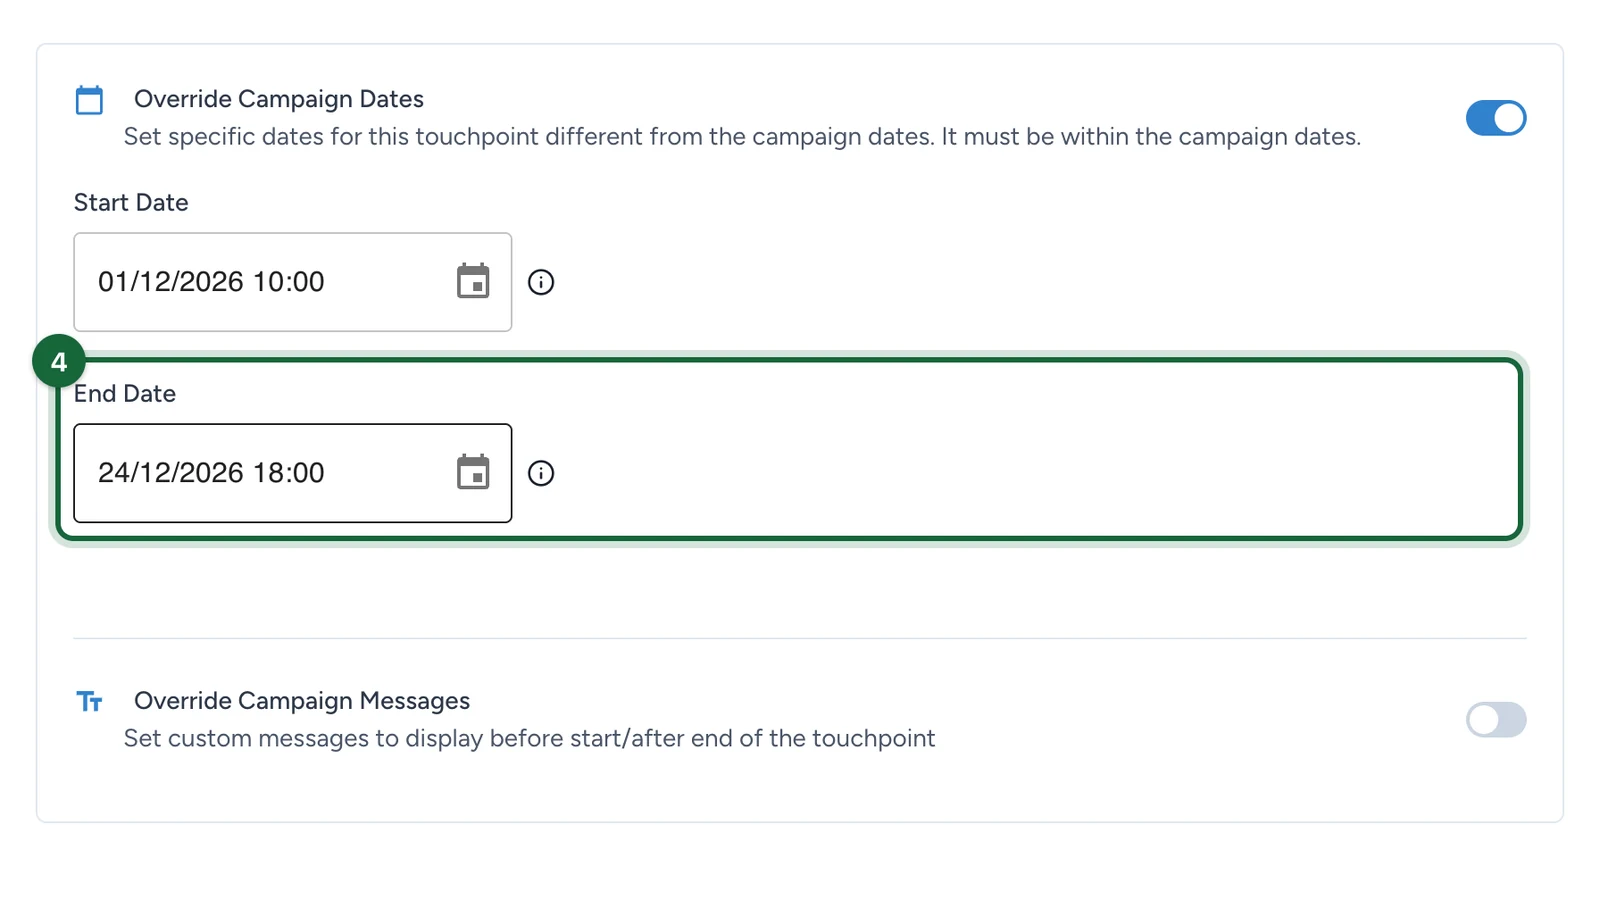
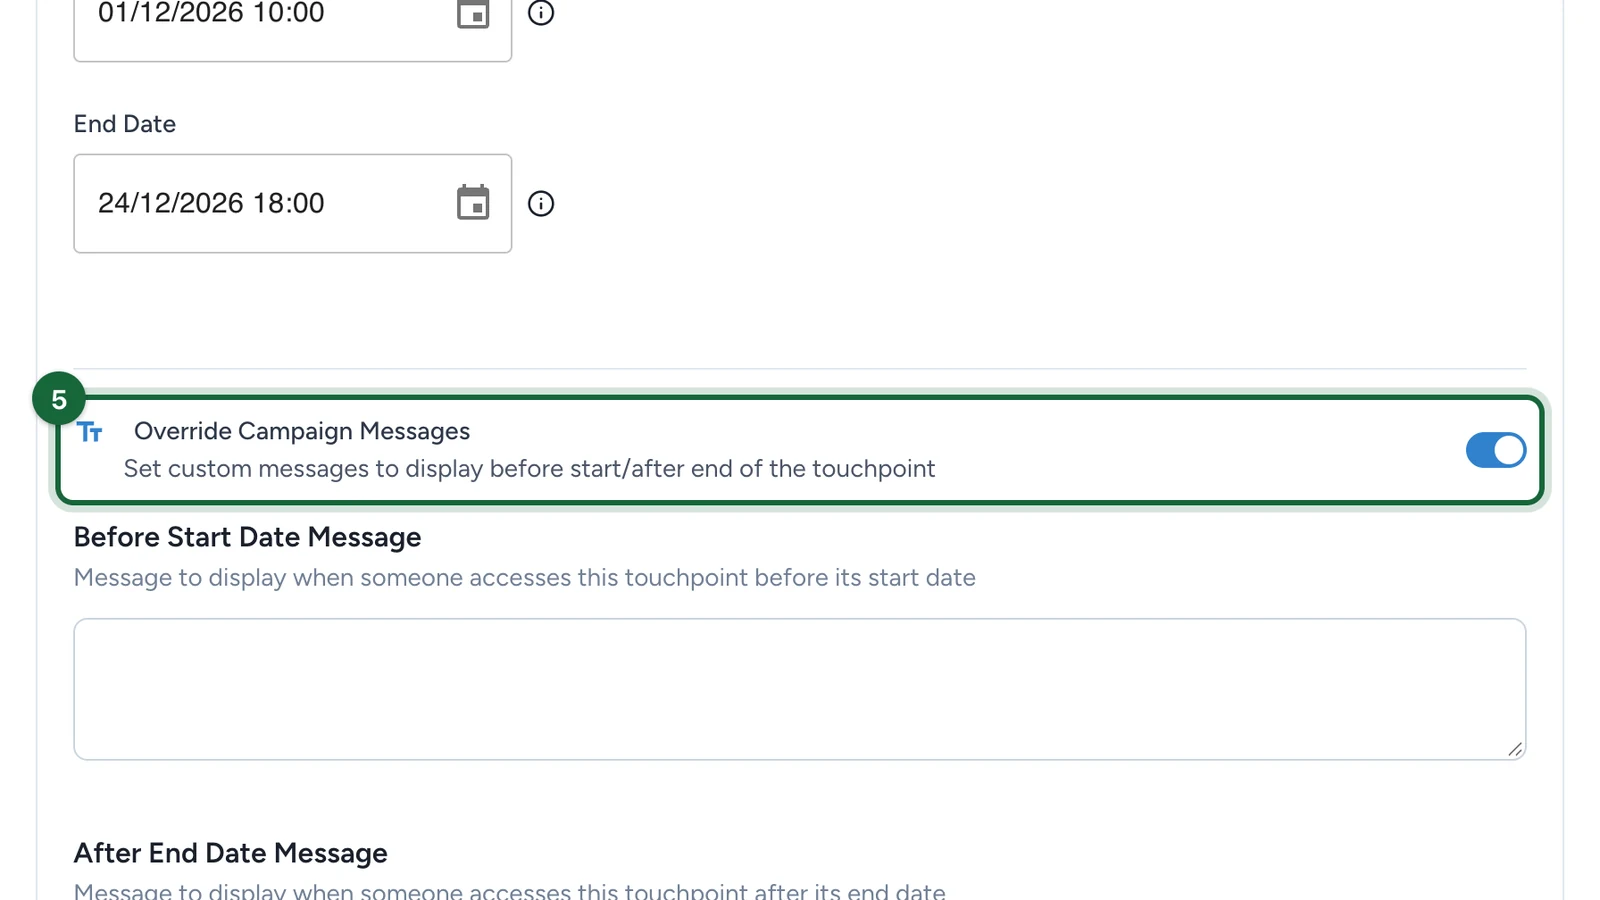
Set Start Date and End Date

When the override is on, both Start Date and End Date are required.

Both dates must fall inside the campaign date range, and the end date must be after the start date. The override narrows the campaign window; it does not create a separate schedule outside it.

The date pickers let you select any date, including dates outside the campaign — they no longer grey out the rest of the calendar. The check happens when you publish, so a window you set outside the campaign looks fine in the editor and is reported as an error at publication.

Dates tab with the Start Date and End Date fields highlighted

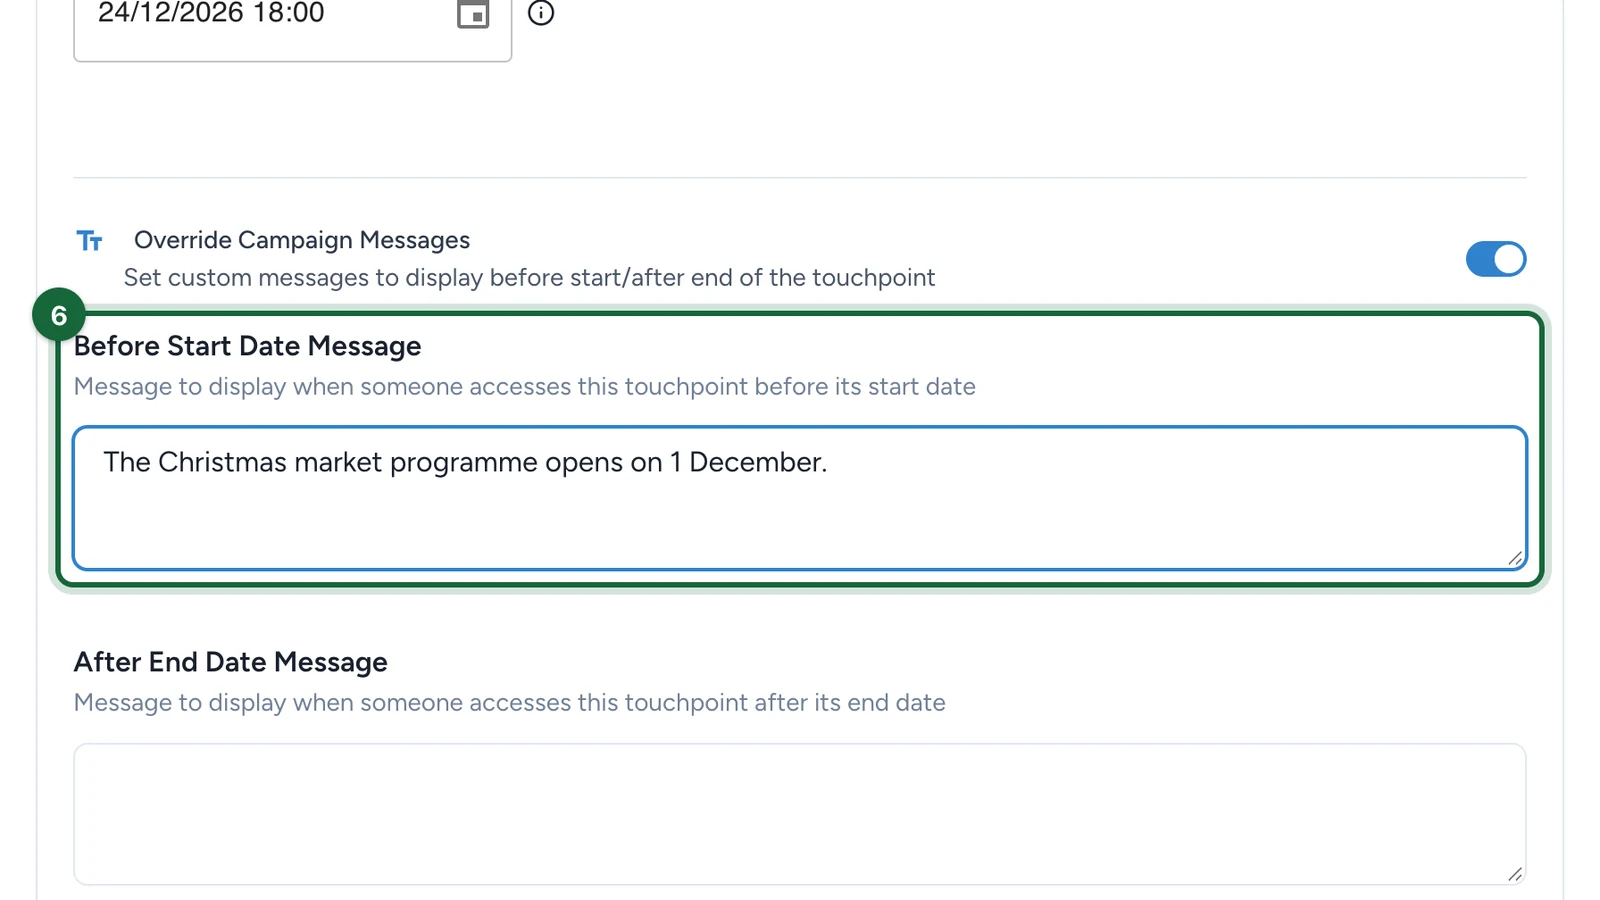
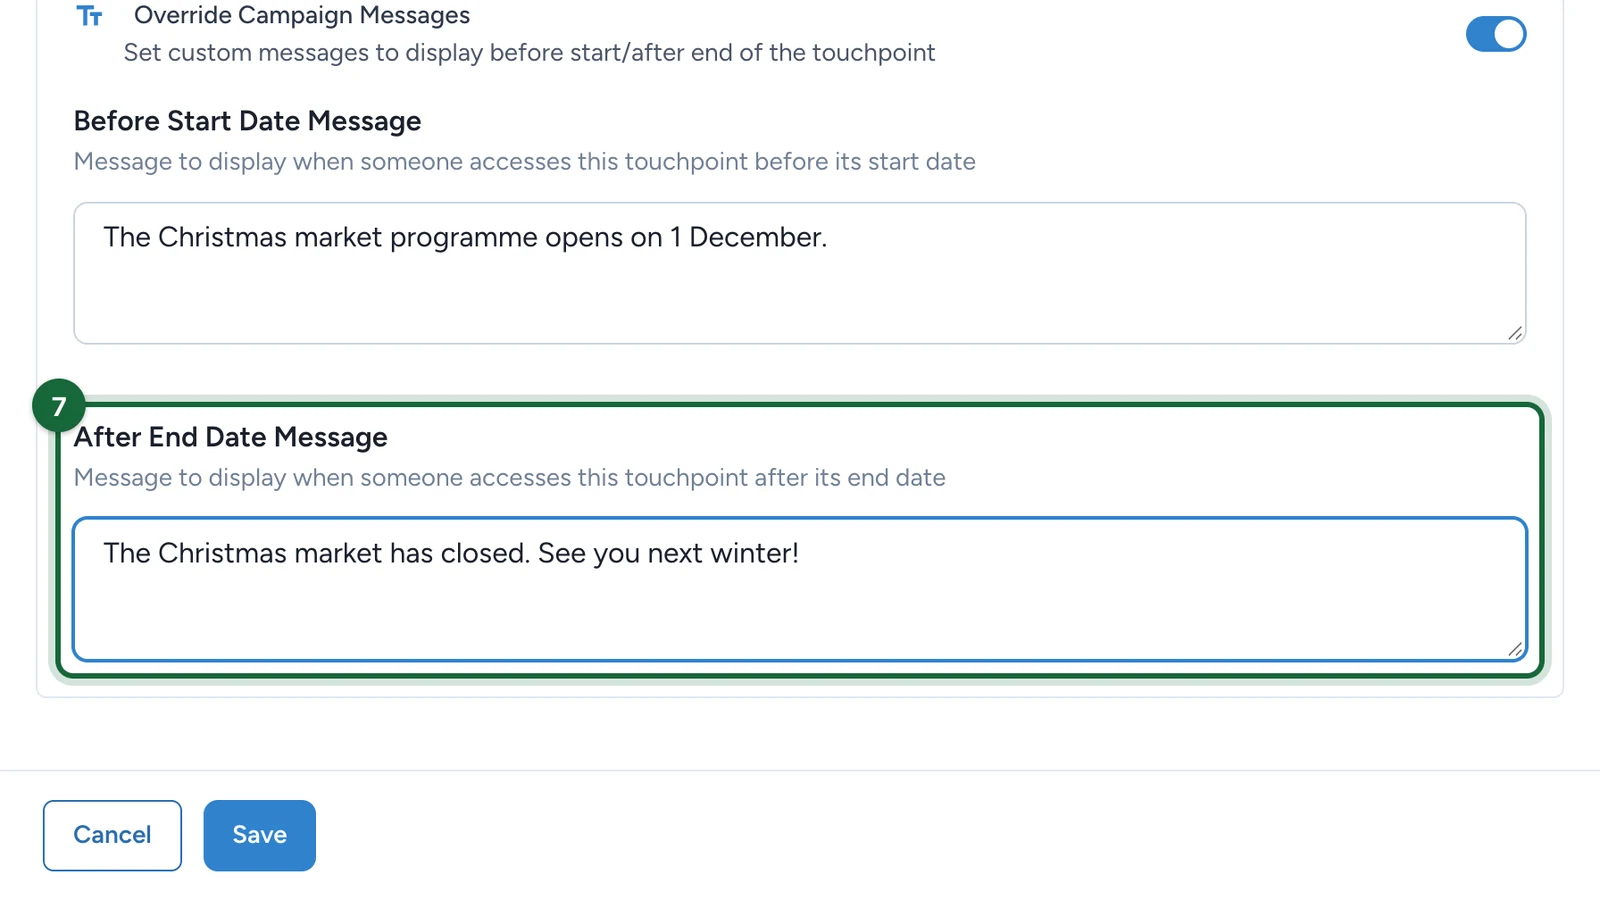
Add custom availability messages if needed

Turn on Override Campaign Messages when the Touchpoint needs its own visitor messaging.

Then fill Before Start Date Message and After End Date Message so the Touchpoint can show its own copy before it opens and after it closes.

Dates tab with the Override Campaign Messages toggle on, showing the Before Start Date Message and After End Date Message fields

Save and test the Touchpoint window

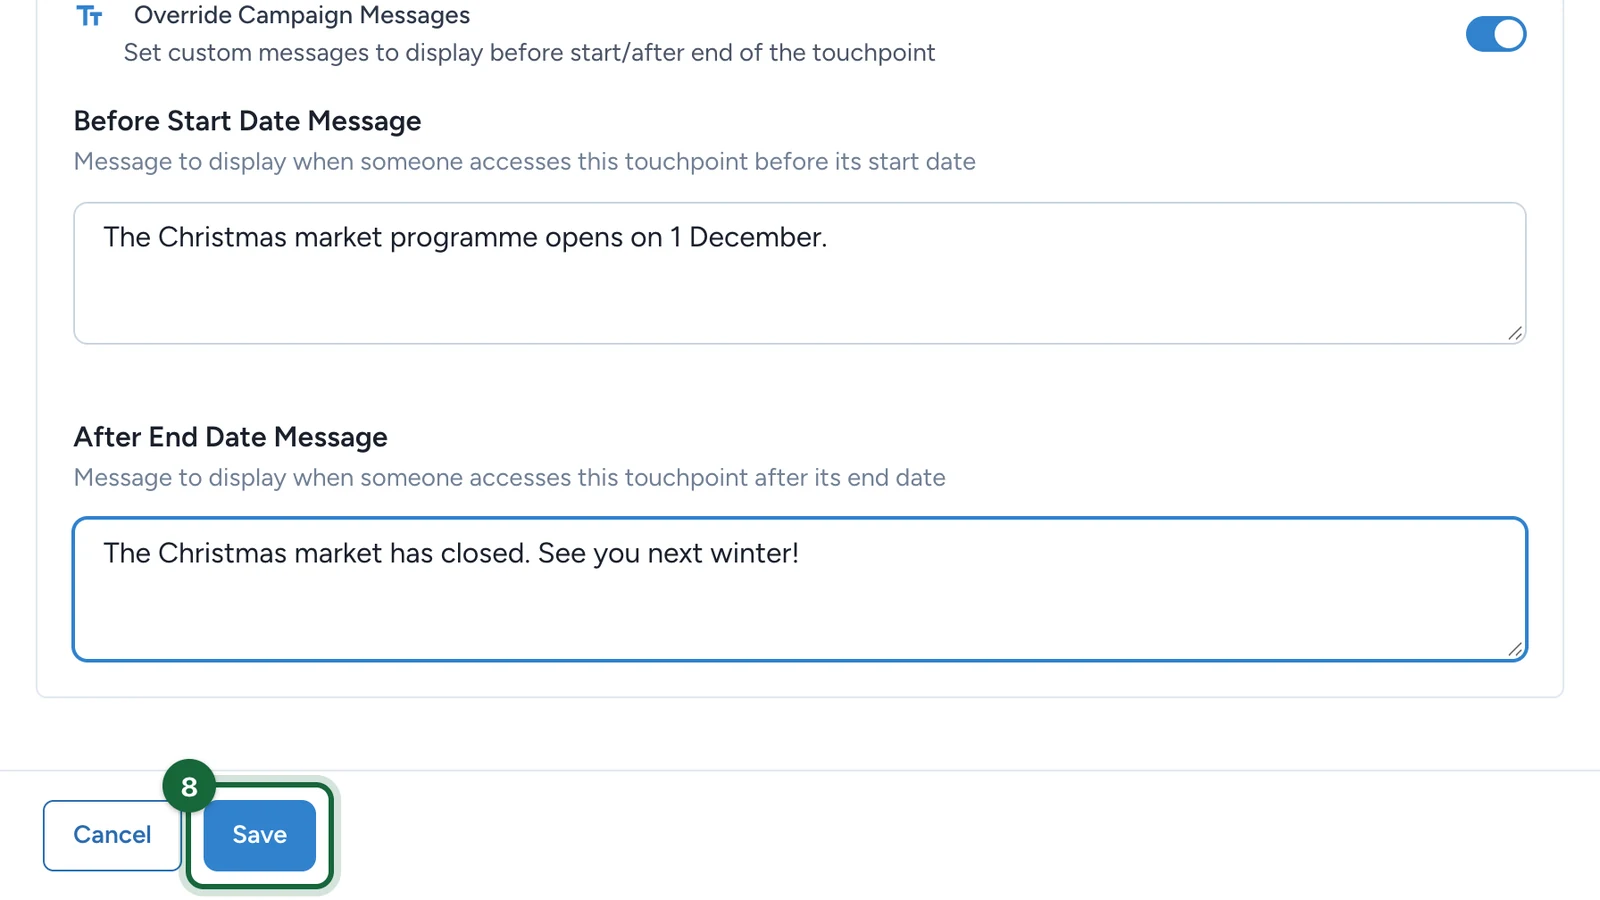
Save the Touchpoint and confirm availability behaves as expected.

Check both the open window and the before/after messaging, especially when the Touchpoint is available for only a short phase.

Touchpoint editor with the Save button highlighted

When a date override makes sense

Date overrides are most useful when:

  • one Touchpoint should open later than the rest of the campaign
  • one Touchpoint should close earlier
  • several Touchpoints should go live in phases across one campaign
  • the campaign uses a calendar-style experience where each Touchpoint needs its own date window

Special case: Advent Calendar

If the campaign uses an Advent Calendar layout, each linked Touchpoint needs its own date override, and the windows must not overlap.

That lets each calendar day unlock a specific Touchpoint at the right moment, instead of revealing all of them at once.

What happens when you turn the override off

Turning Override Campaign Dates off returns the Touchpoint to the campaign schedule.

If you need a Touchpoint-specific window again later, turn the override back on and recheck both the dates and the custom before/after messages.

If something's blocked

A few common date-override problems and how to fix them:

  • The override is on but a required date is missing — set both Start Date and End Date, or turn the override off.
  • The start date is before the campaign start date — set a start date on or after the campaign start, or move the campaign start earlier.
  • The end date is after the campaign end date — set an end date on or before the campaign end, or move the campaign end later.
  • The touchpoint has an invalid date range — the end date is on or before the start date. Set an end date that is genuinely after the start.
  • An Advent Calendar Touchpoint still follows the campaign dates — turn on Override Campaign Dates for that Touchpoint and set its own window.
  • Two Advent Calendar Touchpoints have overlapping dates — adjust the ranges so each one has its own non-overlapping window.

Each of these is reported at publication, naming the Touchpoint and the campaign dates it has to fit inside. Because the pickers accept any date, publishing is where you find out — validate before you plan a launch rather than after.

On this page