Gamification badges
Give a touchpoint the 3D badge participants collect when they complete it: pick one from your library or build one from an image.
A badge is a collectible that participants earn when they complete a touchpoint. It shows progress and carries no prize value: for something people can win or redeem, use a reward. Every Activity and every treasure hunt object needs a badge before the campaign can publish. On other touchpoints a badge is optional.
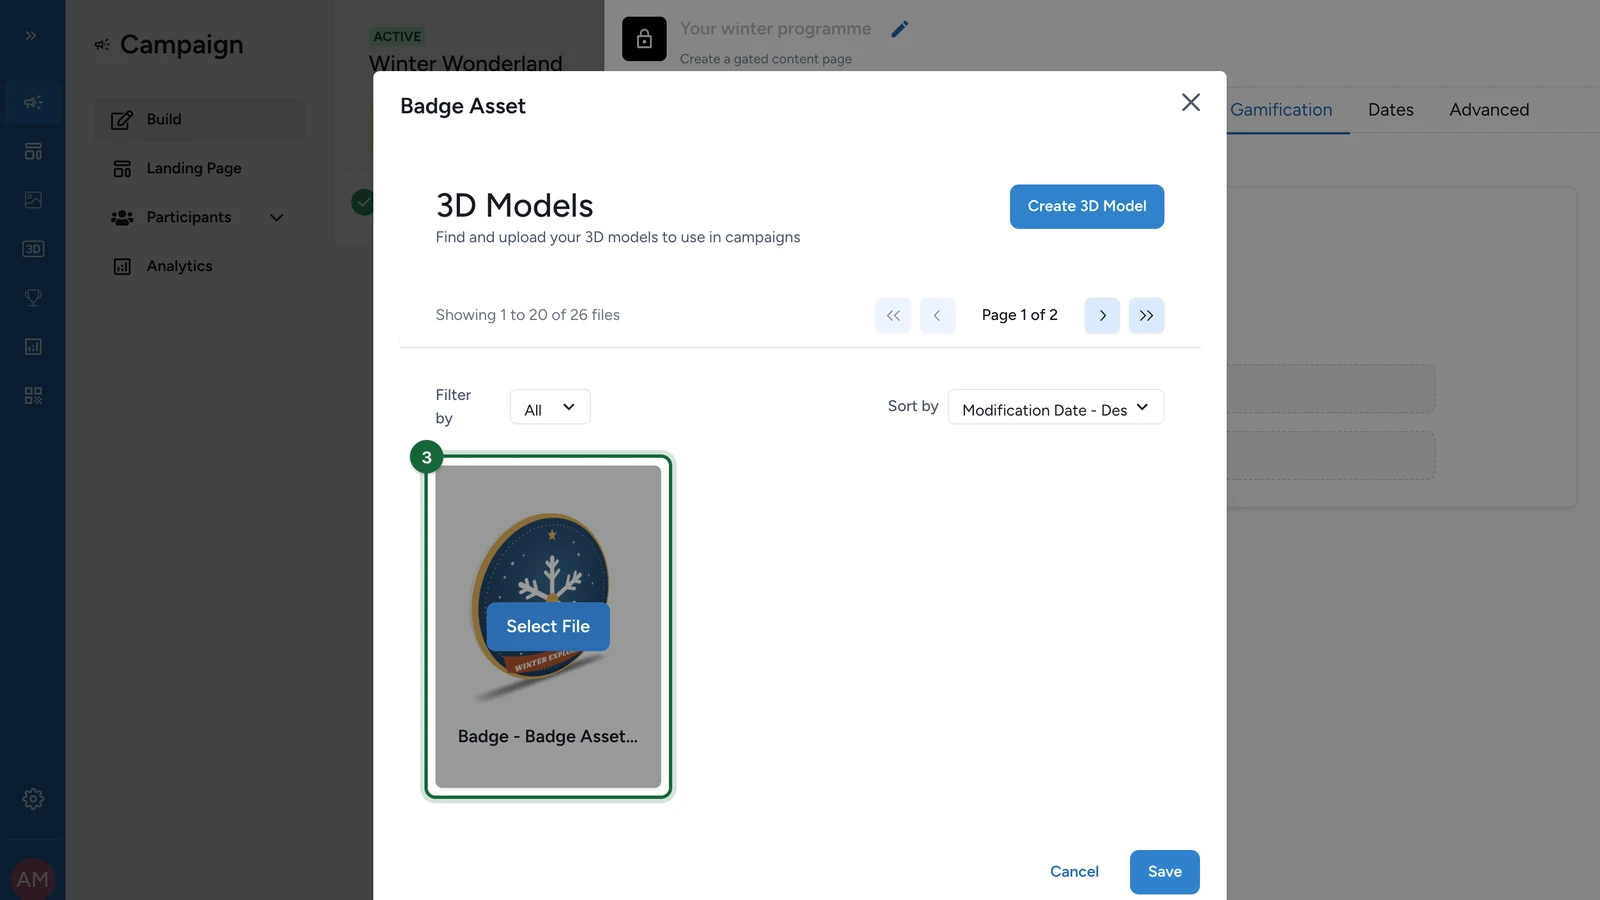
Badges are 3D models, kept in your 3D Models library. Here, Lindenhall gives its winter programme page the "Winter Explorer" badge.
Choose a badge from your library
In Build, open the Touchpoints tab and select Configure on the touchpoint.
-
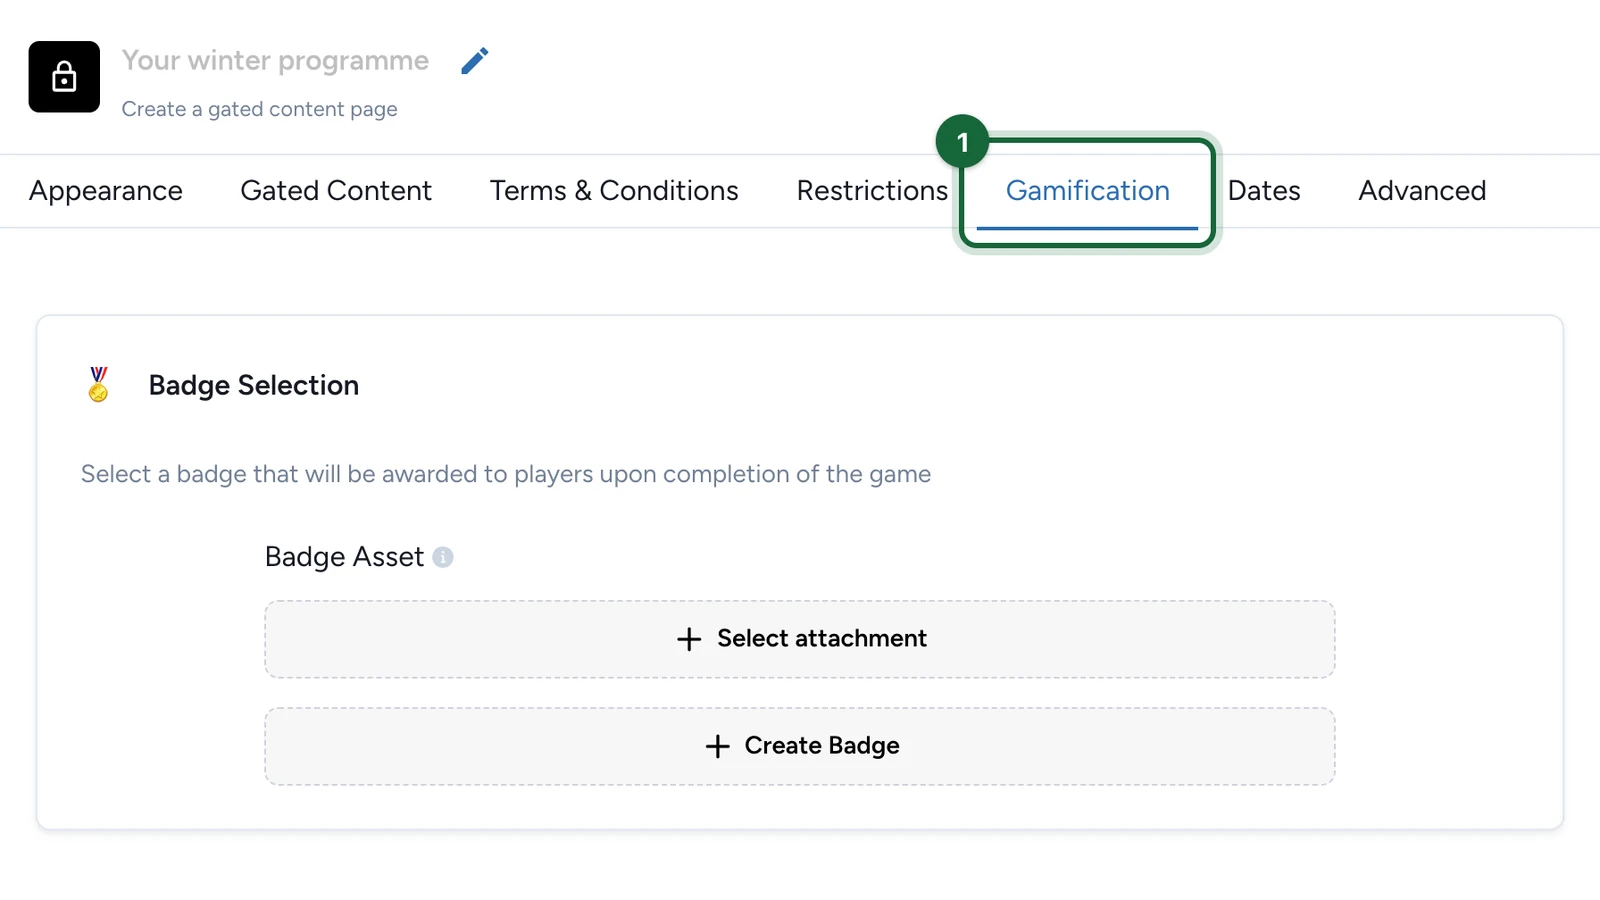
Select the Gamification tab.
-
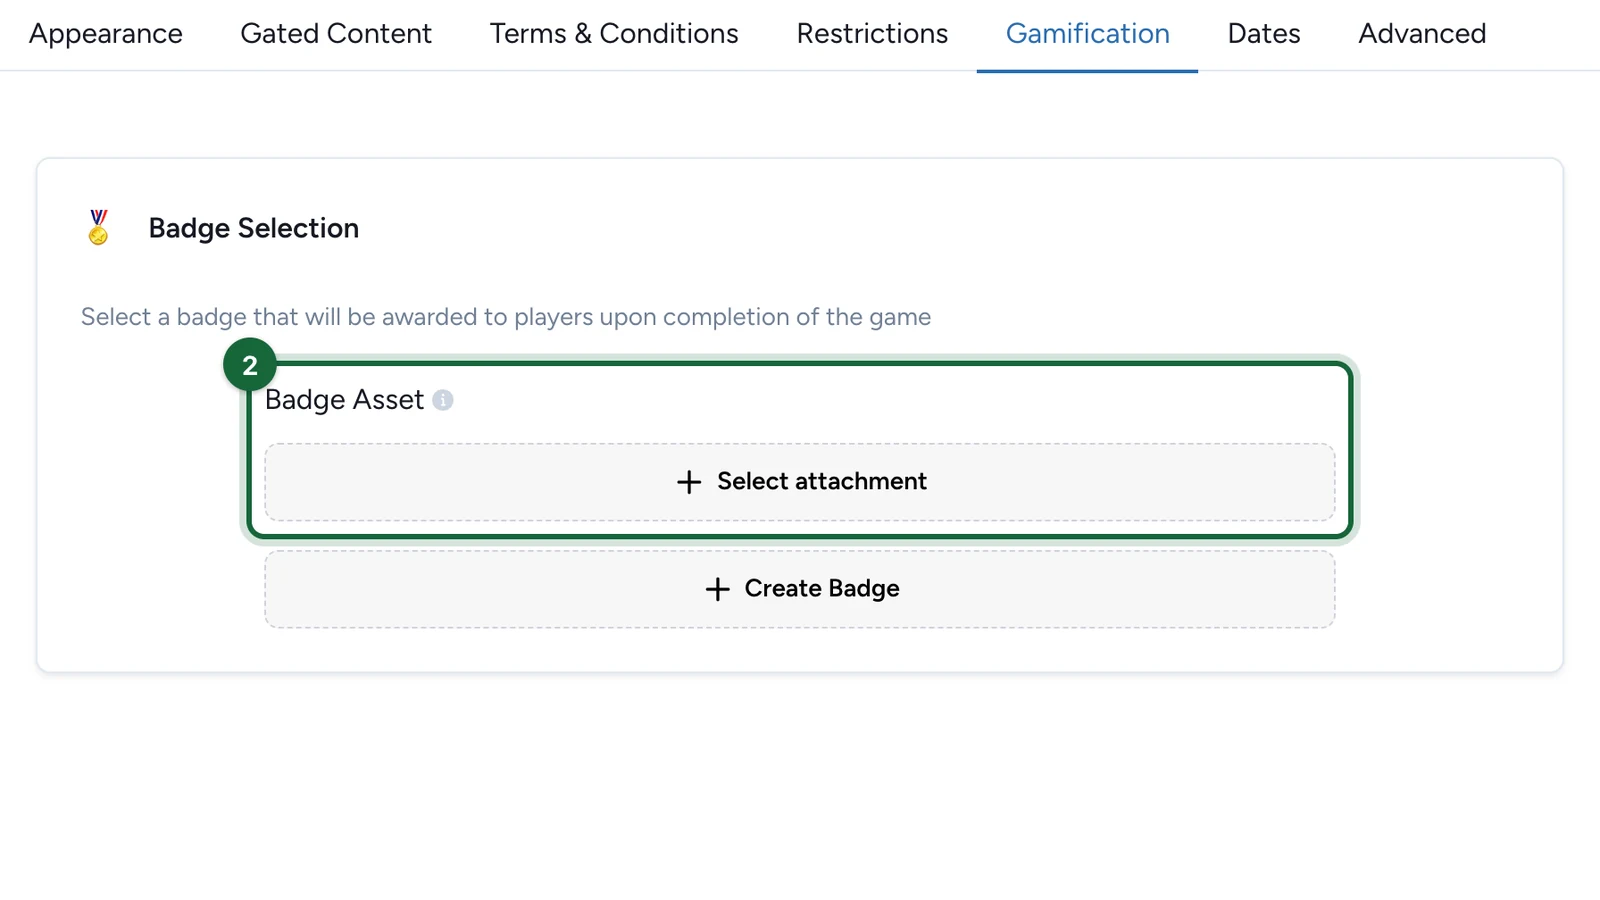
Under Badge Asset, select Select attachment.
-
Choose the badge: point at it, then select Select File.
-
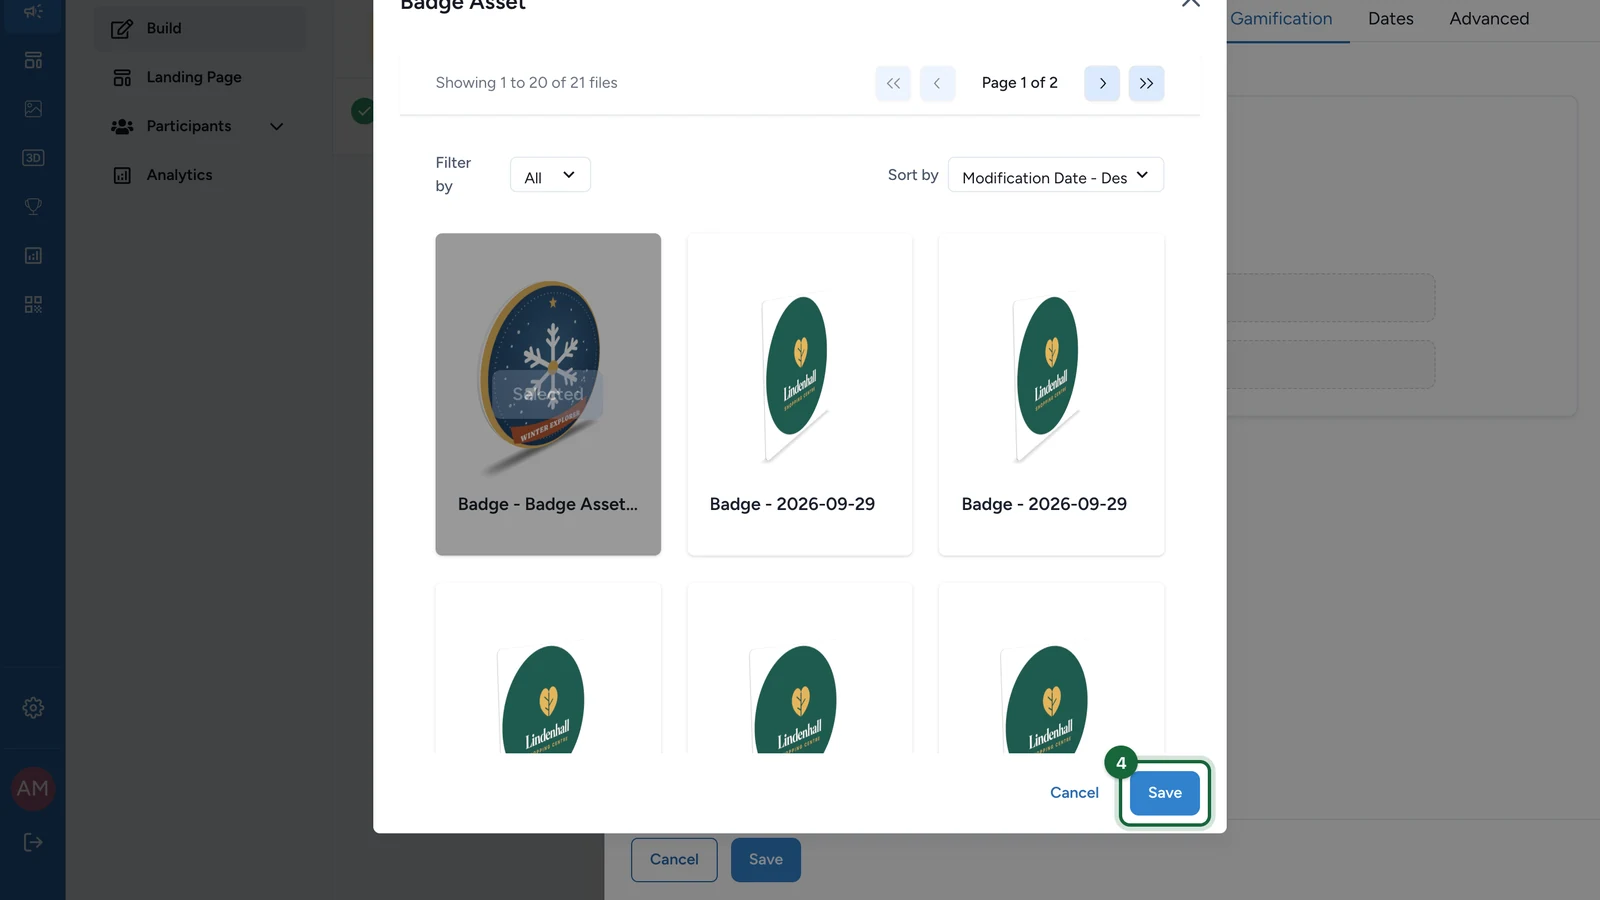
Select Save.
-
Select Save in the touchpoint settings.
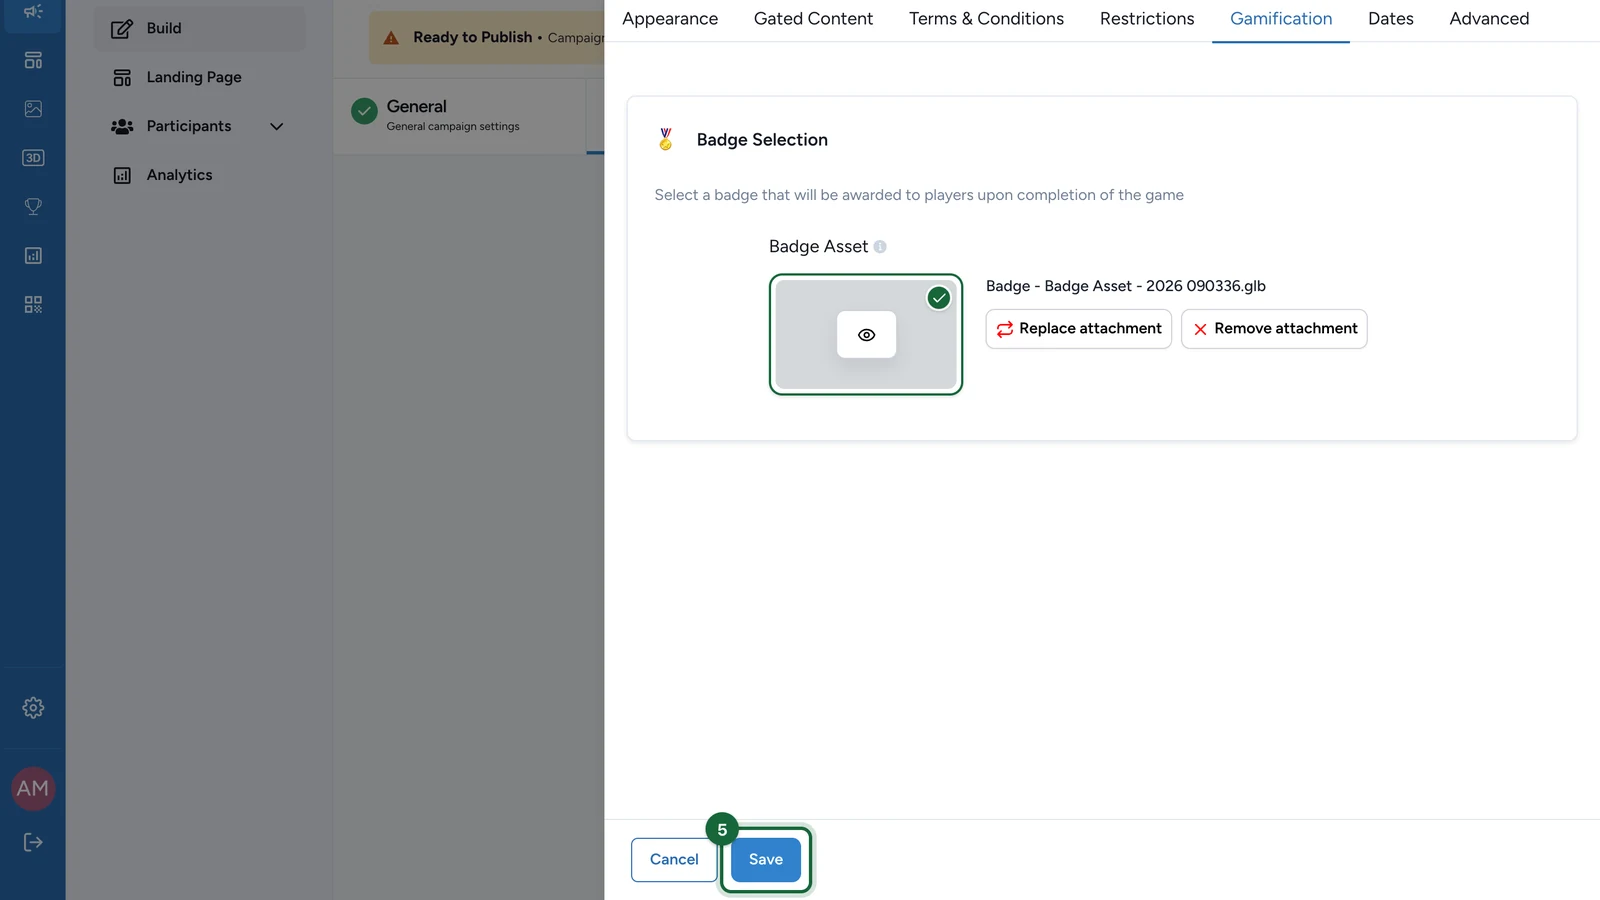
To change the badge later, select Replace attachment. Remove attachment takes it off.
Build a badge from an image
The badge builder turns an image into a 3D badge. A square PNG with the design centred works best.
-
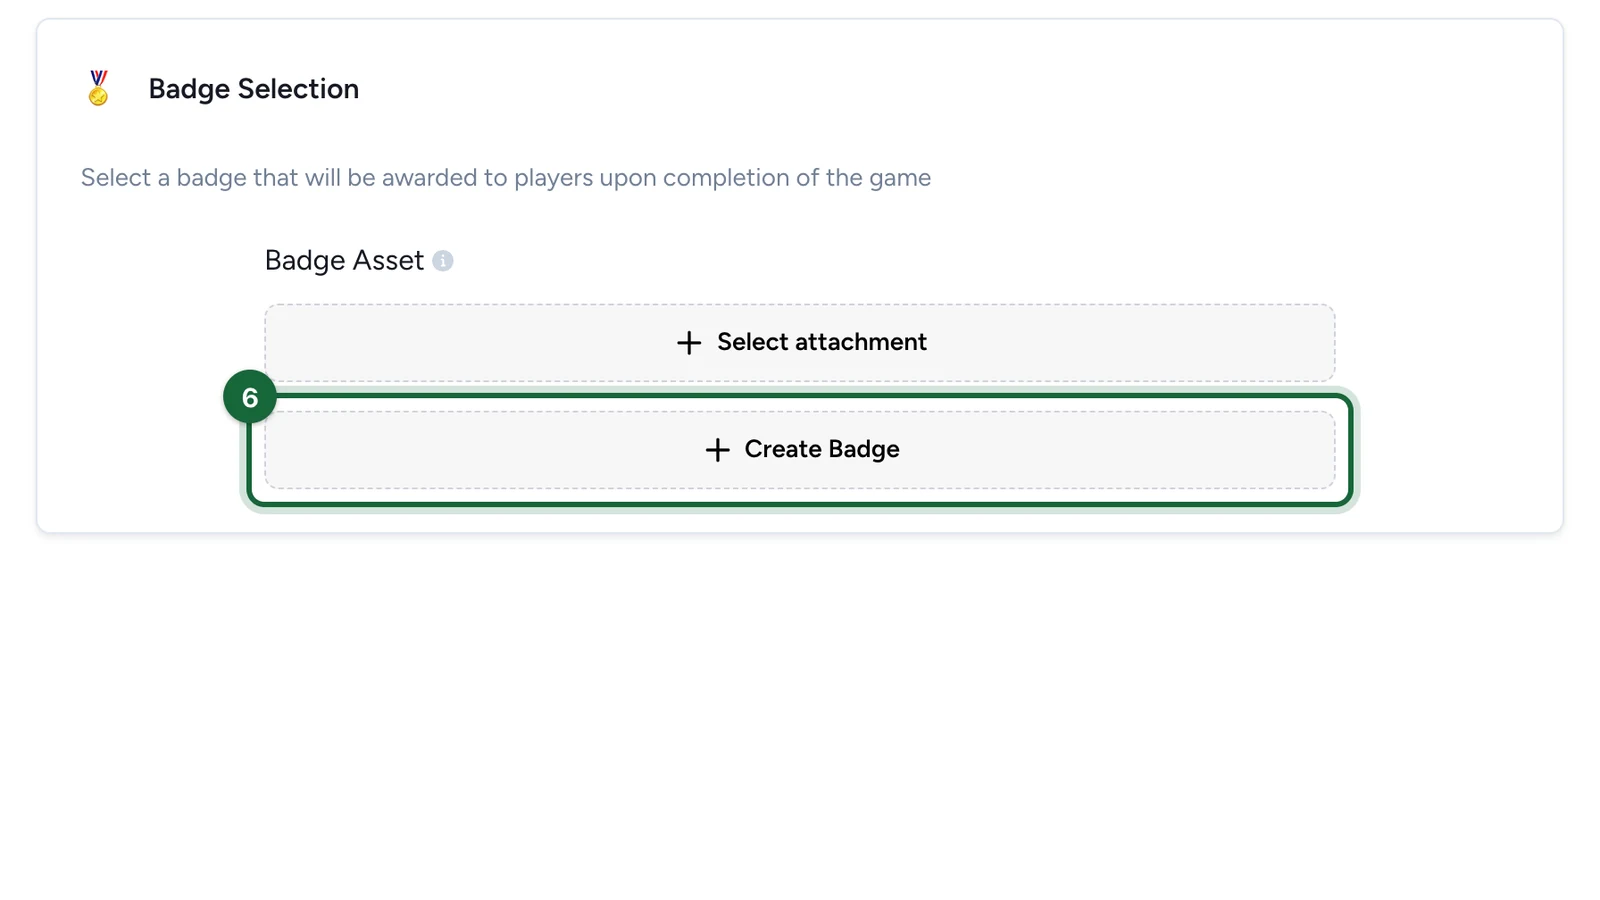
On the Gamification tab, select Create Badge.
-
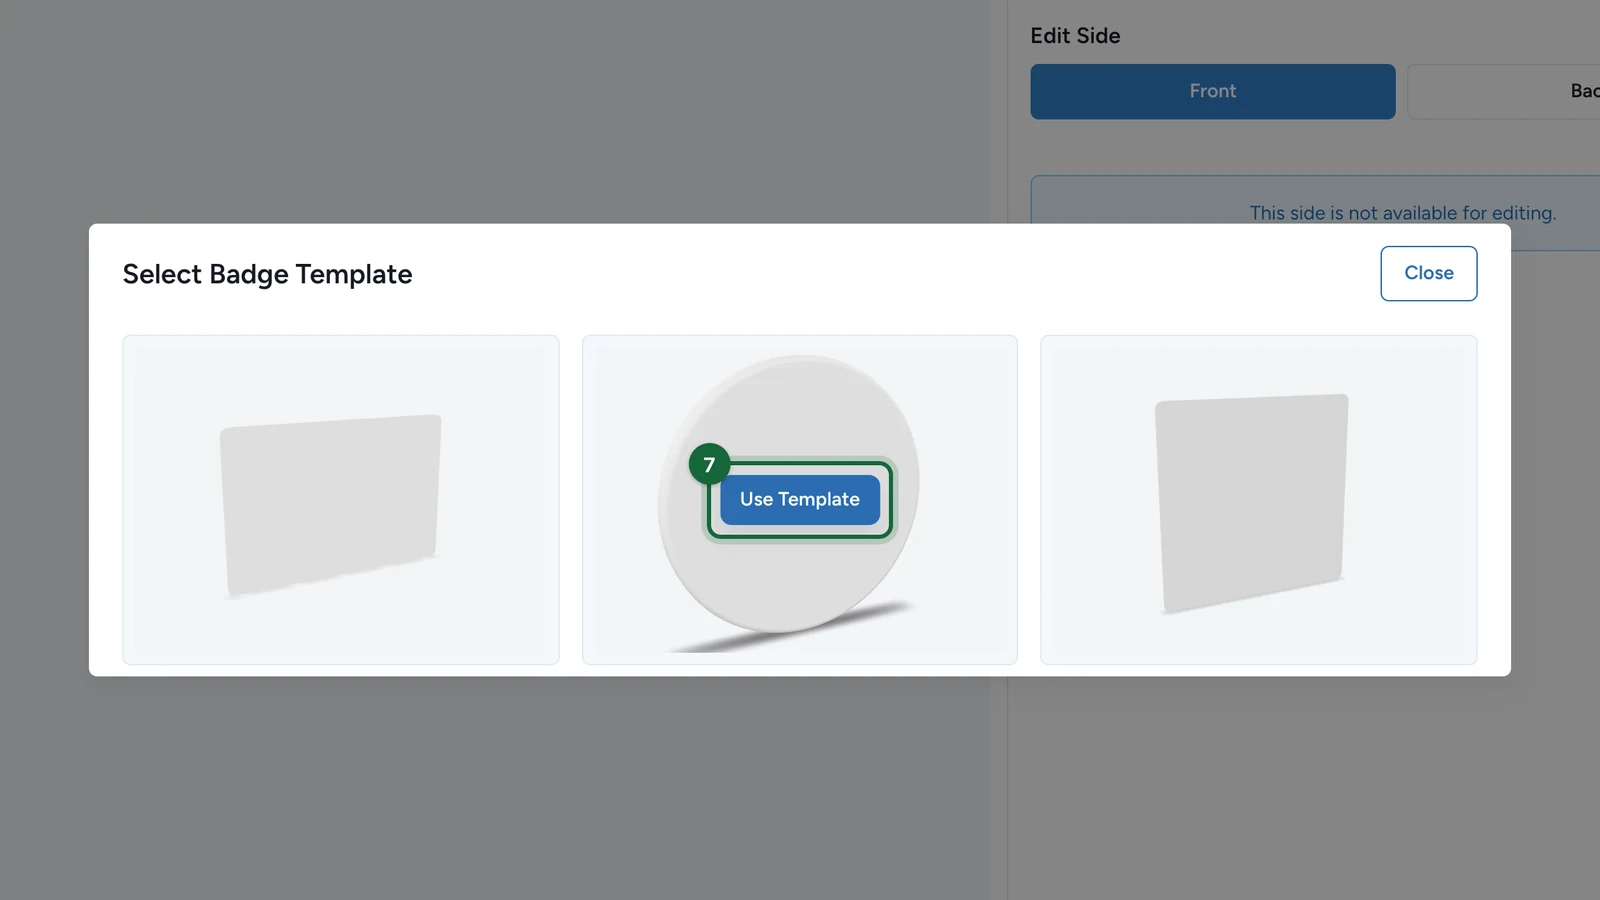
Choose a shape, then select Use Template.
-
Under Front Appearance, select Select attachment.
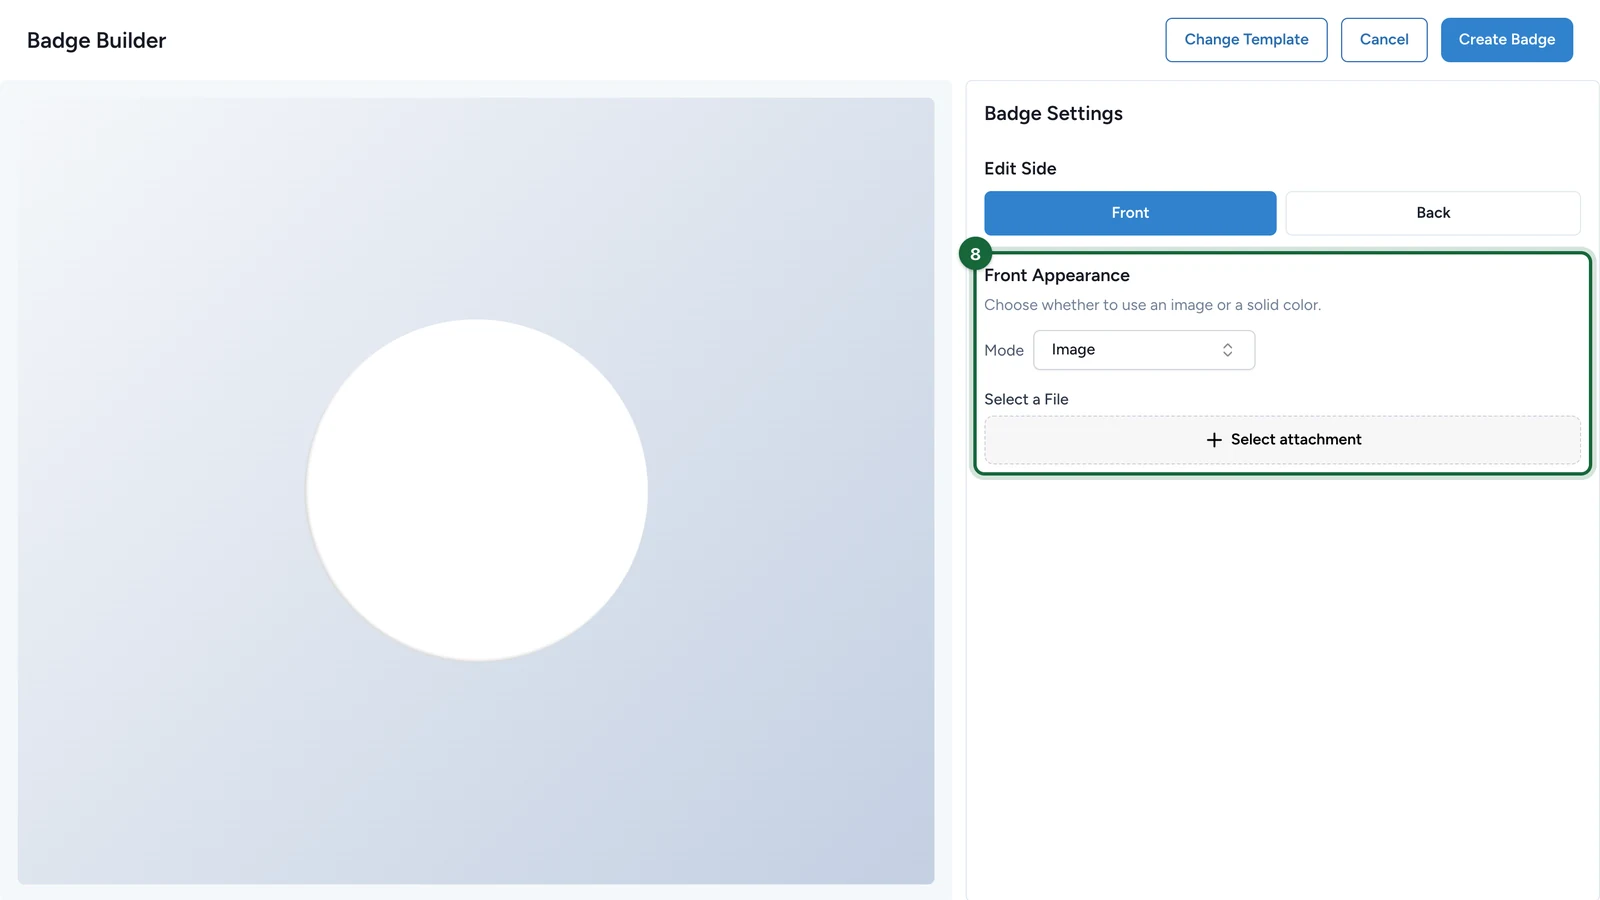
Mode switches between an image and a plain colour. Back sets the other side the same way.
-
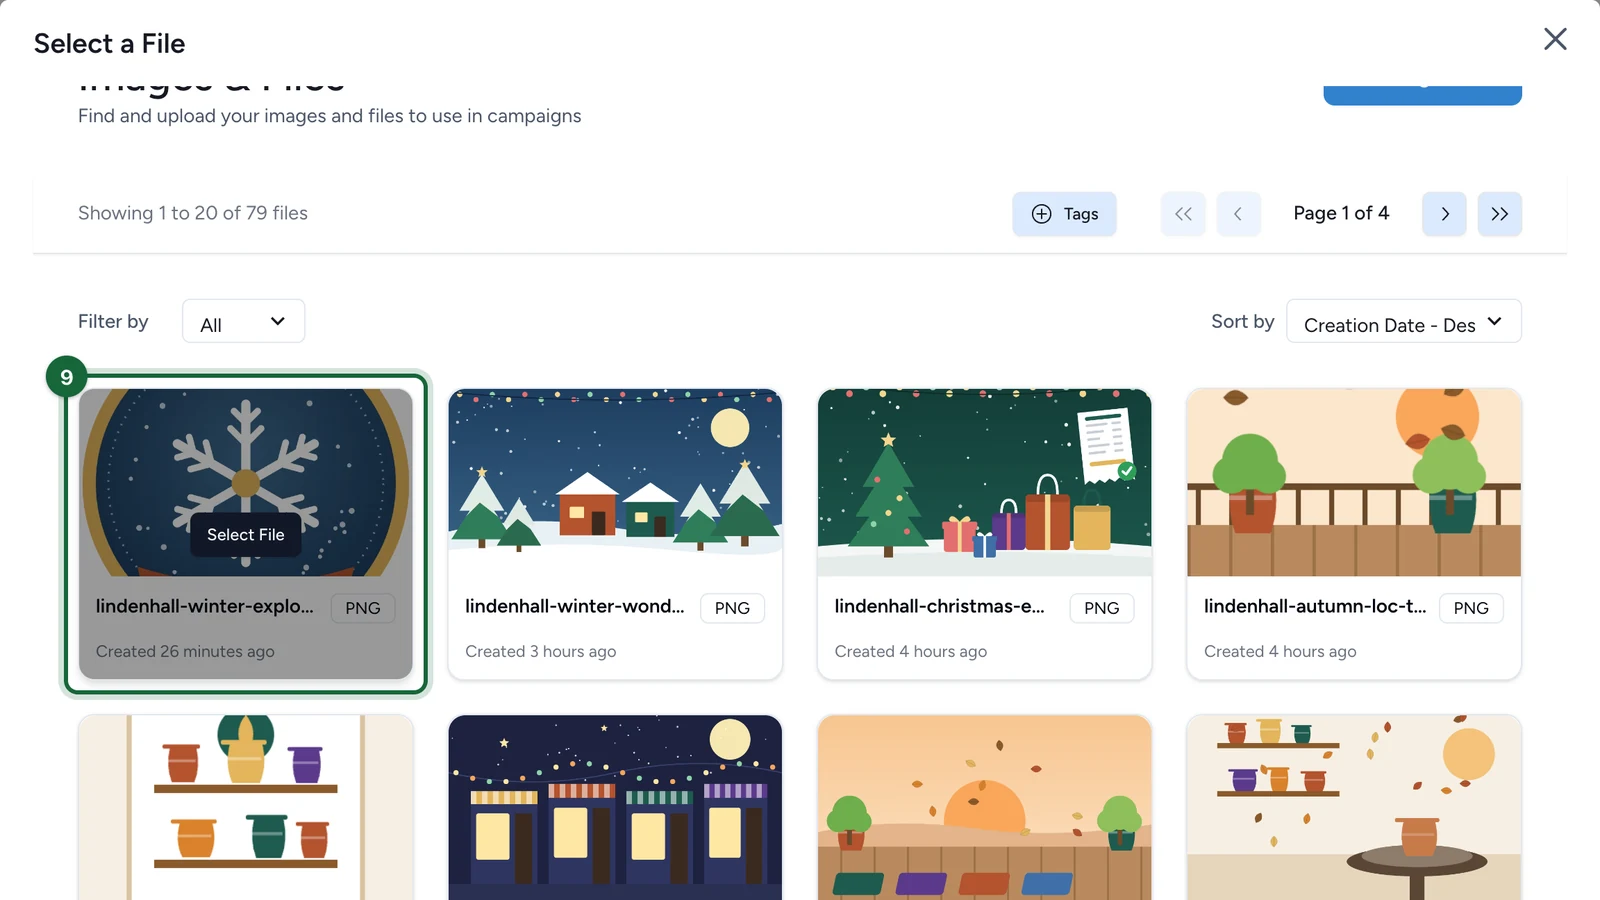
Choose the image: point at it, then select Select File.
-
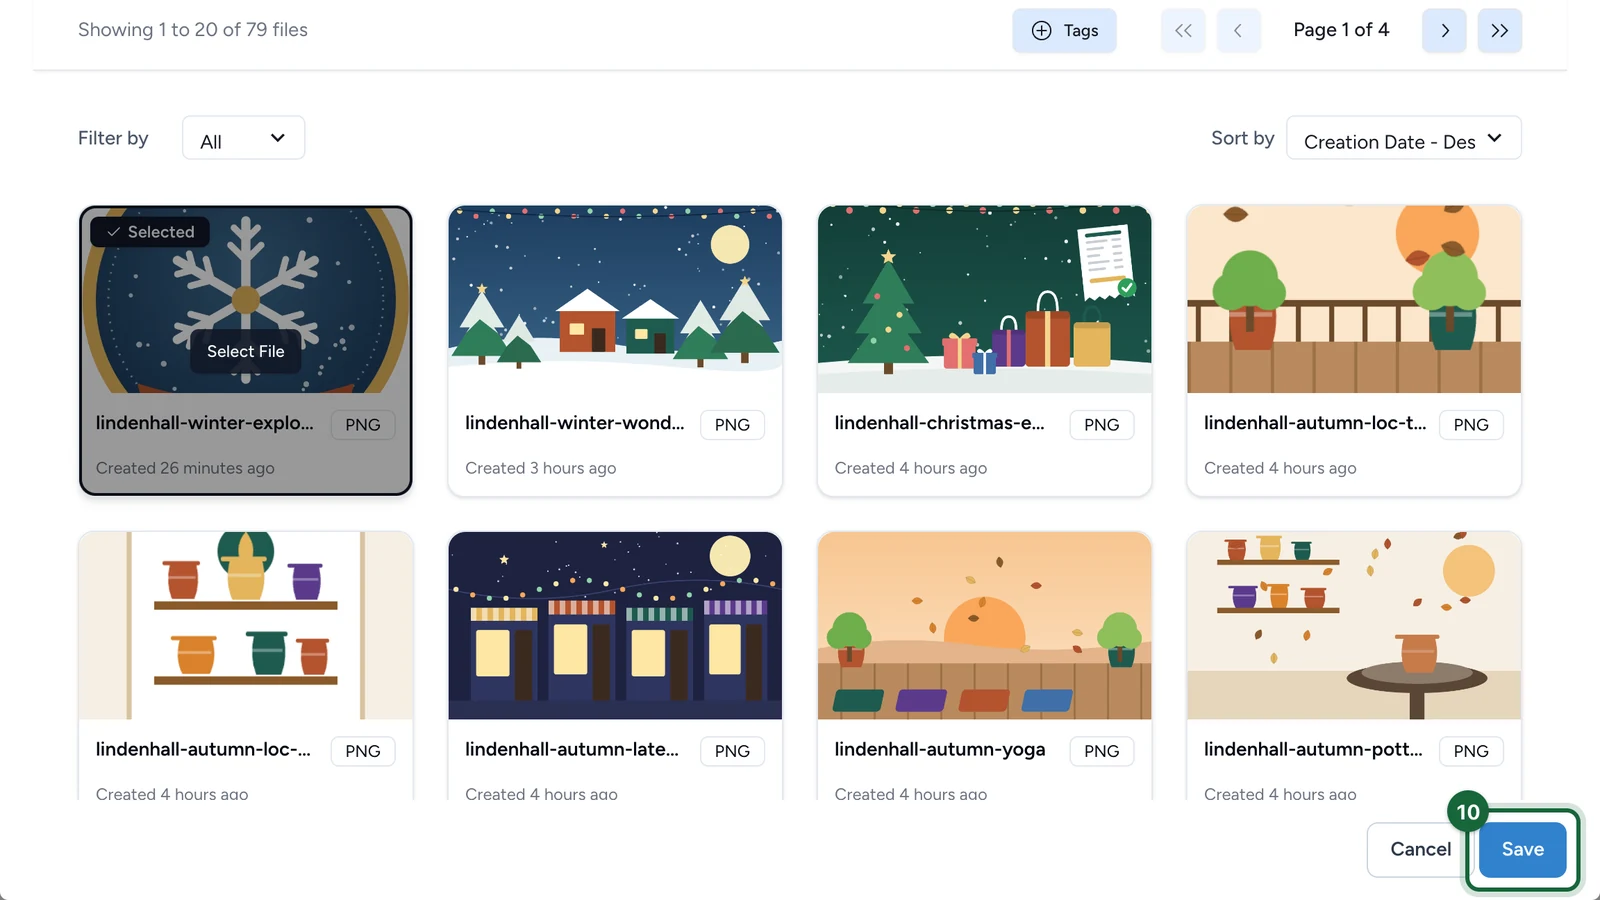
Select Save.
-
Select Create Badge.
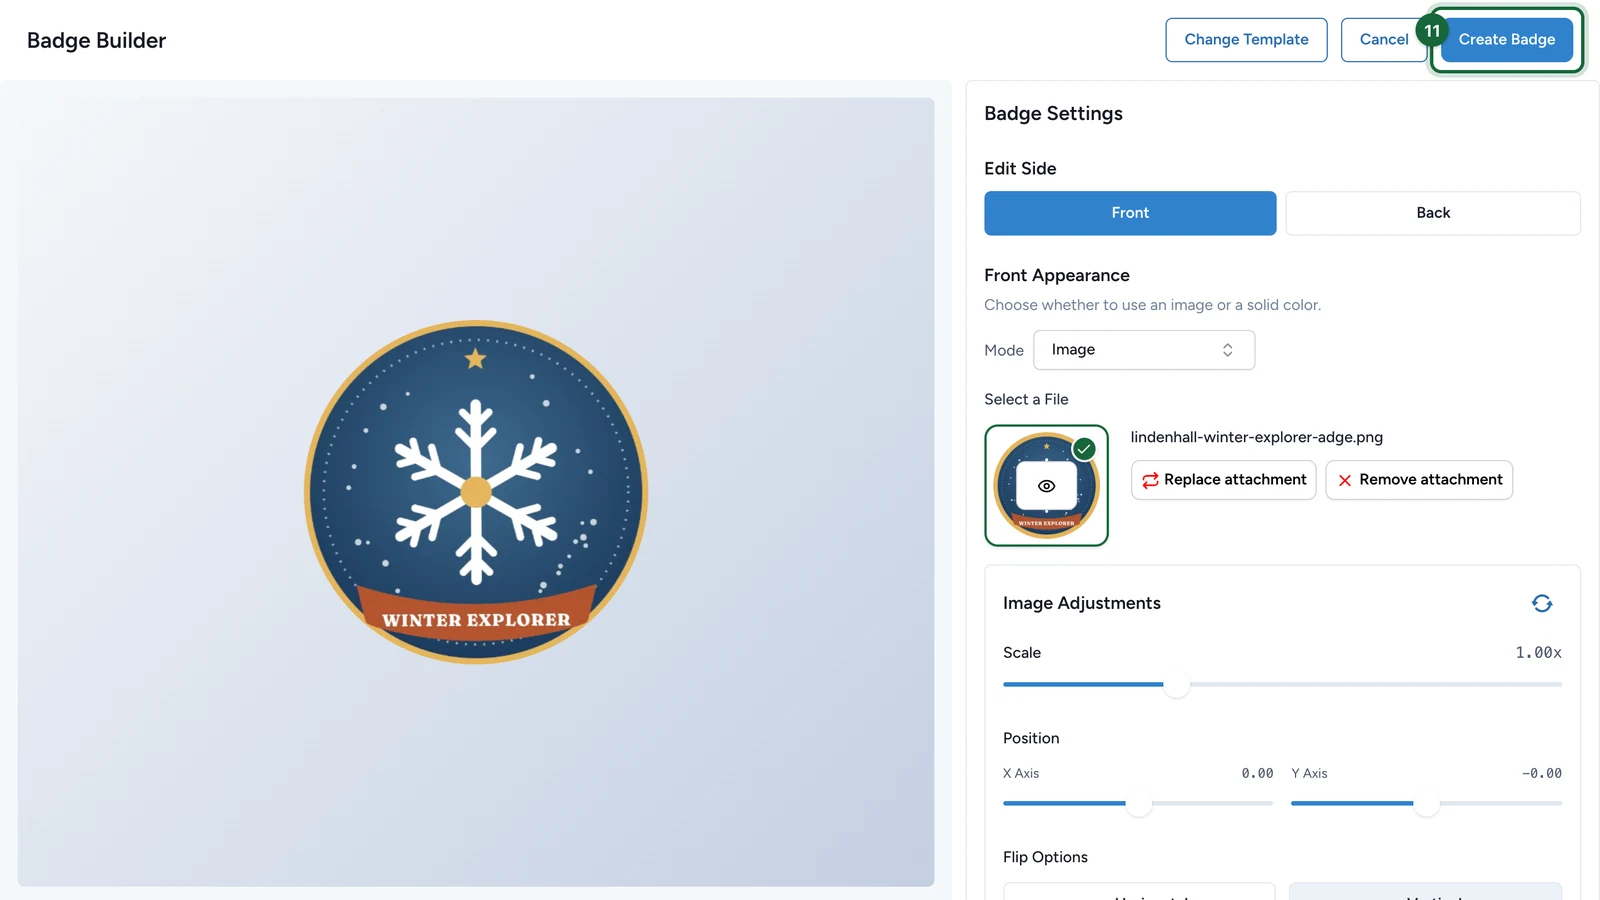
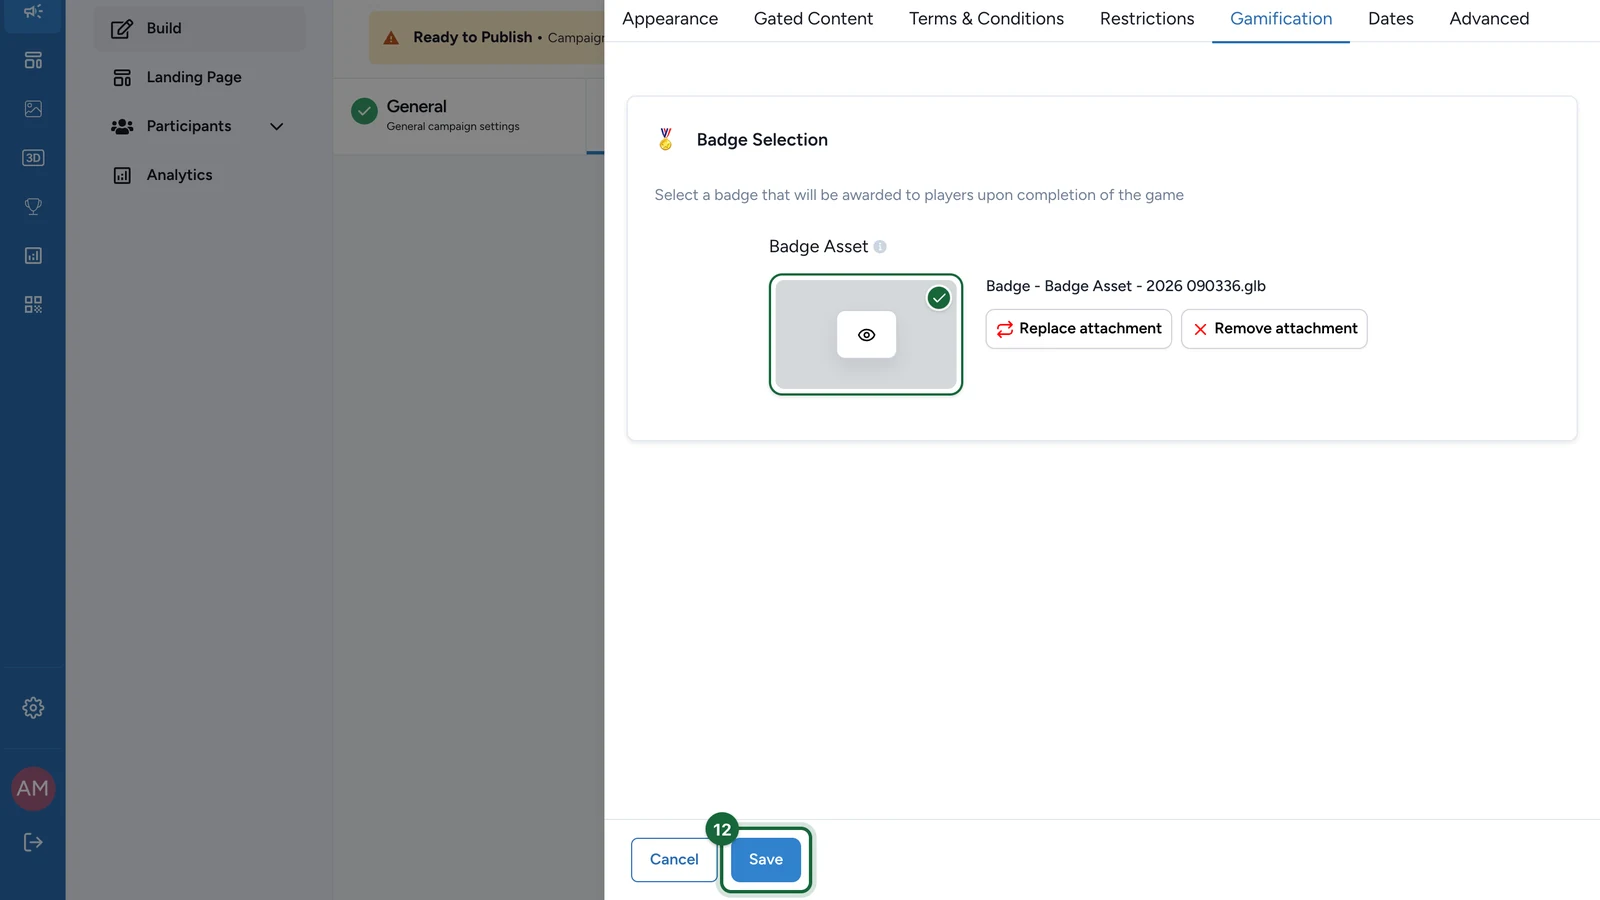
Studio adds the badge to your 3D Models library and chooses it for this touchpoint.
-
Select Save.
If publishing is blocked
- An Activity or a treasure hunt object has no badge: choose one in its Gamification tab, as above.