Create a campaign
Create a new campaign from scratch with its name and public link, then finish dates, language, and timezone in build.
Start a brand-new campaign from a blank slate, without reusing a template. You name the campaign and set its public link first, then OmniLab Studio opens the new draft so you can add language, dates, and touchpoints.
Organisation first
Confirm you are in the correct organisation in OmniLab Studio. OmniLab Campaigns, public links, and templates are scoped to organisations, and the wrong org is a common reason teammates “do not see” the same work.
Before you begin
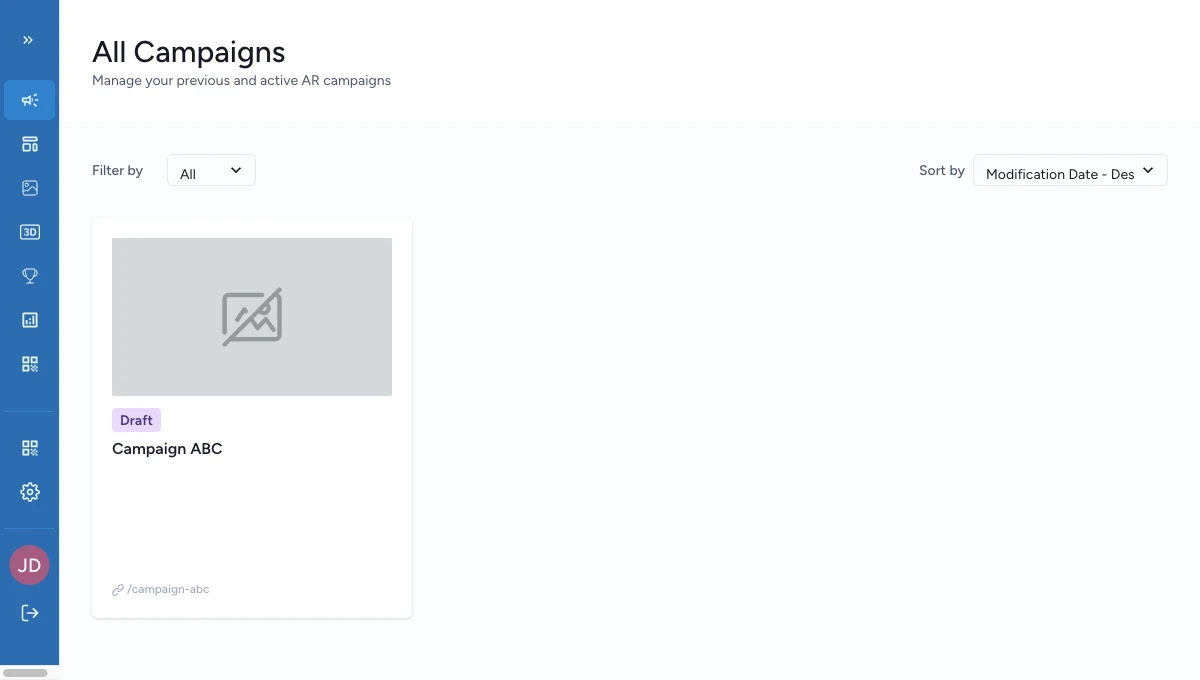
- You can open OmniLab Campaigns in OmniLab Studio.
- You know the campaign name and public link you want to use.
- You know the audience language and timezone you will configure after creation.
Main task
Open the new campaign flow
In OmniLab Studio, go to All OmniLab Campaigns and click Create Campaign. This opens the New Campaign modal.
Fill the campaign identity fields
The creation modal asks for two core fields:
- Campaign Name
- Campaign Public Link
For Campaign Name, choose something operators can find later. Include the brand, location, or edition when that helps your team scan long campaign lists.
For Campaign Public Link:
- Use only lowercase letters, numbers, and hyphens.
- Keep it short, readable, and stable once the campaign is public.
- Make sure the value is not already in use.
- Treat it as a durable public identifier, not a temporary working label.
The public link is hard to change later
After creation, the public link becomes read-only in Campaign Properties. If you need a different public link later, the safest path is usually to duplicate the campaign and give the new draft a new public link.
Create the draft campaign
Click Create Campaign. OmniLab Studio opens the new campaign in Draft, ready for further setup.
Finish the campaign basics after creation
Use the draft to complete the next essentials:
- Review Campaign Properties if you need to confirm the name and public link.
- Open Build > General > Dates and set the campaign schedule plus Campaign Timezone.
- Use Activate Multilang and Manage Languages if the campaign needs more than one language.
- Continue with touchpoints, forms, rewards, notifications, and deployment choices.
Result
You now have a draft campaign with a stable name and public link. The campaign is still private to your team until you complete the build and publish it.
What to learn next
Campaign dates
Set the campaign start and end window, plus pre- and post-campaign visitor messaging.
Touchpoints
Add the interactive elements participants will use.
Forms
Choose the right campaign or touchpoint form once the campaign structure exists.
Rewards
Prepare the reward logic before you publish.
Notifications
Configure the emails and participant messages linked to the campaign.
Deployment
Decide how participants will reach the campaign.