Advent Calendar layout
Build a day-by-day Advent Calendar with images, linked Touchpoints, and non-overlapping dates.
Build a festive, day-by-day countdown: each day in the calendar unlocks its own activity on its own date, perfect for seasonal and multi-day campaigns.
Before you begin
- The campaign landing page is enabled.
- The campaign dates and time zone are already set.
- You have one eligible game Touchpoint ready for each day you want to unlock.
Each day depends on its Touchpoint dates
Every calendar day takes its unlock timing from the Touchpoint it links to. If a linked Touchpoint doesn't have its own date override turned on, the calendar won't pass validation.
Assets you'll need
The advent layout shows a door per day, each with closed, open, and disabled artwork.
Door — Closed
OptionalThe artwork for a calendar door before it is opened — shown with its day number.
- Optional
- SizeSquare
- Aspect ratio1:1
- FormatsJPEG / WEBP / PNG
Use a transparent PNG when the door should sit on the calendar background.
Door — Open
OptionalThe artwork shown once a door has been opened — revealing the day’s content.
- Optional
- SizeSquare
- Aspect ratio1:1
- FormatsJPEG / WEBP / PNG
Use a transparent PNG when the door should sit on the calendar background.
Door — Disabled
OptionalThe artwork for a door that cannot be opened yet — for example a future day.
- Optional
- SizeSquare
- Aspect ratio1:1
- FormatsJPEG / WEBP / PNG
Use a transparent PNG when the door should sit on the calendar background.
For every image spec in one place, see Image & asset specs.
How the setup works
For each day in your calendar, you'll:
- Select the Advent Calendar layout and set up the shared header.
- Add a calendar day and choose the Touchpoint it should open.
- Upload a closed image and an open image for that day.
- Open the linked Touchpoint, turn on Override interaction dates, and set a unique start and end date for that day.
- Repeat for each day you want to show.
The steps below walk through this in detail.
Steps
Select Advent Calendar
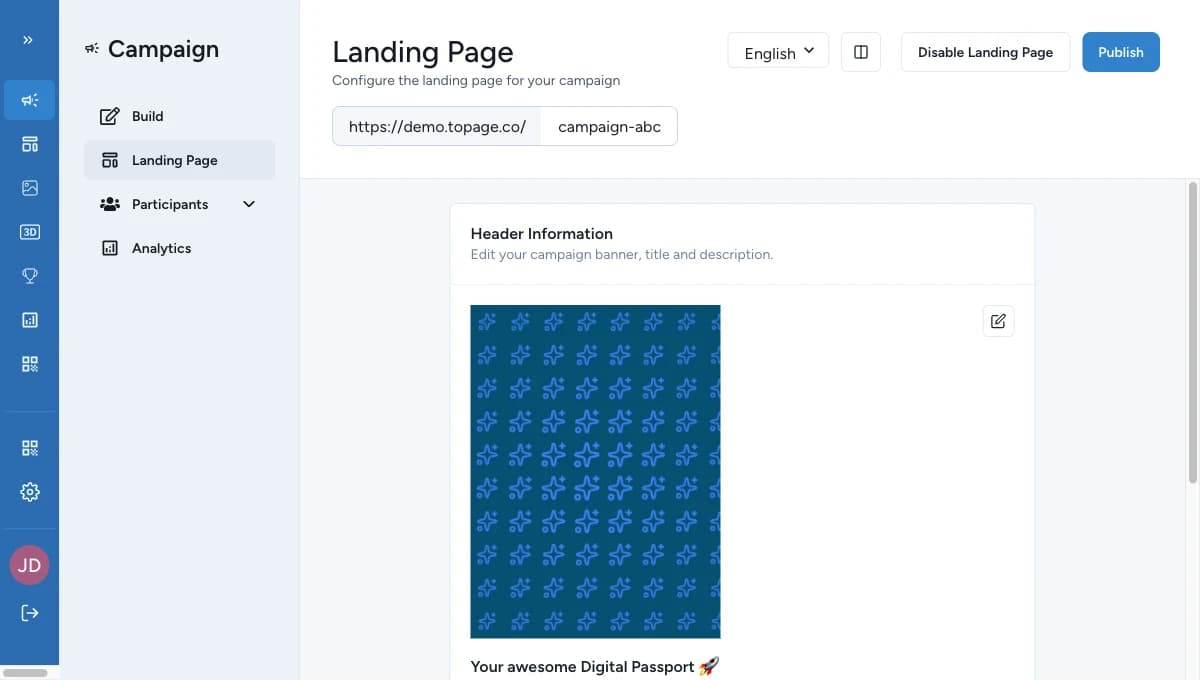
Open Landing Page, choose Advent Calendar from the Page Layout selector, then save the layout change.
Set up the shared header
Set the banner, title, and subtitle first. Advent Calendar uses the same shared header as the other layouts.
Link each day and upload its images
For every day, select the Touchpoint it opens, then upload a Closed Image and an Open Image. Keep the same visual style and aspect ratio across all days.
Keep at least one day active
Disabled days don't appear in the calendar. Make sure at least one day stays active.
Leave the disabled image empty
Don't use the Disabled Image field for new calendar days. It's no longer used, and the calendar flags it when it's filled in.
Turn on the Touchpoint date override
Open each linked Touchpoint, turn on Override interaction dates, then set the start and end dates for that day.
Give every day its own dates
Keep each linked Touchpoint's date window separate. Calendar days must not overlap.
How day status works
| Calendar day state | What participants see | Can they open the day? |
|---|---|---|
| Before the linked Touchpoint start date | The closed image | No |
| During the linked Touchpoint active window | The open image | Yes |
| After the linked Touchpoint end date | The open image stays visible | No |
Unlock timing follows the campaign time zone used by the landing page.
Before you publish
Confirm all of the following:
- the shared header is set up
- the calendar has at least one day
- at least one day is active
- every active day has both a closed and an open image
- every active day links to an existing, active Touchpoint
- every linked Touchpoint has Override interaction dates turned on
- no two linked Touchpoint date windows overlap
- the Disabled Image field is left empty
If something's blocked
Common reasons the calendar won't publish, and how to fix them:
- The layout is active but not set up — go to Landing Page → Layout Settings and set up the calendar.
- No calendar days — open the calendar editor and add at least one day.
- Every day is disabled — enable at least one calendar day.
- A day is missing its closed or open image — open that day and upload the missing image.
- A day has a disabled image set — clear the Disabled Image field for that day. It's no longer used.
- A day has no Touchpoint assigned — open that day and select the right Touchpoint.
- A day links to a Touchpoint that no longer exists — open the day and select an active Touchpoint, or add the missing one to the campaign.
- A linked Touchpoint is disabled — enable it in Build → Touchpoints, or select a different active Touchpoint for that day.
- A linked Touchpoint has no date override — open it in Build → Touchpoints → Dates, turn on Override interaction dates, and set a start and end date for that day.
- Two days have overlapping dates — open Build → Touchpoints and adjust the date ranges so each day has its own window.
See Validation & publishing for the full publish workflow.
Related
Choose a layout
Compare Advent Calendar with the other landing page layouts.
Configure the header
Set the shared header used above the calendar grid.
Touchpoint dates override
Configure the per-Touchpoint dates that control each Advent day.
Touchpoints
Review the Touchpoints that feed the calendar items.
Landing Page reference
Check the shared landing page rules, assets, and responsive behavior.