Configure the header
Set the landing page's banner, title and subtitle, and choose which header buttons show.
The header is the first thing participants see: a banner image, the campaign's title and a line under it, with the sign-up button below. Here, Lindenhall sets the Winter Games Arcade header.
Set the header
-
In the campaign's side menu, select Landing Page.
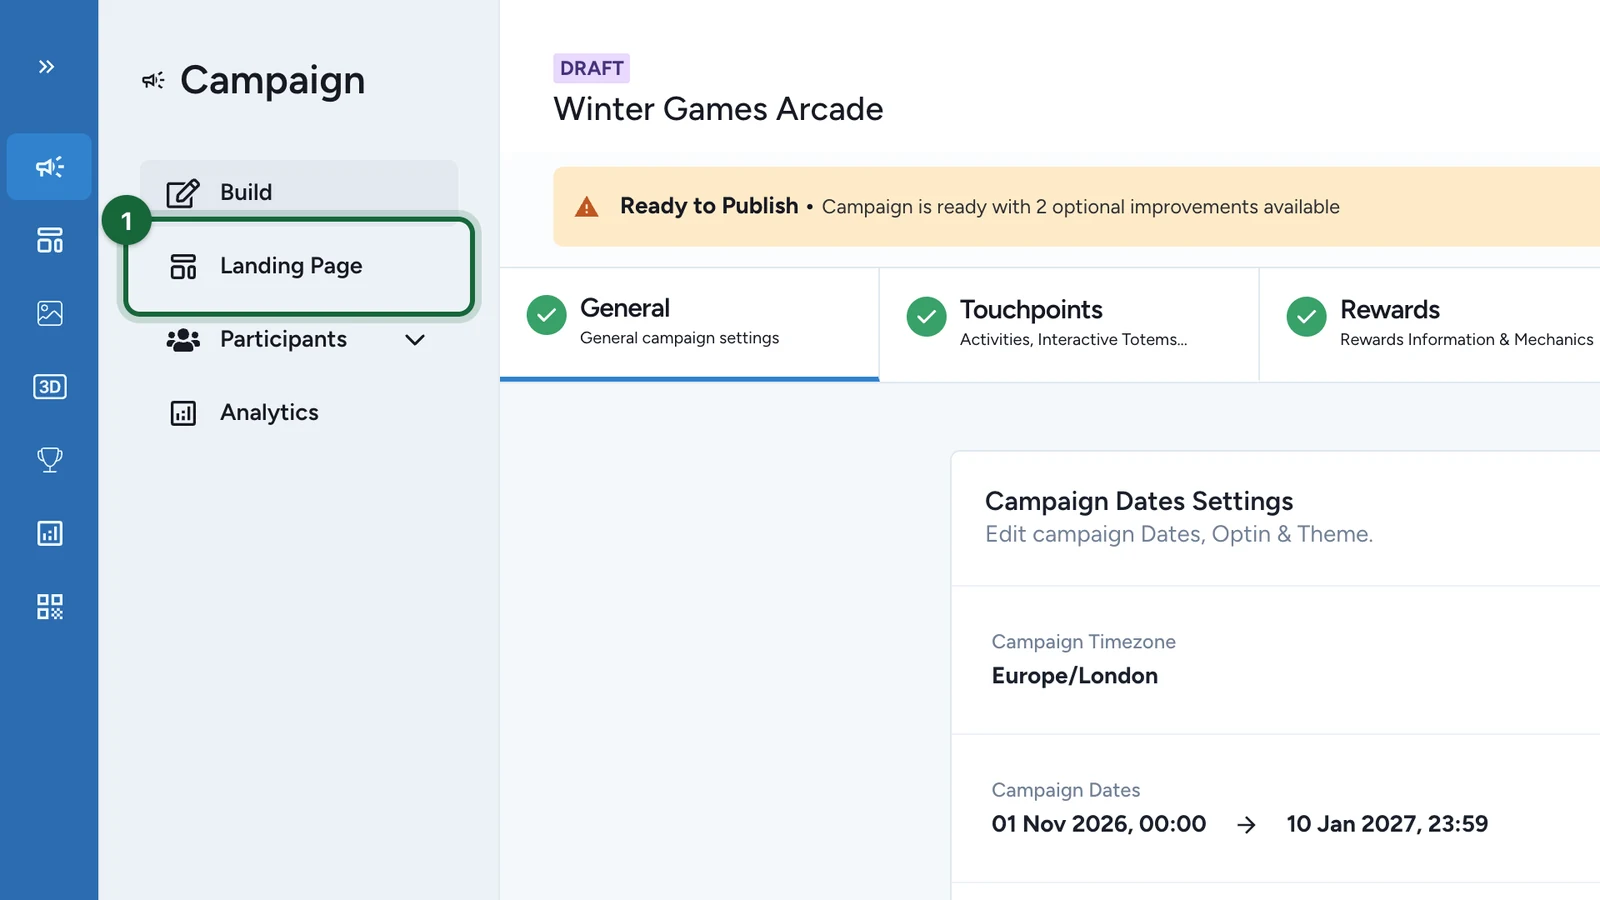
-
On Header Information, select the edit button.
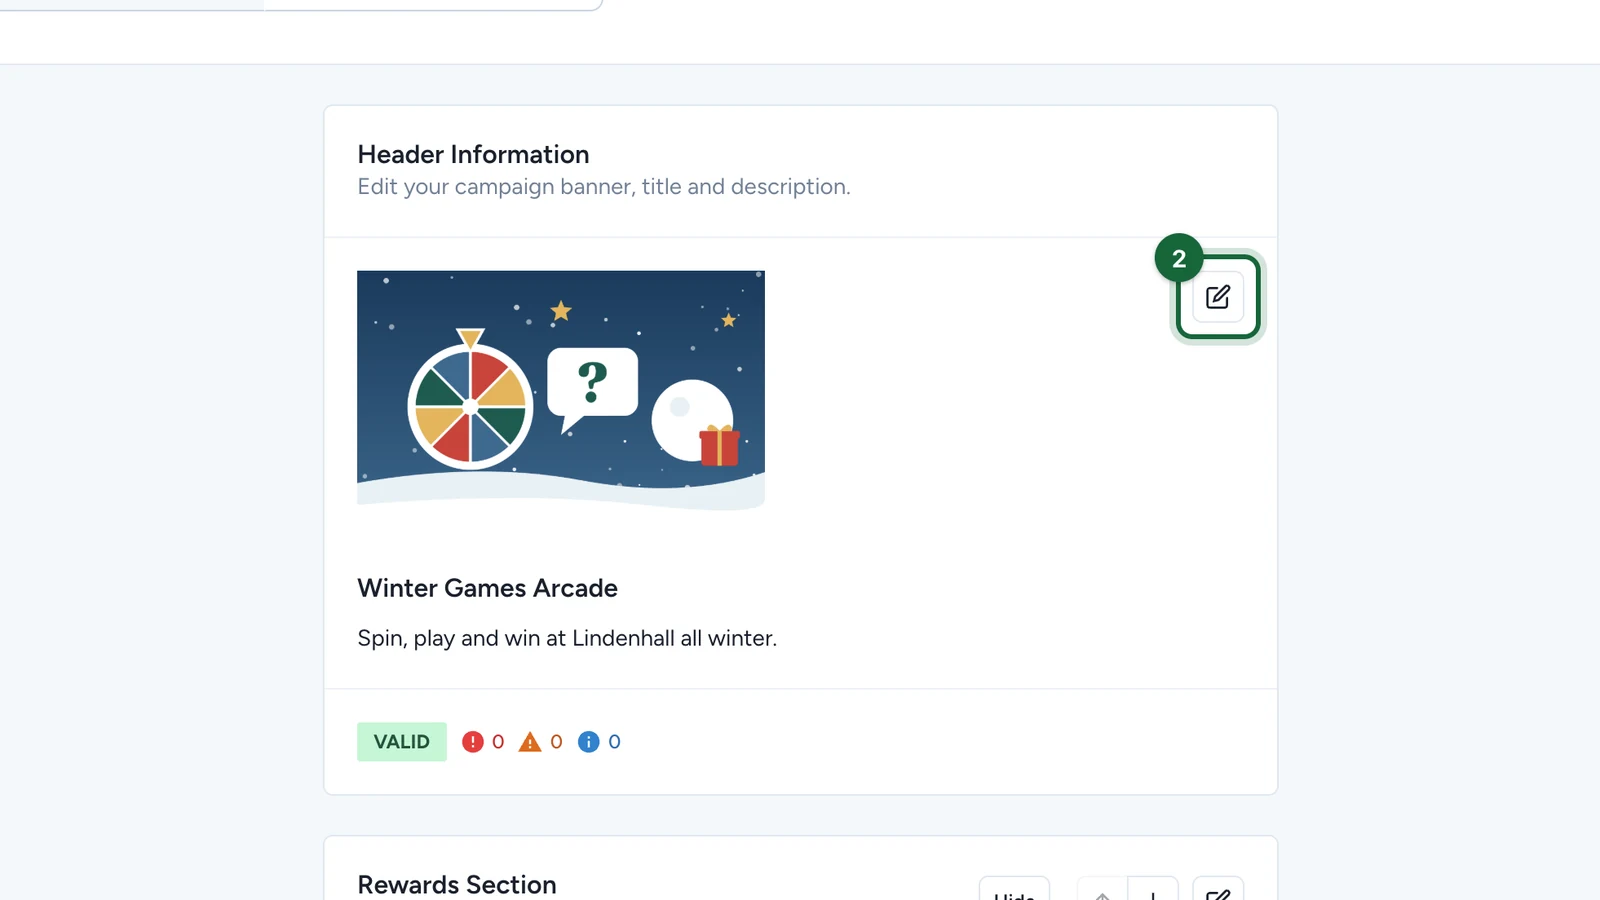
-
Under Banner, select Replace attachment, or Select attachment if there's no banner yet.
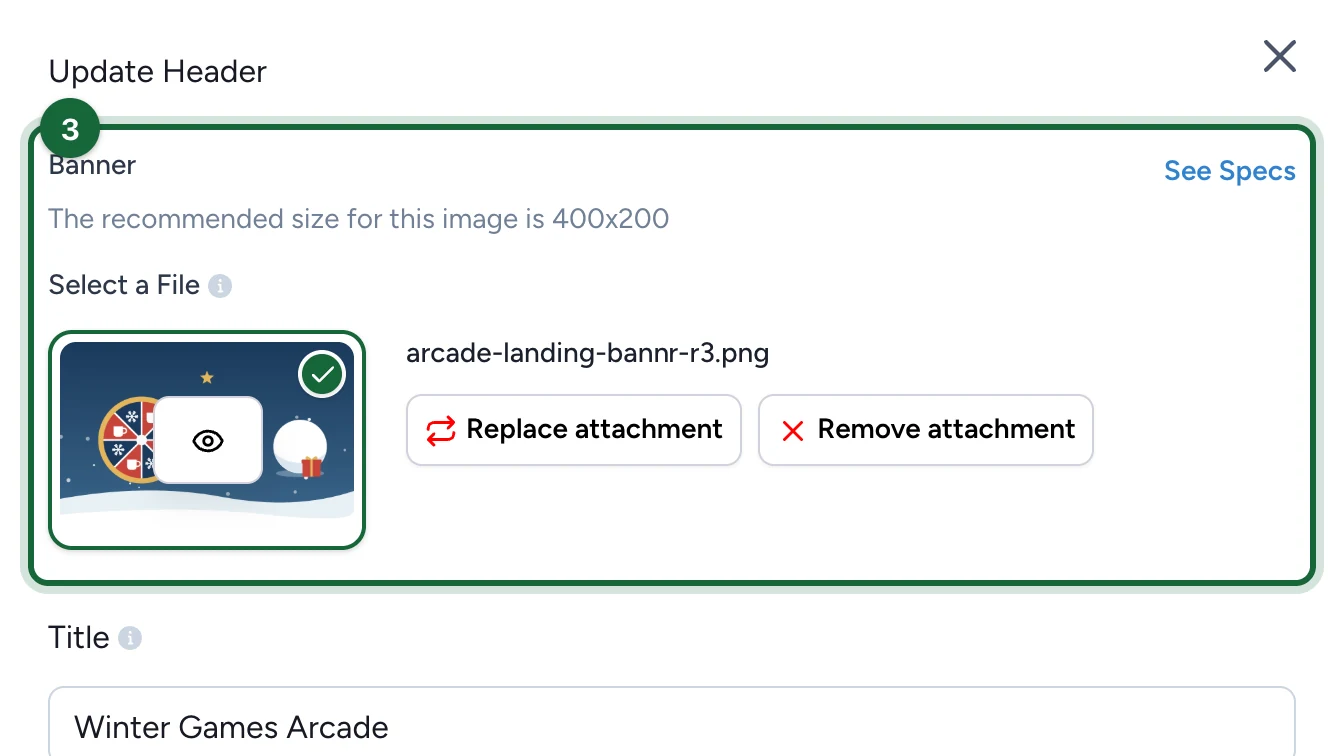
-
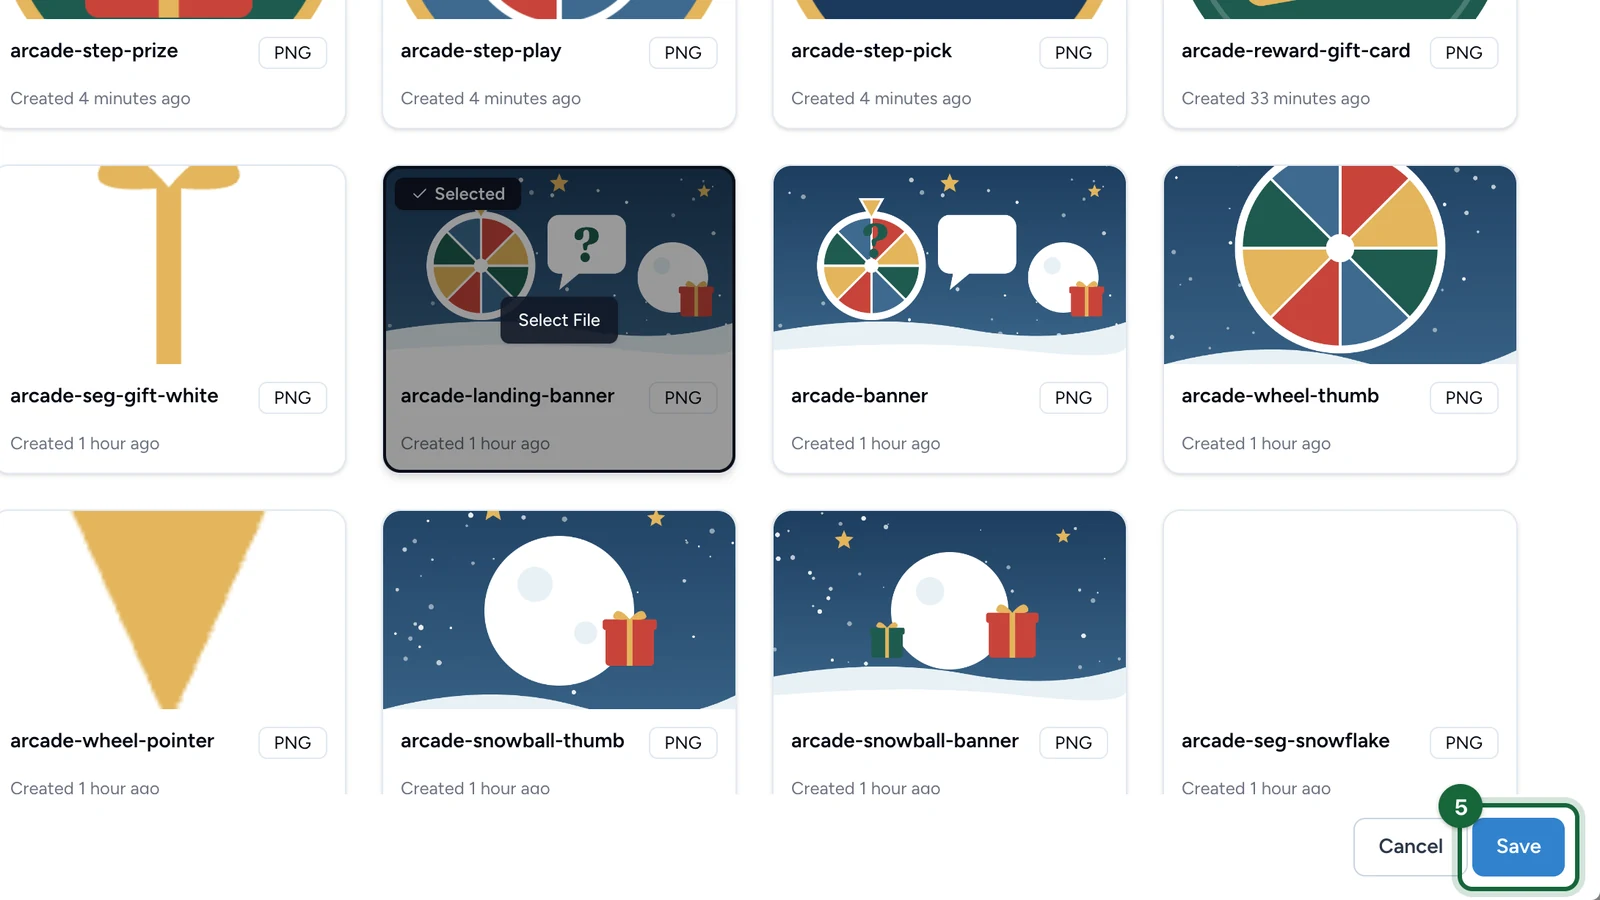
Choose the image: point at it, then select Select File.
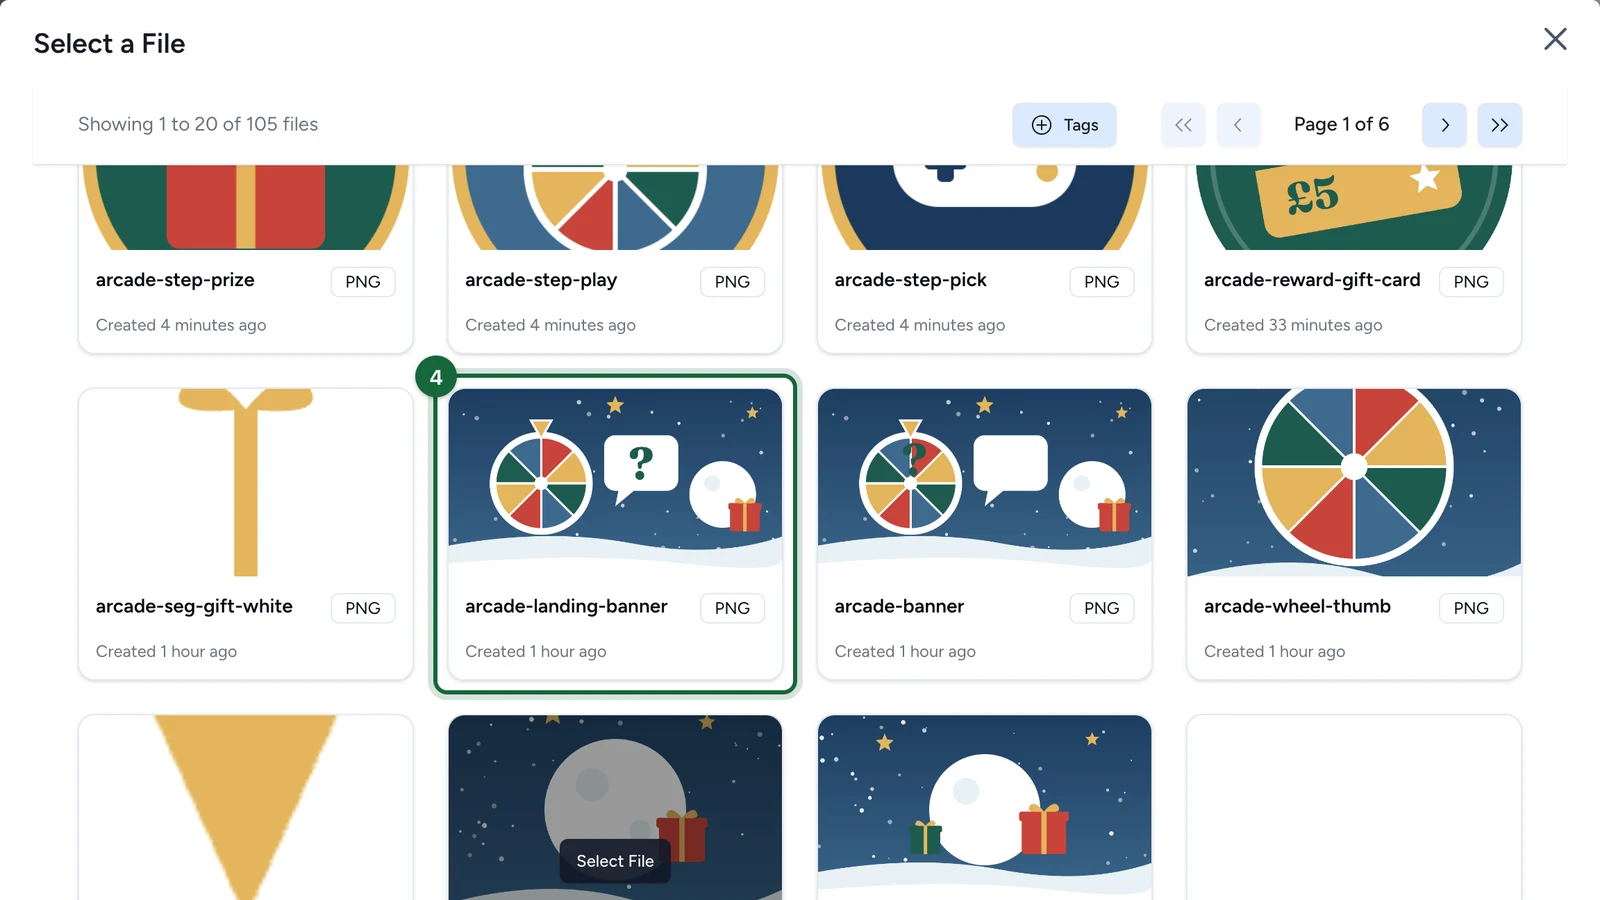
A 900 × 600 image works well: see Image & asset specs.
-
Select Save.
-
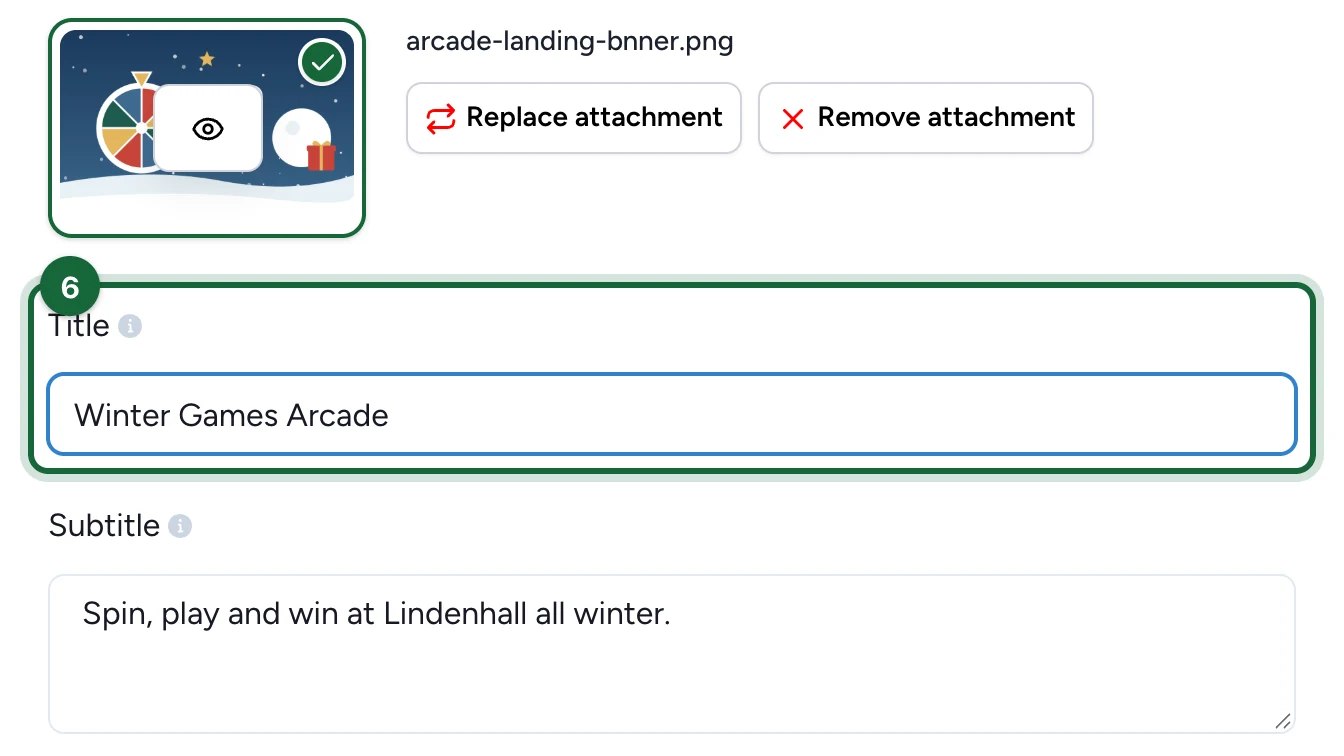
Enter the Title.
-
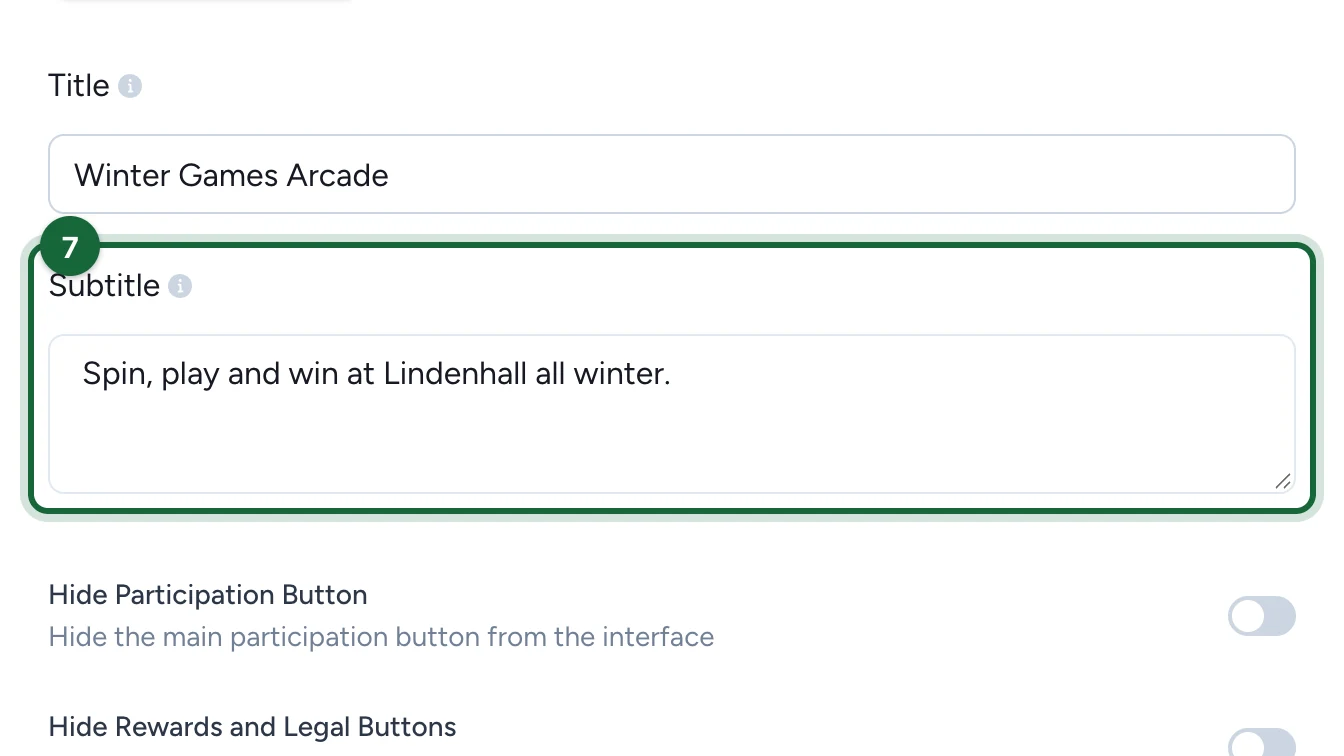
Enter the Subtitle.
-
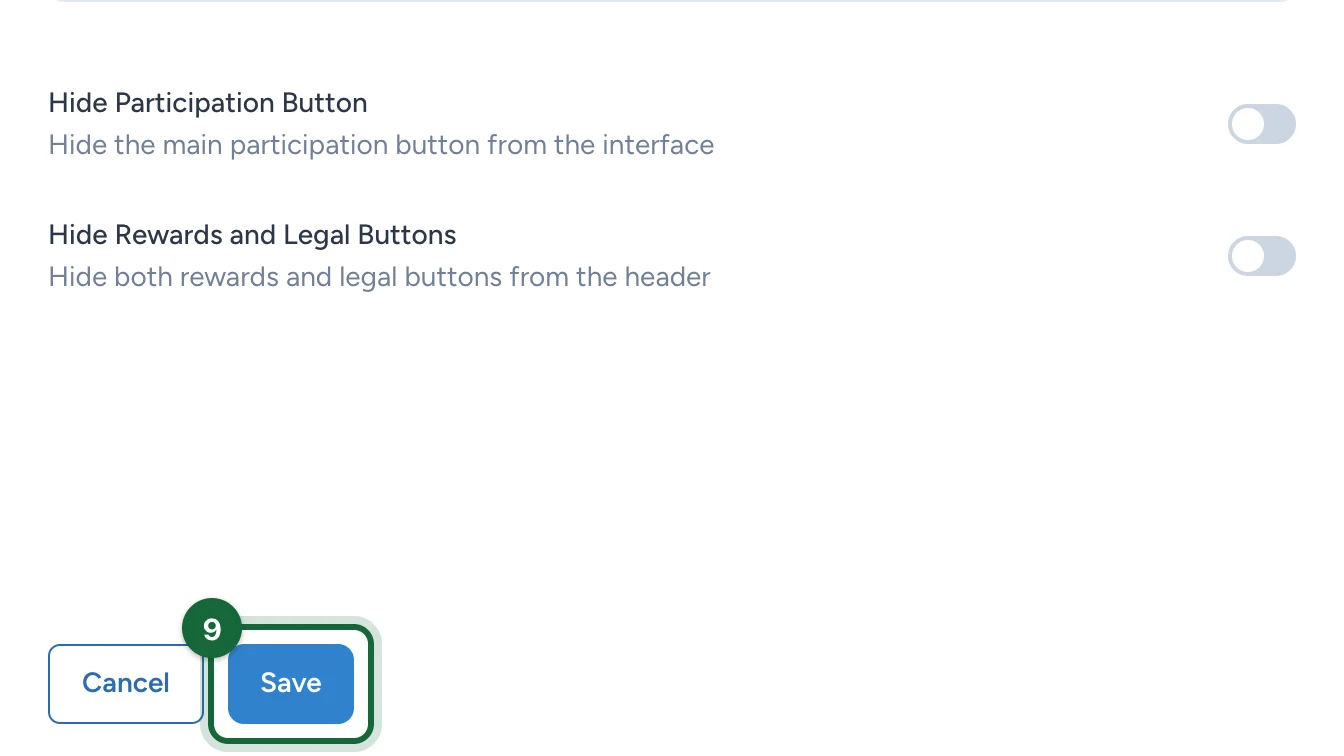
(Optional) Switch on Hide Participation Button or Hide Rewards and Legal Buttons.
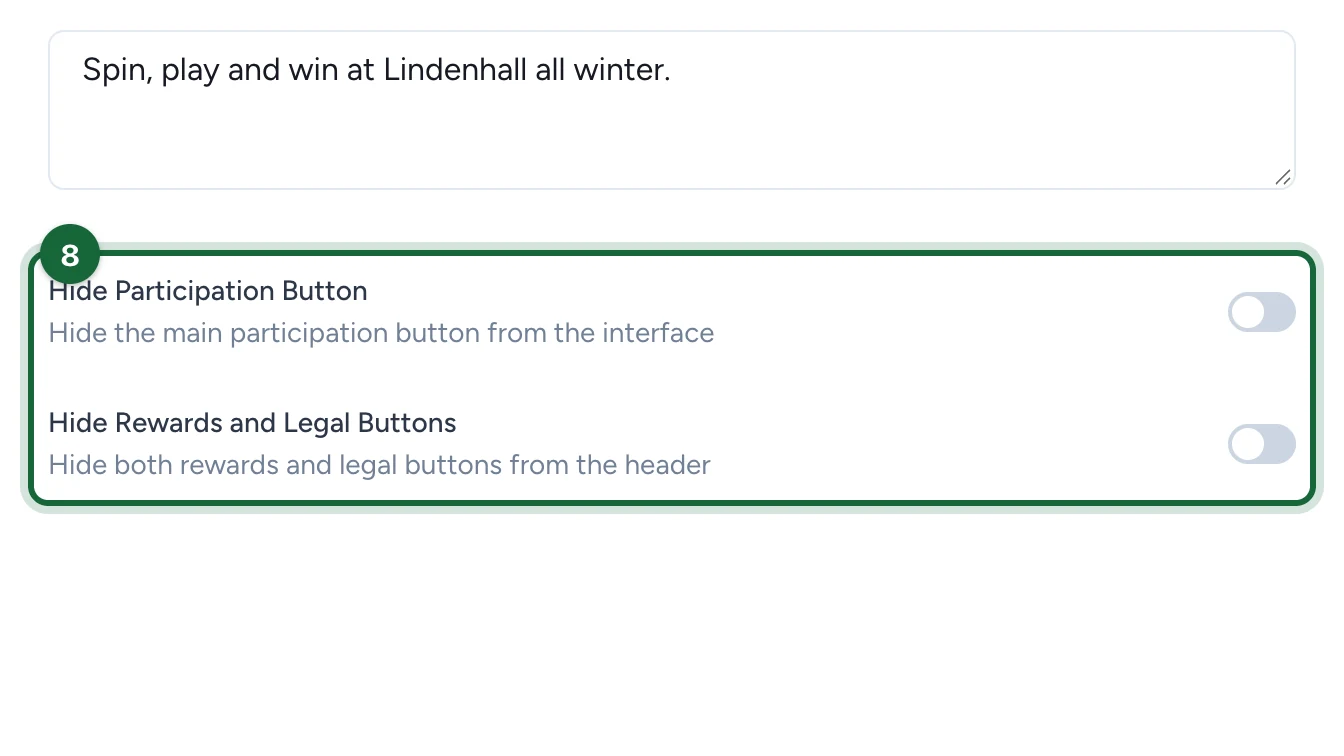
Hide Participation Button removes the main sign-up button. Hide Rewards and Legal Buttons removes the Rewards button from the banner and the legal links.
-
Select Save.
If publishing is blocked
- The header has no banner or no title: add them, as above.
A missing subtitle only raises a warning.