3D Selection game
Let players pick one of several 3D objects, each tied to its own animation and result.
Run a game where players choose one object from a 3D scene, and every possible result plays its own animation.
Before you begin
- Open an existing campaign in OmniLab Studio. If you still need the campaign shell, start with Your first campaign.
- Prepare the shared assets: a Background Image at
1536 x 2048 pxand an optional Thumbnail at800 x 800 px. - Prepare a 3D model file (in GLB format) that already contains the animations you want for winning options, losing outcomes, and, if needed, lottery participation. Your design team usually supplies this.
- Decide how many objects players can choose from. The scene supports
1to10.
Assets you'll need
3D selection places objects from your 3D library on a background.
Background Image
OptionalThe full-screen visual behind any game (wheel, scratch, reveal, quiz, and more).
- Optional
- Size1536 × 2048 px
- Aspect ratio3:4
- FormatsJPEG / WEBP / PNG
3D Model
RequiredThe 3D object for a catcher, 3D selection, or treasure hunt — chosen from your 3D library.
- Required
- FormatsGLB · USDZ
GLB powers 3D and Android AR; add USDZ for the best experience on iPhone and iPad. Keep models low-poly and under ~5 MB so they load fast on phones.
Reward Icon
OptionalThe icon that represents a reward.
- Optional
- Size800 × 800 px
- Aspect ratio1:1
- FormatsJPEG / WEBP / PNG
Circular design and a transparent background work best.
For every image spec in one place, see Image & asset specs.
Configure the game
1. Create the touchpoint
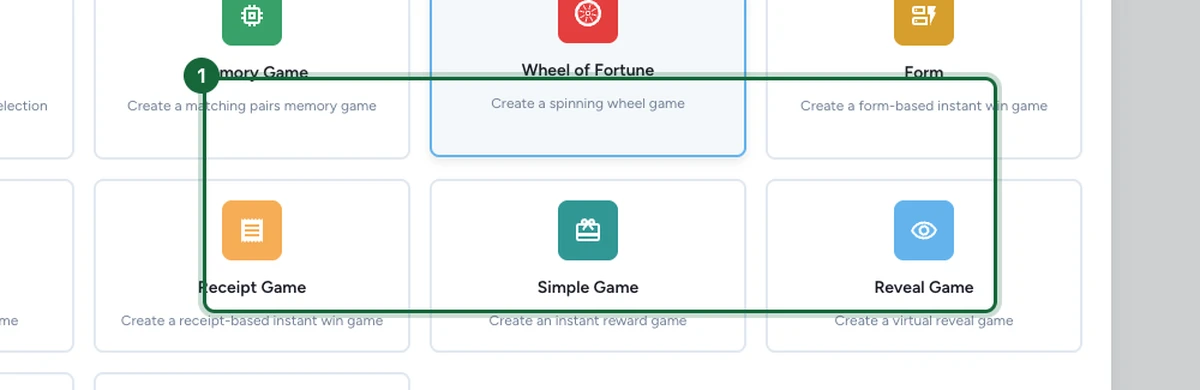
Open Build, go to Touchpoints, add a new game touchpoint, and choose 3D Selection Game from the game type grid.
Use an internal name that still reads clearly in the help text and in the rewards list.
2. Set the page appearance
Open the Appearance tab and set up the page header:
- Upload the Background Image.
- Add the Title and Subtitle.
- Use the description field to explain the interaction before play starts.
- Add a Thumbnail if the touchpoint will be listed with other games.

These settings control the page around the 3D scene. The model, objects, and animations are configured separately.
3. Choose the 3D model and layout
Still in Appearance, open the 3D Models section.
- Select the model file in 3D Model Selection.
- Set the Number of Objects players can choose from.
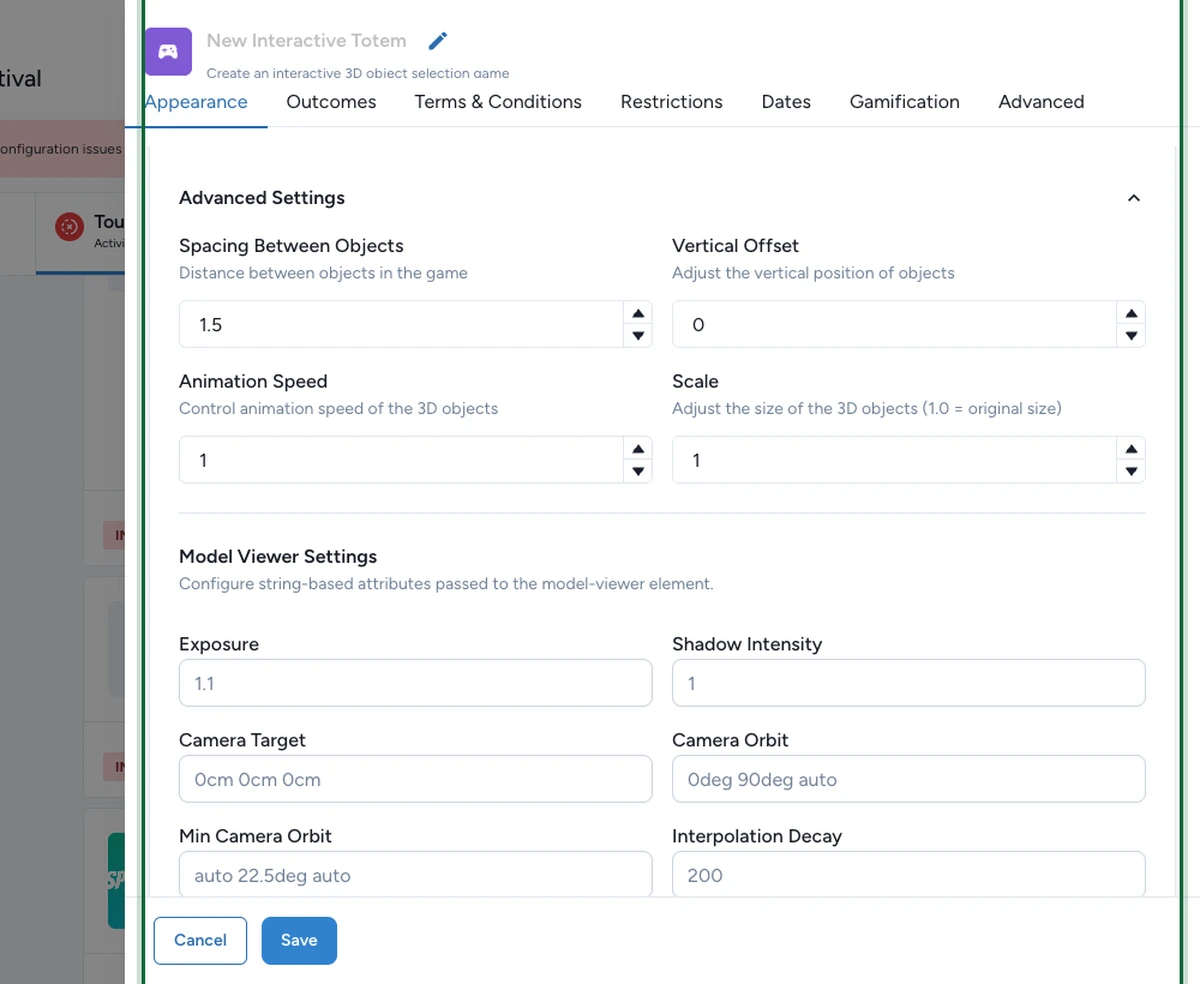
- Adjust spacing, vertical offset, animation speed, and scale until the objects are easy to tap.
- Fine-tune the view if needed with exposure, shadow intensity, camera target, camera orbit, and the other viewer settings.
Keep the animation names in your model file clear and stable. Your outcome setup points to those exact names, so renaming them later breaks the link.
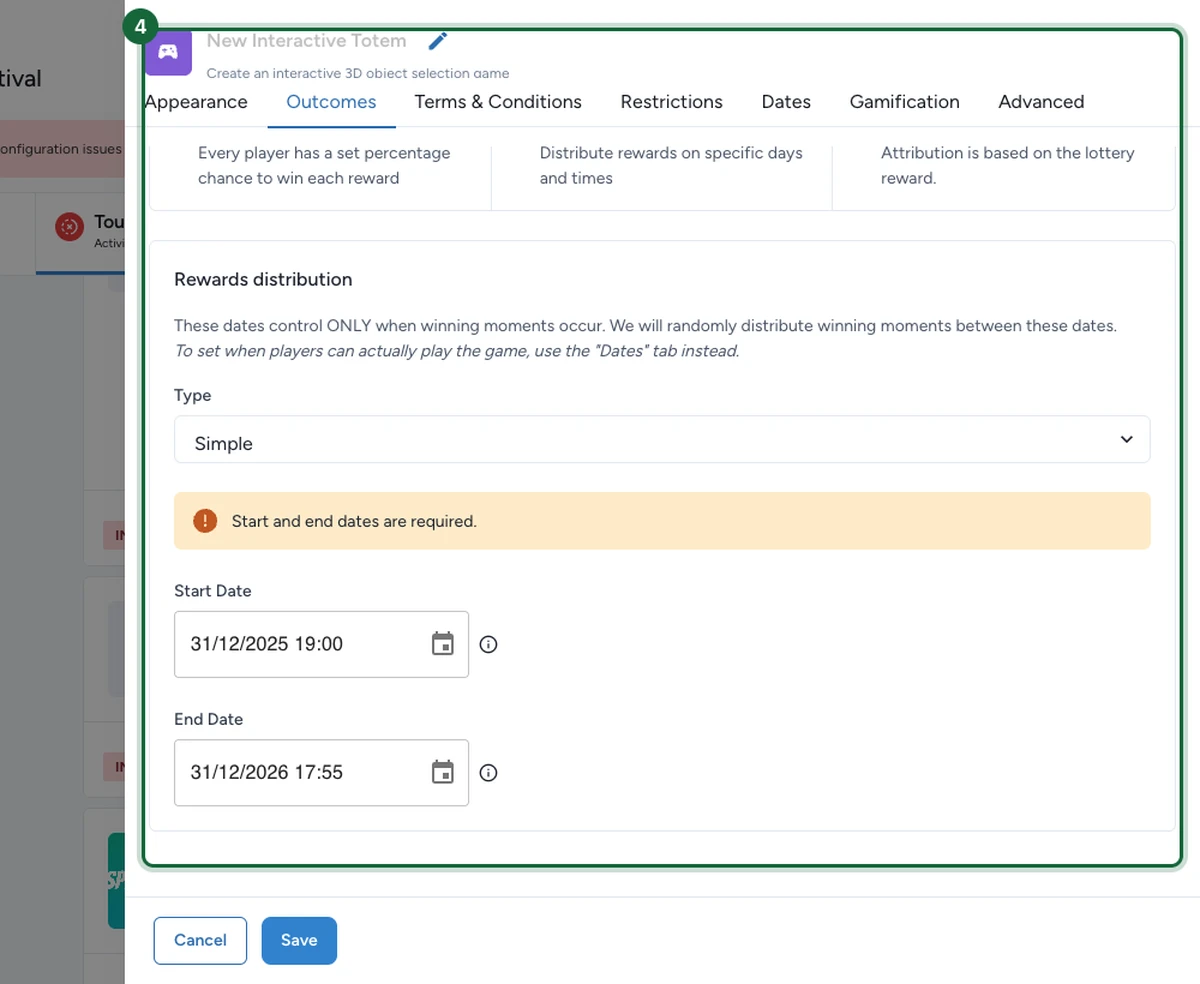
4. Configure the outcomes
Open Outcomes and choose how winners are resolved. Pick the mode that fits your campaign:
- Random Chance — use this when you want fixed odds. Each winning option needs an animation, a Winning Option Message, and a linked reward. Add a losing outcome if needed, and make sure the total equals
100. - Scheduled Rewards — use this when you want to control timing. Choose Simple for one date range, or Advanced for attribution slots inside each winning option after the reward is linked.
- Lottery — use this when winners are drawn later. Add the Lottery Participation Message, choose the Lottery Animation, and create the linked Lottery reward in the shared rewards flow.
5. Review the shared tabs and test
After Appearance and Outcomes, review the shared tabs as needed: Terms & Conditions, Restrictions, Dates, Gamification, and Advanced.
Use the Dates tab for overall play availability. Under Scheduled Rewards, the dates in Outcomes only control winning moments.
Save the touchpoint, preview the page, and test one winning animation, one losing animation, and, if relevant, the lottery animation before launch.
What players see
Players land on a branded page with the title, subtitle, and optional description. Once play starts, OmniLab Pages prompts them to click one of the objects to reveal their reward.
When the player chooses an object, OmniLab plays the animation linked to that result. In lottery mode, the lottery animation confirms the entry before the participation message appears.
If publishing is blocked
A few common reasons and how to fix them:
- No model file is attached — open the 3D Models section and select a model for the scene.
- The number of objects isn't set — set a valid number of selectable objects (at least 1) in the 3D Models section.
- An option is missing its animation — open Outcomes and assign an animation from the model to every result.
- An animation name doesn't match the model — the animation set in Outcomes must exist inside the uploaded model file. Update the file or choose a valid animation.
- The lottery participation message is missing — in Lottery mode, add the confirmation message in the 3D Selection Arguments section.
- No lottery reward is linked — create a Lottery reward in Rewards, then link it to this game.
What to try next
About rewards: categories and winning methods
Choose the right reward model before you finalize the 3D interaction.
Instant Win rewards
Set up immediate 3D outcomes.
Draw at End
Set up the lottery reward flow used by 3D Selection in delayed-draw campaigns.
Attribution slots
Plan advanced scheduled availability for each 3D reward.