General activity settings
Fill the attendee-facing appearance, description, location, and display settings for an Activity.
Make a strong first impression by filling the attendee-facing details of your event: its appearance, description, location, and how slot times are shown. These settings shape the page attendees see before they decide to join.
Before you begin
- The Activity Touchpoint already exists under Build → Touchpoints.
- You already know whether the event will use Booking and Check-In or Check-In Only. If not, see Event types (Booking + Check-in vs. Check-in Only).
Assets you'll need
An Activity uses two images. Each preview shows exactly where it lands on the live attendee page, with the rest of the page sketched in around it.
Banner Image
OptionalThe header image for an activity, offer, receipt challenge, or treasure hunt.
- Optional
- Size900 × 600 px
- Aspect ratio3:2
- FormatsJPEG / WEBP / PNG
Location Image
OptionalThe square image shown in the Location section of an event page.
- Optional
- Size400 × 400 px
- Aspect ratio1:1
- FormatsJPEG / WEBP / PNG
Reward Icon
OptionalThe icon that represents a reward.
- Optional
- Size800 × 800 px
- Aspect ratio1:1
- FormatsJPEG / WEBP / PNG
Circular design and a transparent background work best.
For every image spec in one place, see Image & asset specs.
Steps
Open Build → Touchpoints, select your Activity, then open the General tab. This screen groups Appearance, Event Details, Location, and Advanced UI Configuration in one place. Work down it top to bottom.
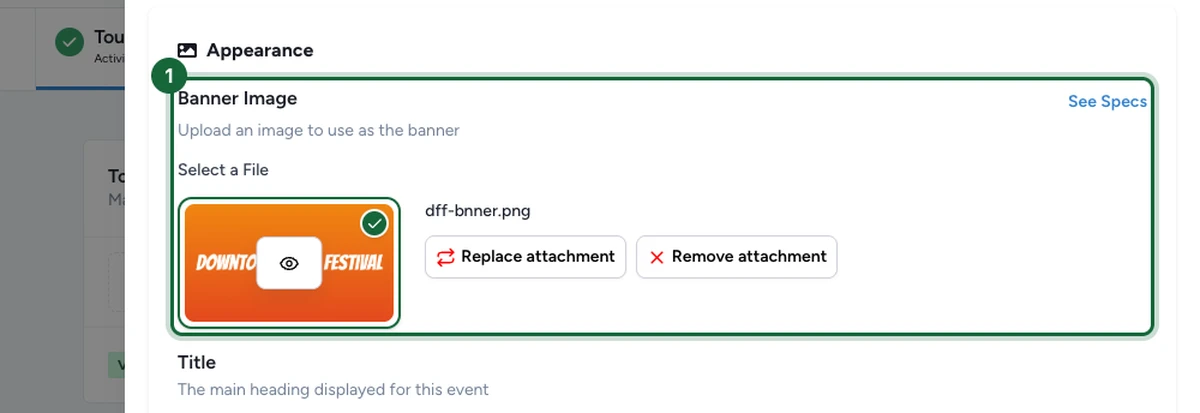
Upload the banner image
In the Appearance section, find Banner Image and select Select a File to upload your banner. This is the hero image attendees see first, so it sets the tone for the whole event.
Use Replace attachment to swap it later, or See Specs to confirm the recommended size before you upload.
Add the title and subtitle
Type a clear attendee-facing name in the Title field — this is the main heading on the event page.
Add a Subtitle below it for quick context such as age range, venue, or session style. For example, the title Downtown Food Festival pairs well with a subtitle like 40+ vendors • Saturday at Market Square.

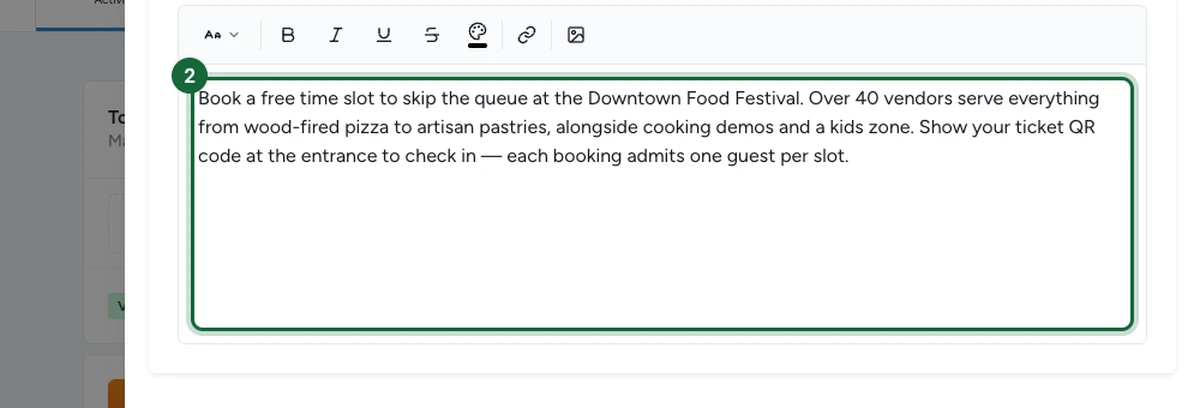
Write the description
In the Event Details section, use the Description field to explain what happens, who it is for, what to bring, and what to expect on arrival. A good description removes uncertainty before someone books.
Mention practical details people ask about — duration, how check-in works, and how many guests each booking admits.
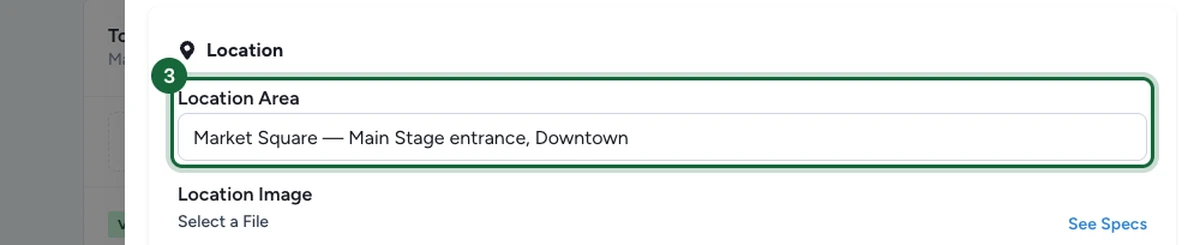
Set the location
In the Location section, use Location Area for a written wayfinding cue, then add a Location Image for a visual one. The two work best together: write where to go, then show what to look for.
For example, Market Square — Main Stage entrance, Downtown, paired with a photo of the entrance or a nearby landmark.
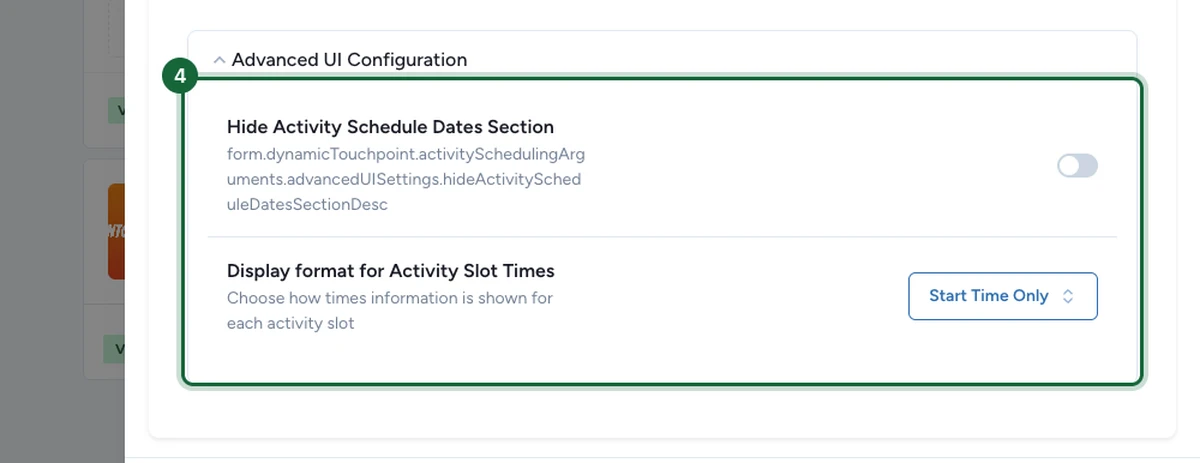
Review the display settings
Open Advanced UI Configuration to control how the schedule appears to attendees:
- Hide Activity Schedule Dates Section removes the schedule dates block from the attendee page. Turn it on for a drop-in activation that has one simple call to action and no fixed times.
- Display format for Activity Slot Times shows either Start Time Only or Start Time and End Time. Choose Start Time and End Time for fixed-duration sessions where attendees compare options.
Save and preview the attendee view
Save the Activity, then preview the attendee-facing page or booking flow.
Check that the banner, title, description, location, and slot-time format all match the tone of the event you are promoting.
Field reference
| Field | Why it matters | Example |
|---|---|---|
| Banner Image | Gives the event a clear visual anchor in the attendee flow | A hero image of the workshop room, booth, or stage |
| Title | Names the event clearly | VIP Skin Consultation |
| Subtitle | Adds fast context without making people read the full description | 20-minute session • Invitation only |
| Description | Explains what happens and what attendees should expect | A short paragraph on the workshop flow and what to bring |
| Location Area | Helps people find the event inside the venue | Level 2, near the customer lounge |
| Location Image | Shows a visual cue for arrival | A booth photo, store entrance, or wayfinding image |
| Hide Activity Schedule Dates Section | Removes the date list block from the attendee page | Useful only when schedule detail would add noise |
| Display format for Activity Slot Times | Controls how each bookable slot is displayed | Show both start and end time for fixed-duration VIP sessions |
If publishing is blocked
A few common reasons and how to fix them:
- The banner image is missing — upload one in Appearance.
- The title is missing — enter a clear attendee-facing title.
- The subtitle is missing — add a subtitle so attendees grasp the event quickly.
- The description is missing — fill the Description field in Event Details.
- The location area is missing — add a written wayfinding cue in Location Area.
- The location image is missing — add a photo or visual landmark in the Location section.
- The location image has no location area text — pair the image with a written cue. Both fields work best together.
See Validation & publishing for the full publish workflow.
Related
Configure slots — weekly vs. specific dates
Continue with schedule setup after the attendee-facing basics are in place.
Configure tickets (Booking + Check-in events)
Add ticket types, capacities, and booking-time forms for bookable events.
Configure check-in (Self vs. Scan)
Set the day-of check-in behavior that attendees and staff will use.
Validation & publishing
See how General-tab issues appear before you publish the campaign.