Configure tickets (Booking + Check-in events)
Add ticket types, capacities, sale windows, and optional booking-time forms for bookable Activities.
Give attendees clear booking options by setting up ticket types, capacities, sale windows, and an optional booking form. These settings apply to events set to Booking and Check-In.
Before you begin
- The Activity is already set to Booking and Check-In. If not, see Event types (Booking + Check-in vs. Check-in Only).
- The Activity already has dates or slots configured. If not, see Configure slots — weekly vs. specific dates.
Keep the ticket setup simple
The Activity editor focuses on ticket types, capacity, sale windows, and the optional booking form. Waitlist and host management are not part of the standard setup.
Steps
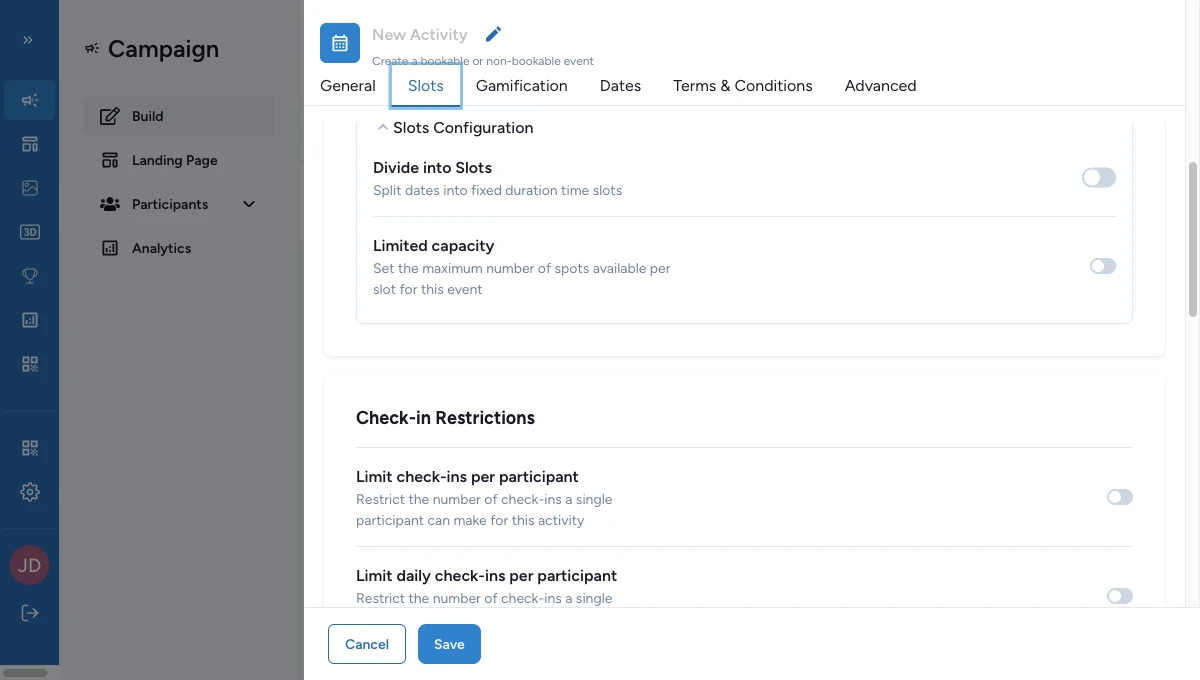
Open Tickets inside Slots
Open the Activity, go to Slots, confirm Booking and Check-In is selected, then work in the Tickets area.
This is where you define the booking options attendees can choose from.
Add one or more ticket types
Use + Add ticket to create the options attendees can choose from.
Common examples include General Admission, VIP, or Family Pass. A simple event can have one ticket.
Set capacity for each ticket
Turn on Limited capacity when a ticket should stop selling after a fixed number of bookings per slot.
Then fill:
- Total capacity for the most bookings allowed on that ticket per slot
- Maximum capacity per contact so one participant cannot reserve too many seats
Limit the sale window when needed
Turn on Limit Availability when the ticket should be bookable only during a set window.
Then fill Availability Start Date and Availability End Date.
This suits a VIP session that opens booking one week before the event and closes a few hours before doors open.
Add a booking form for reservation-time questions
Turn on Booking Form when attendees must answer extra questions during booking, such as guest name, dietary note, or preferred language.
This form is separate from a Participation Form and the Check-in Form. It appears during reservation, not at the later participation or arrival steps.
Save and test one booking per ticket type
Run a quick internal booking for each ticket type you plan to publish.
This confirms the capacity logic, sale window, and any booking-time questions before the campaign goes live.
Practical examples
| Event setup | Suggested ticket configuration |
|---|---|
| Workshop with 20 seats | One General Admission ticket, Limited capacity on, total capacity 20, max 1 per contact |
| VIP session | One VIP ticket, Limited capacity on, small total capacity, sale window closing before the session starts |
| Family workshop | Two ticket types such as Adult and Child, both with clear names and per-contact limits aligned with group size |
Important planning note
Ticket capacity is per slot, not per whole Activity.
If one ticket has a capacity of 20 and the Activity runs across 5 bookable slots, that ticket can support up to 100 bookings in total, as long as each slot stays available.
If publishing is blocked
A few common reasons and how to fix them:
- No ticket types are configured — add at least one ticket type to every bookable Activity.
- A ticket has no name — give every attendee-facing ticket a clear name.
- A ticket's capacity is negative or zero — set a positive capacity when Limited capacity is on.
- The per-contact limit is negative — set a positive limit, or turn that limit off.
- Limit Availability is on but sale dates are missing — fill both Availability Start Date and Availability End Date.
- The sale start date is on or after the end date — make the start date earlier than the end date.
- The per-contact limit is higher than total capacity — keep the per-contact cap at or below the total capacity.
You may also see notices, such as one flagging that an activity has several ticket types or that one ticket allows many bookings per person. Read these and confirm the setup is intentional.
See Validation & publishing for how these messages surface before launch.
Related
Configure slots — weekly vs. specific dates
Set the schedule first so each ticket has a real slot structure to work against.
Configure check-in (Self vs. Scan)
Define how booked attendees are checked in on the day.
Set the participation form for an event
Compare the Booking Form with the Participation Form and Check-in Form.
Configure booking notifications
Finish the bookable flow with confirmation, cancellation, and reminder emails.