Configure booking notifications
Send attendees a confirmation, a cancellation notice and a reminder for bookable events.
Booking emails apply to Activities set to Booking and Check-In. They go out through your email platform, so its add-on must be active first (see If publishing is blocked).
| Sent when | Needed to publish | |
|---|---|---|
| Booking Confirmation | Someone books | Yes |
| Booking Cancellation | Someone cancels | Only if the reminder is on |
| Booking Confirmation Reminder | Before the booked slot | No |
Set up the confirmation email
-
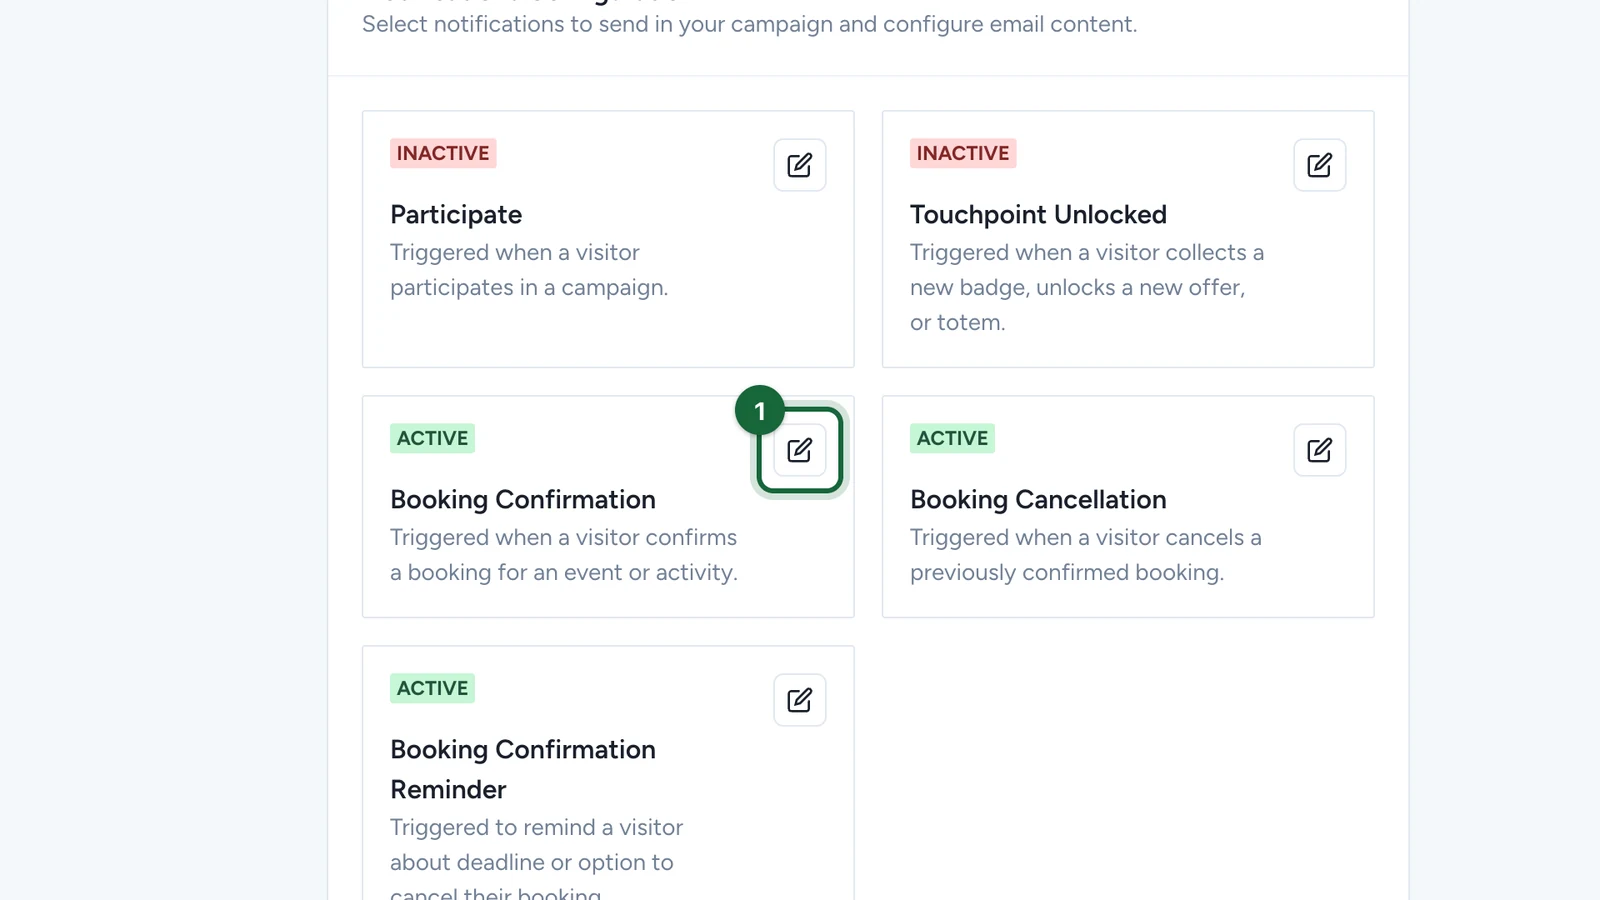
In Build > Notifications, select the edit button on Booking Confirmation.
-
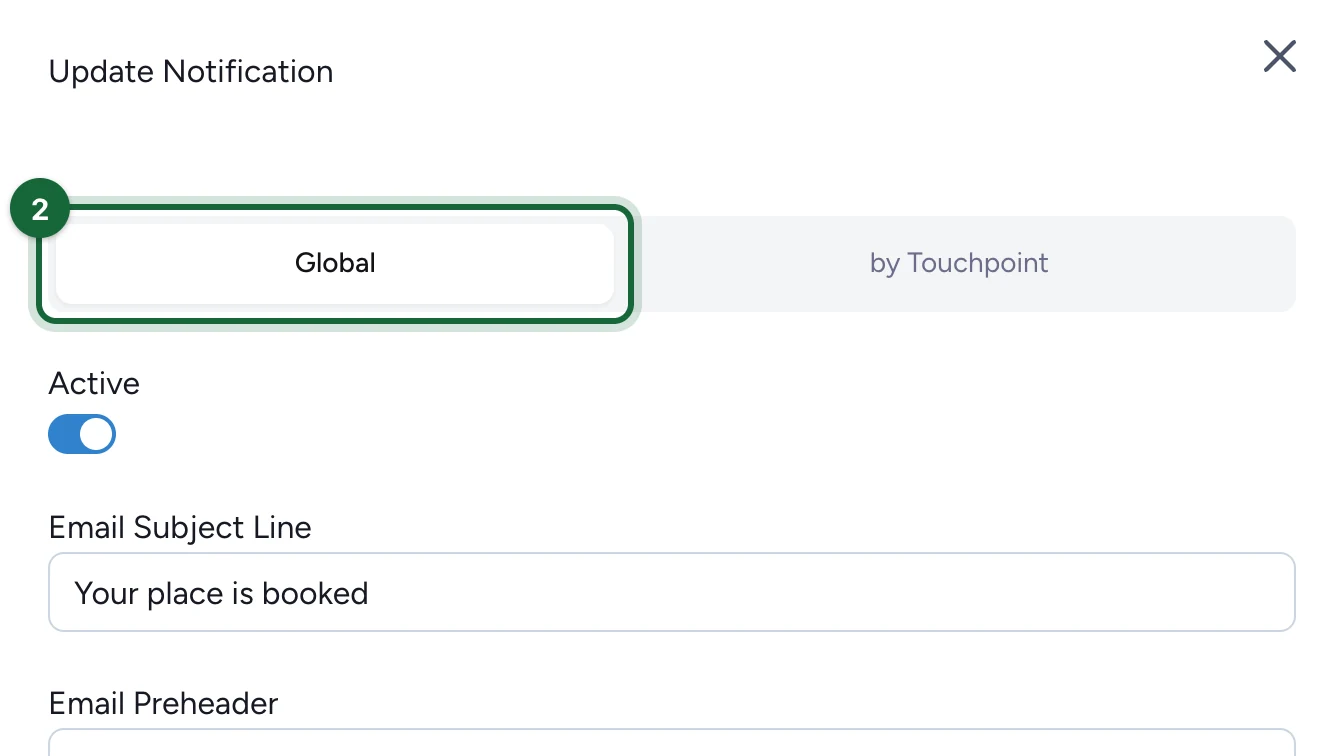
Keep the Global tab selected, so the email goes out for every Activity.
-
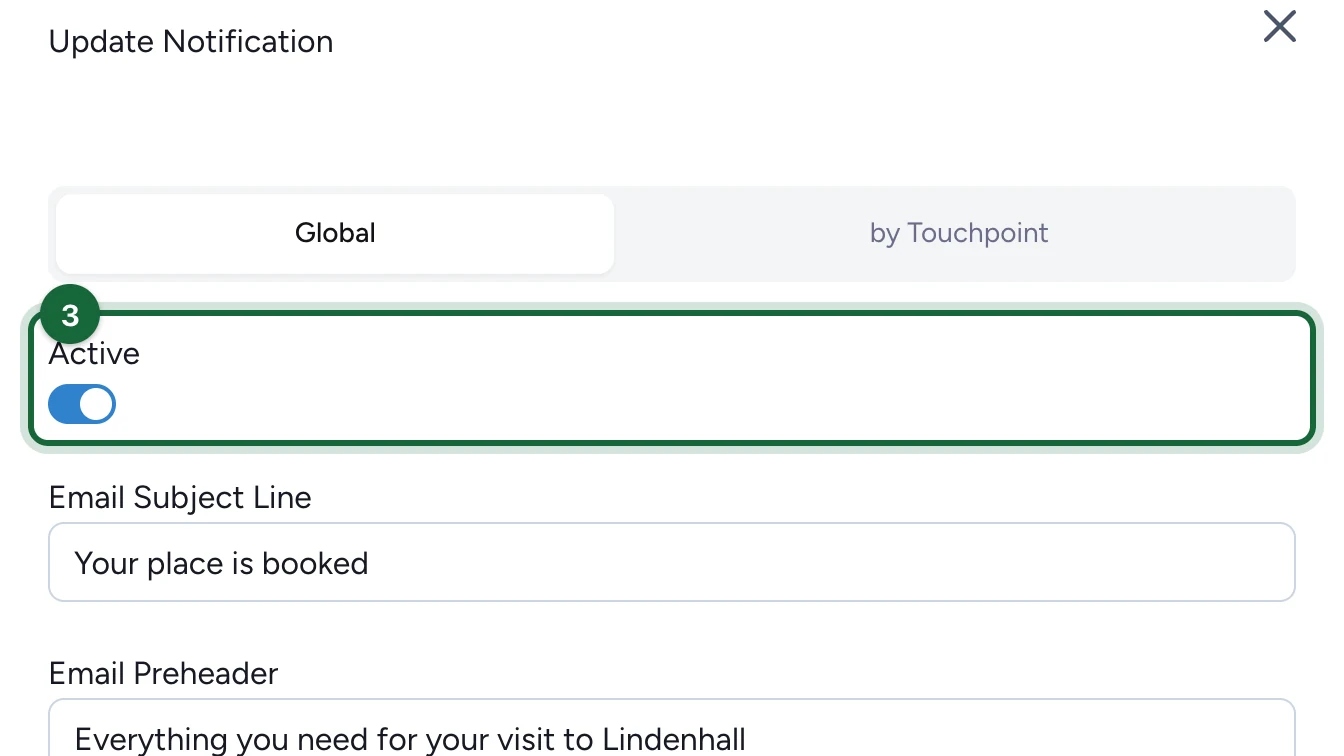
Turn on Active.
-
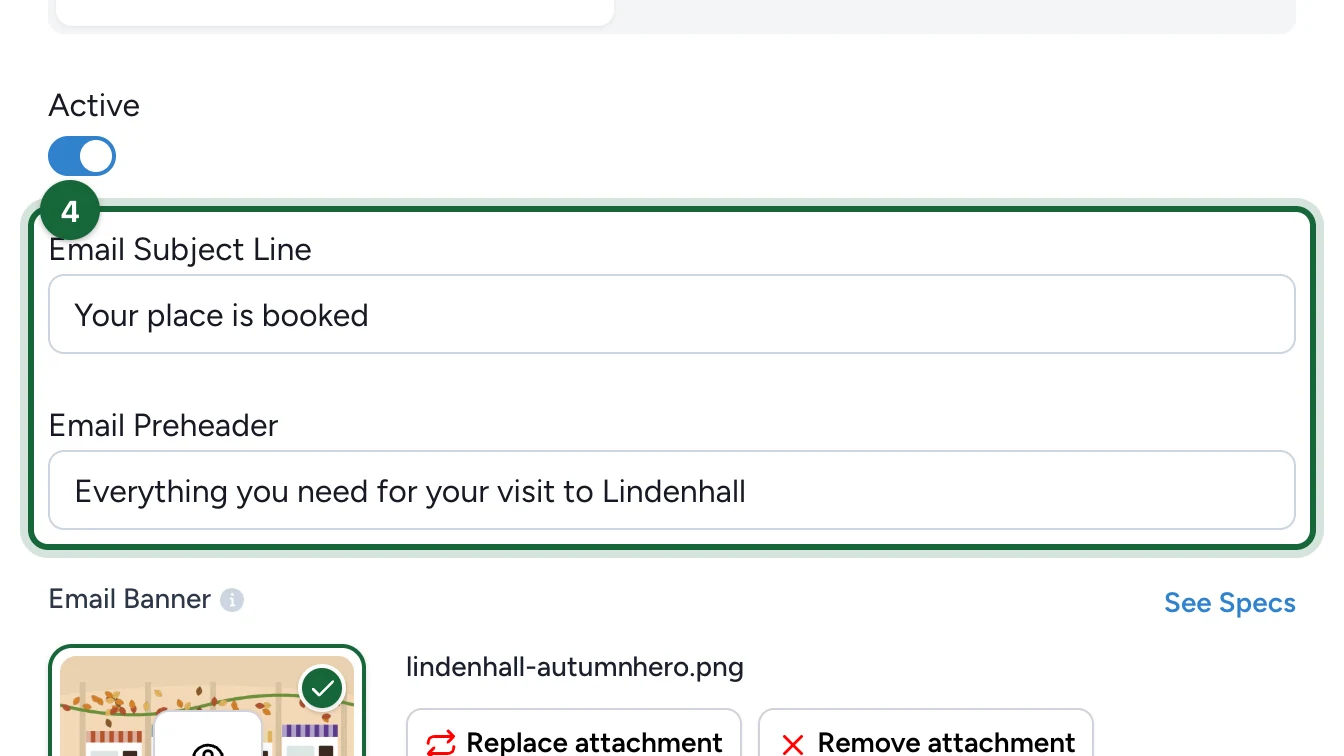
Enter the Email Subject Line and the Email Preheader.
-
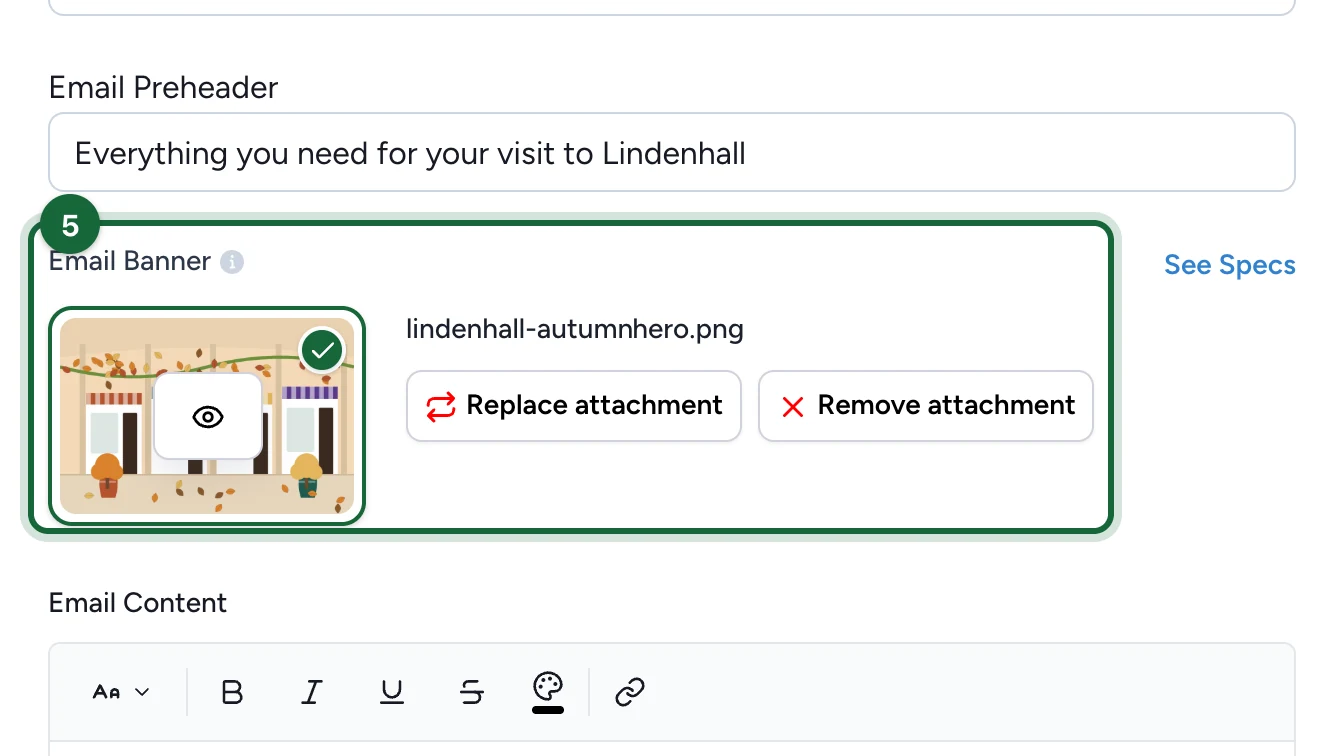
Under Email Banner, upload the banner image. The confirmation can't publish without one.
-
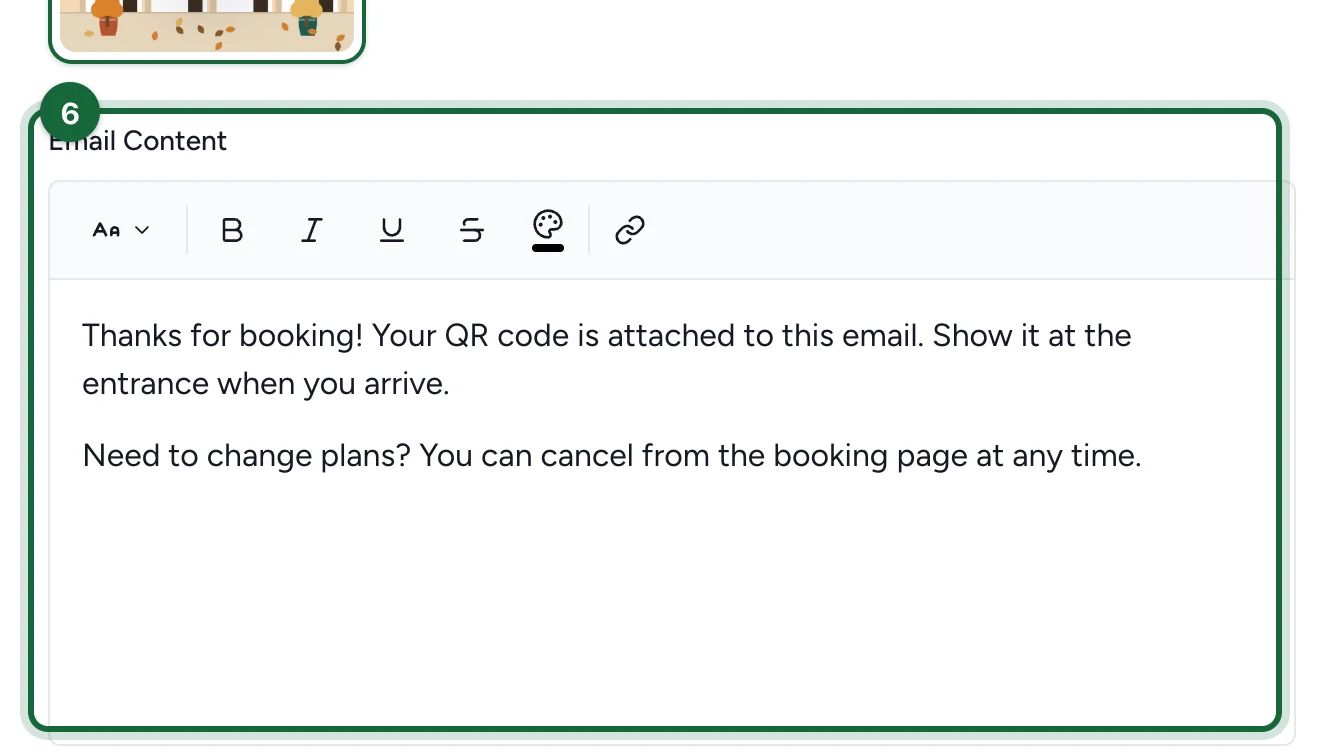
In Email Content, write the message. Say what to bring and where to go.
-
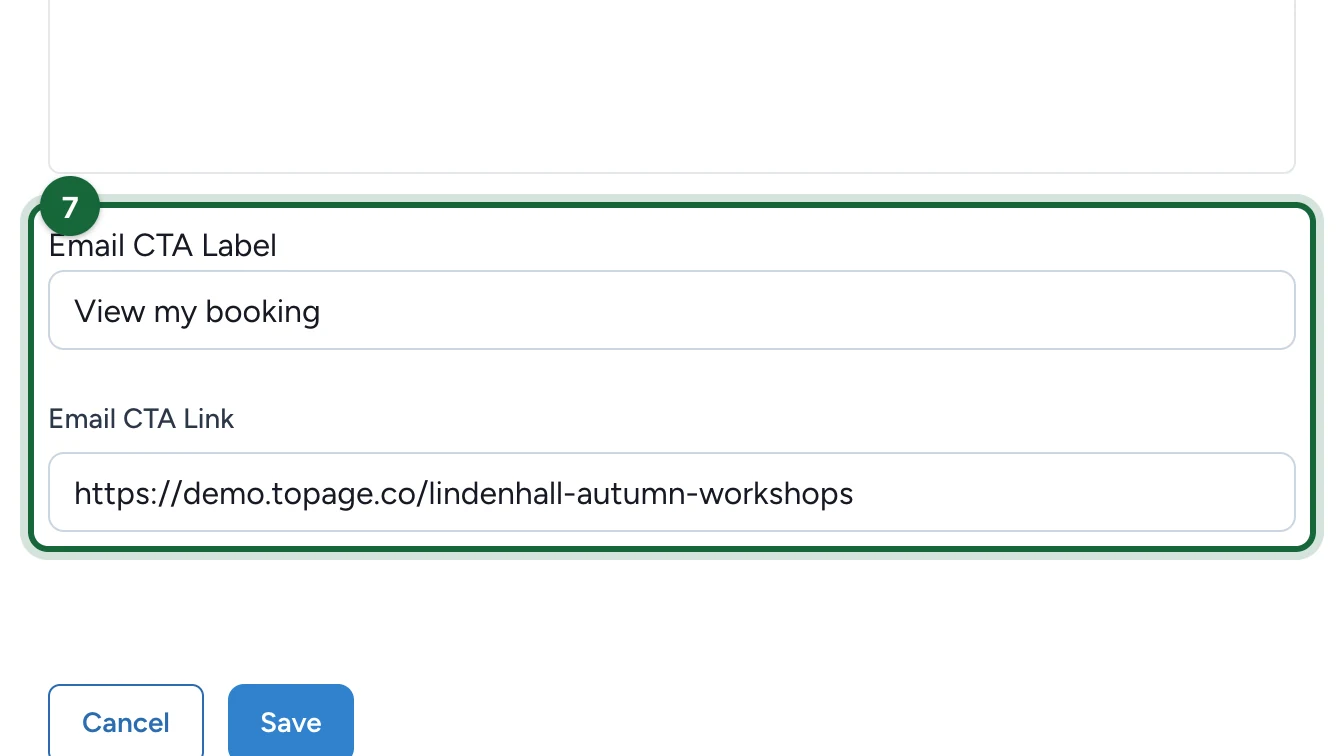
Enter the Email CTA Label and the Email CTA Link, such as your campaign page.
-
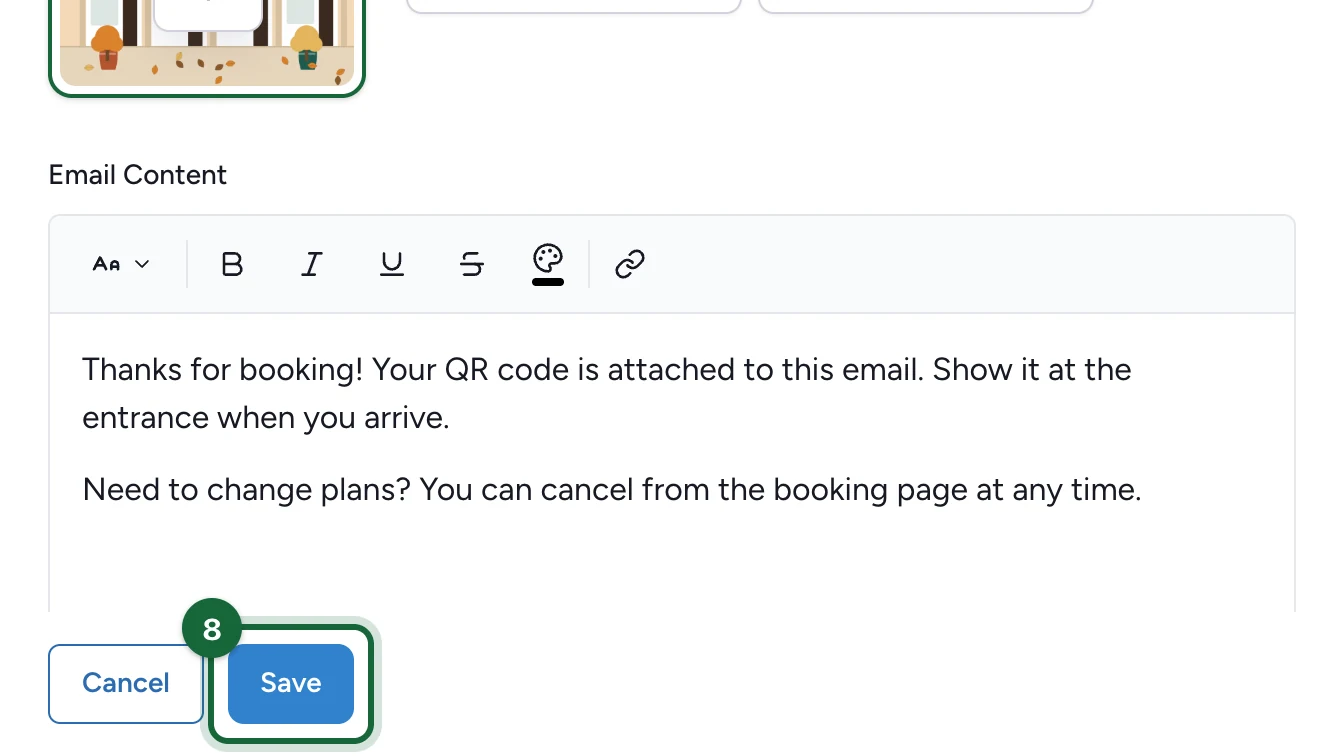
Select Save.
Repeat these steps for Booking Cancellation and Booking Confirmation Reminder.
Send one Activity its own email
Use this when one event needs its own venue details or arrival instructions. Open the notification as in step 1, then:
-
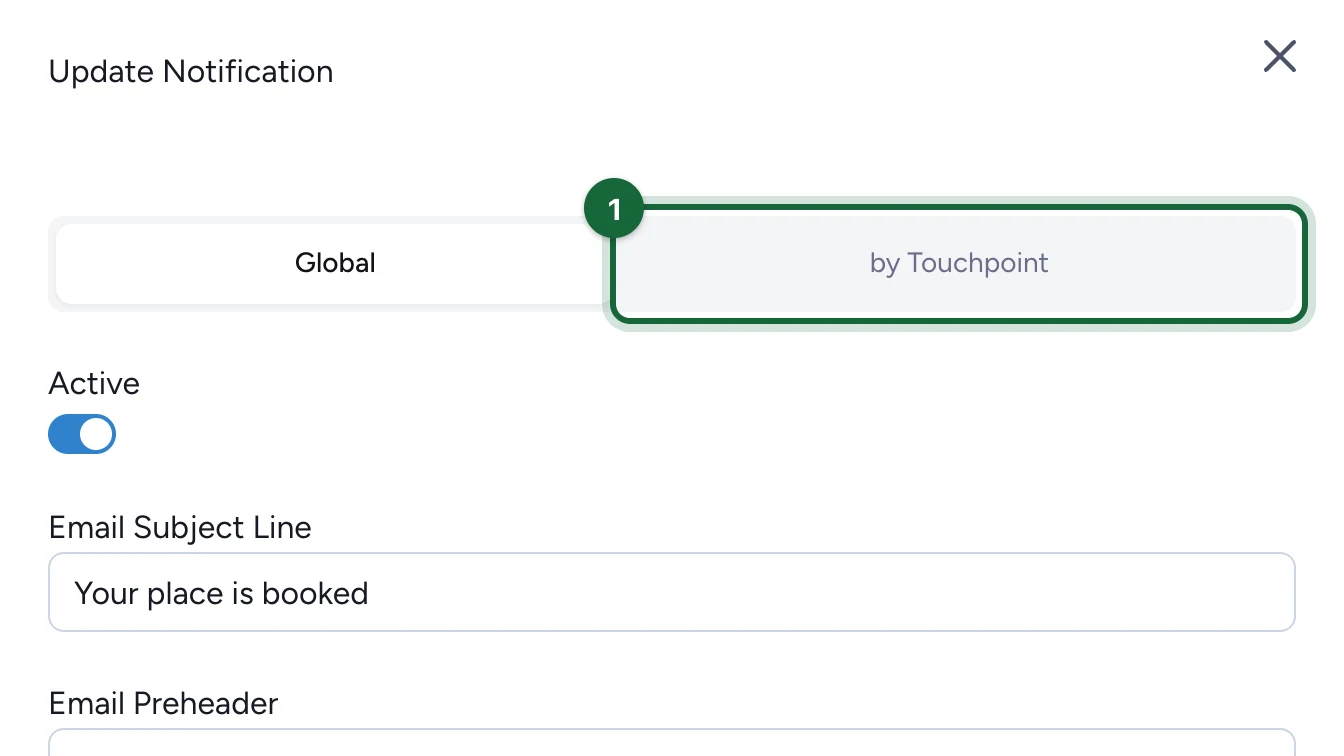
Select the by Touchpoint tab.
-
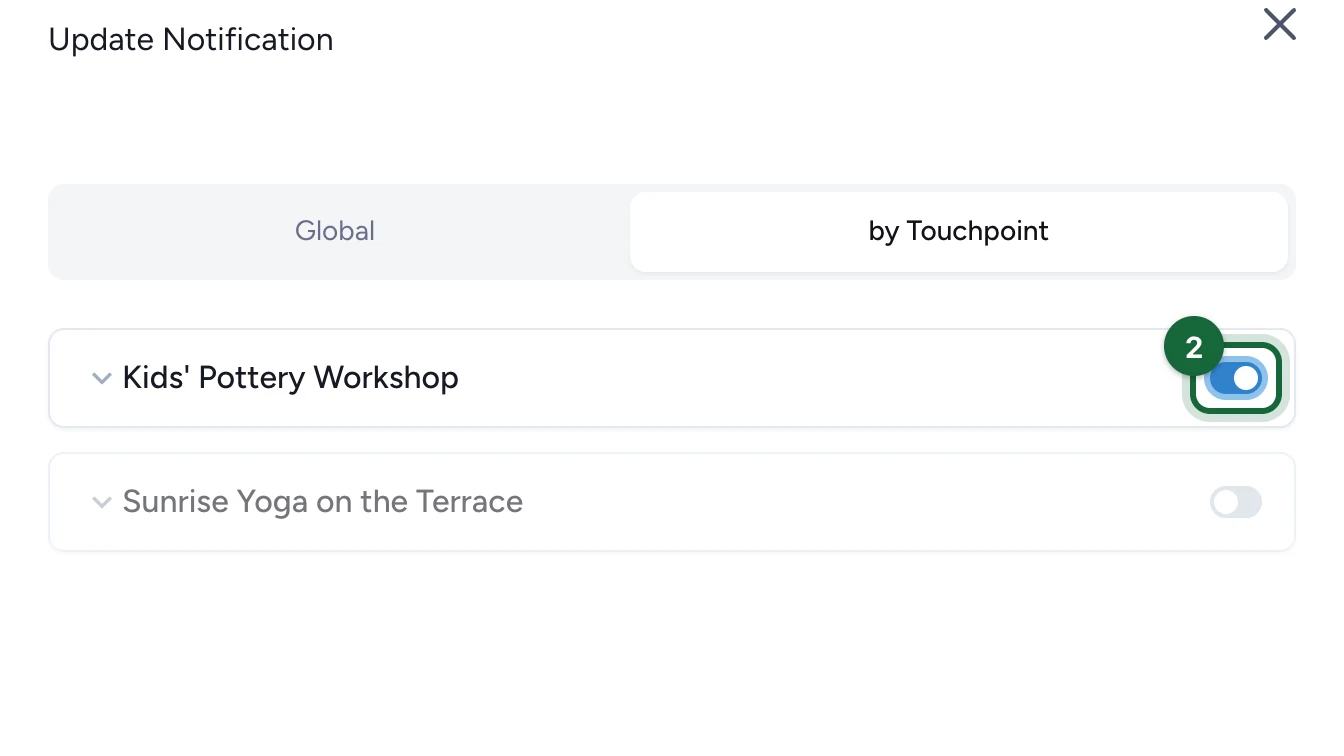
Turn on the switch next to the Activity.
-
Select the Activity's name to open its email.
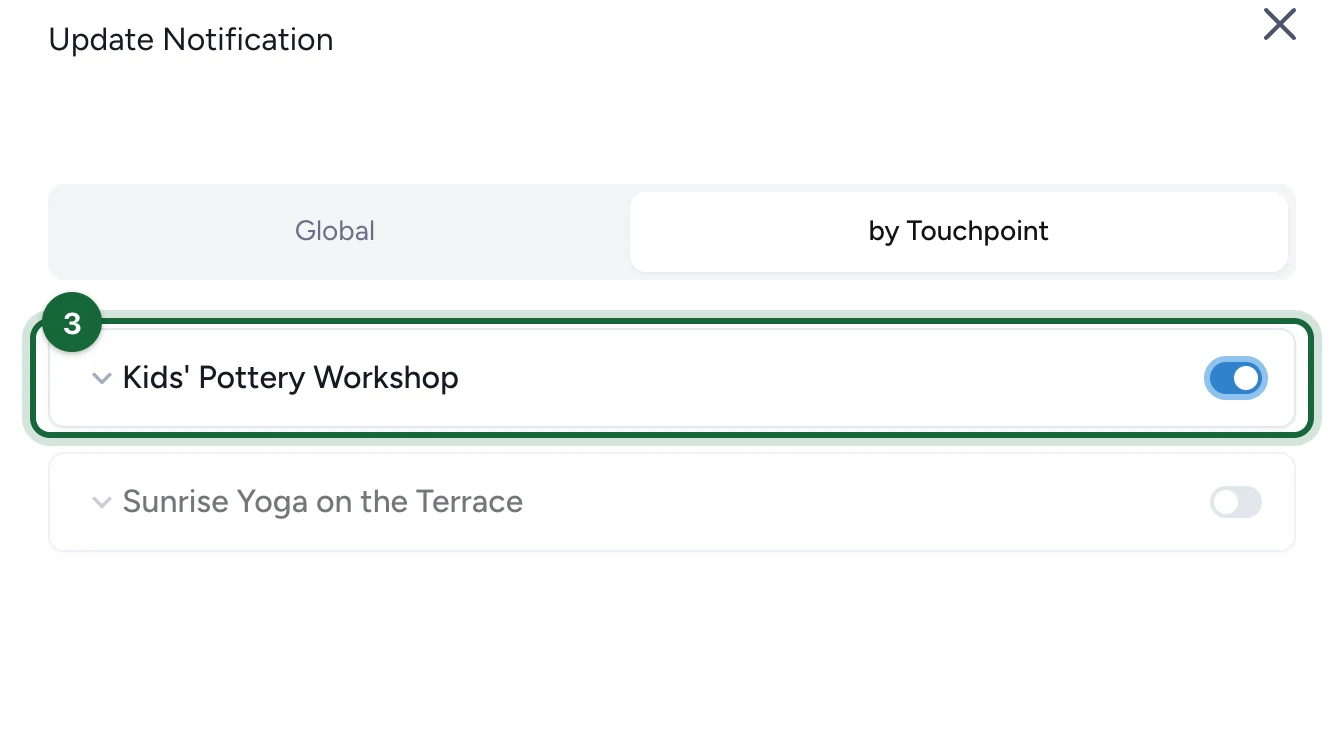
Fill in its fields as in steps 4 to 7, then select Save.
If publishing is blocked
- No booking confirmation: turn on Booking Confirmation, globally or for this Activity.
- Email banner missing: upload an Email Banner in that notification.
- Reminder on, cancellation off: turn on Booking Cancellation too.
- No email marketing add-on active: turn on the Cheetah or Salesforce Marketing Cloud add-on in Build > Settings > Advanced Settings > Addons.
Studio also suggests adding the cancellation and reminder emails when they're off.