Your first treasure hunt
Create a simple Treasure Hunt, add one object, and test the participant journey end to end.
Build a working Treasure Hunt with a single object, give it a question, and get it ready to test and launch.
Prerequisites
- A campaign already exists in OmniLab Studio.
- You can edit Touchpoints in that campaign.
- You have at least one 3D model file ready for the first object. (This is the rotatable object participants will view on screen.)
- You know the real-world location where the first object will be placed.
Keep the first hunt simple
For a first build, use one object, let participants collect in any order, require all objects, and skip the end-of-hunt question. You can expand the experience once the core route works.
What you will build
This guide creates:
- one Treasure Hunt Touchpoint
- one object shown as a rotatable 3D model
- one multiple-choice question with three answer options
- one shareable hunt or object entry point for testing
Build the first hunt
Add the Treasure Hunt touchpoint
Open the campaign, then go to Build > Touchpoints > Add New Touchpoint.
Choose Treasure Hunt, then create the Touchpoint.

Fill the hunt basics
Open the hunt's General tab and add:
- a banner image
- a clear title
- a subtitle that explains the route or objective
For example, a title of "City Explorer Hunt" with the subtitle "Find the hidden objects around the venue and complete the challenge".
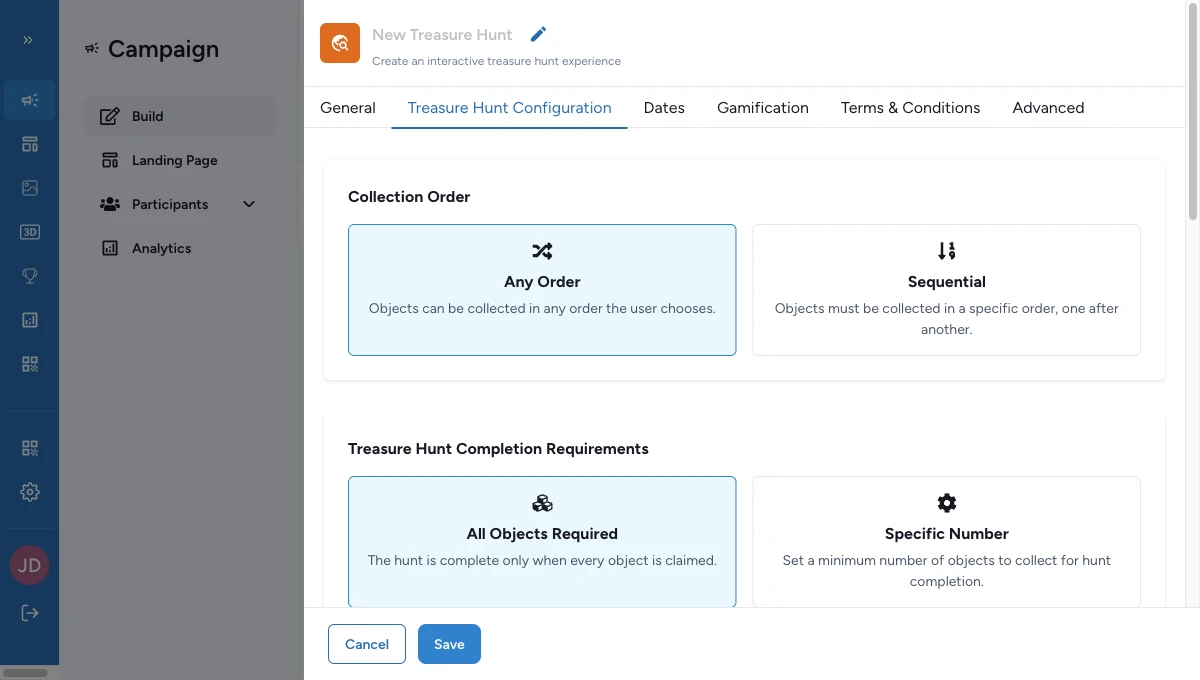
Configure the hunt rules
Open Treasure Hunt Configuration and keep the first setup simple:
- Set Collection order to Any Order so participants can find objects in any sequence.
- Set Completion requirement to All Objects Required so the hunt finishes only when every object is found.
- Write a short Unlock message participants see when they complete the hunt.
Add a map only if you already know you want one. Otherwise, leave it for a later iteration.
Add the first object
Inside the hunt, open Objects to find and create the first object.
For the object, add:
- a title and subtitle
- a short description
- a location hint that helps participants find it
- the 3D model file
- the Experience Mode, set to 3D First so the object shows as a rotatable 3D model
When your hunt uses a map, also set the object's map location so the on-screen map matches the physical placement.
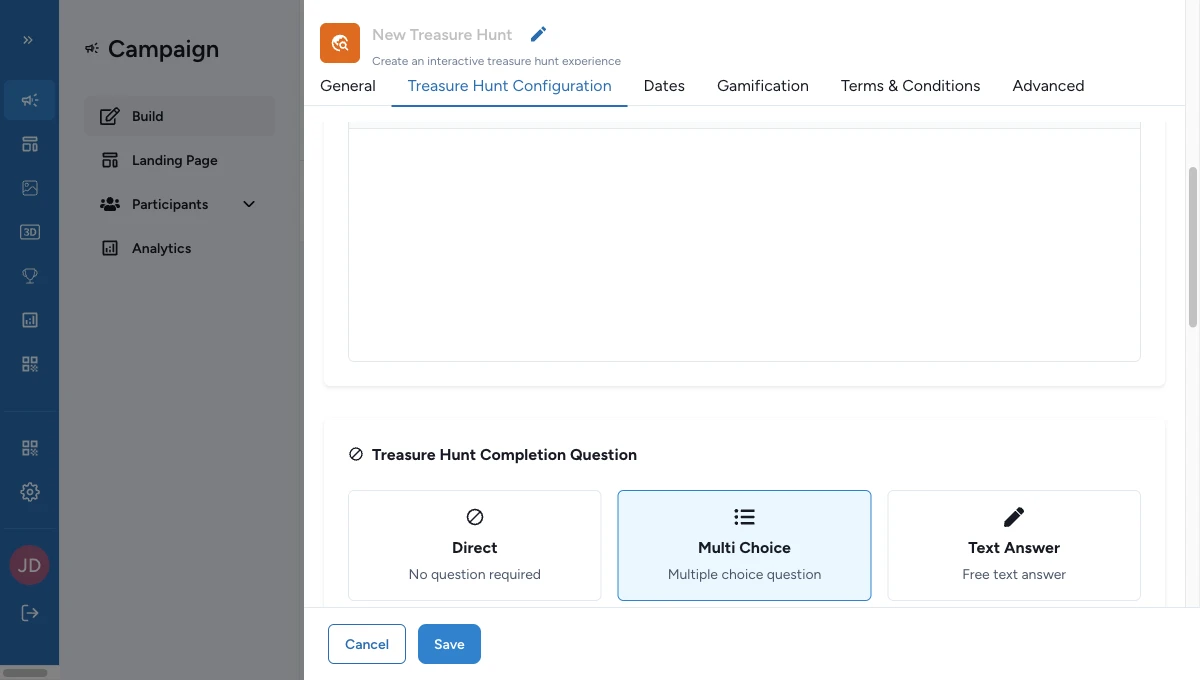
Add one question
Open the object's Interactivity section and choose Multi Choice.
A valid multiple-choice question needs:
- the question text
- exactly 3 answer options
- exactly 1 answer marked as correct
For example, the question "Which colour is on the mascot's scarf?" with the answers Blue, Green, and Orange, and Blue marked as correct.
Test the entry flow
Use the hunt or object share controls to generate a test link or QR code.
For a minimal first test:
- open the hunt entry point on a phone
- open the object directly to confirm the 3D model loads
- answer the question once
- confirm the object can be collected successfully
Object links are useful for testing because they open directly in the object, skipping the hunt intro.
Publish, then preview
Click Publish at the campaign level. Validation runs automatically, and any errors must be fixed before the hunt can go live.
Once it's published, open the hunt and walk the full flow yourself before launch day — you can't open a draft campaign.
What to improve next
Once the first hunt works, the most common next upgrades are:
- add more objects
- switch to a fixed route so participants follow the objects in order
- add a treasure hunt map
- attach shared settings such as Opt-in, Participation Form, Notifications, Rewards, or badges
- test augmented reality on supported mobile devices, where the object appears in the participant's camera view
Related
Create a treasure hunt
Go deeper into the hunt-level tabs, progression rules, and completion setup.
Configure hunt objects — 3D mode
See the full object setup flow for a 3D-first experience.
Configure interactivity (questions and answers)
Learn the exact rules for direct, multiple-choice, and text-answer interactions.
Test the hunt
Run a fuller device and route check before you publish publicly.