Configure hunt objects — 3D mode
Create a Treasure Hunt Object in 3D First mode, add its asset, and prepare it for collection.
Add an object that participants discover and collect by viewing it on screen as a 3D model, a rotatable digital object your design team provides. This mode opens the object right inside the page, so it works on almost any device without extra setup.
Prerequisites
- The parent Treasure Hunt already exists.
- You have a 3D model file ready for this object.
- You know the physical location and the participant hint you want to use.
Assets you'll need
A 3D hunt object is a model from your library, optionally placed in a skybox.
3D Model
RequiredThe 3D object for a catcher, 3D selection, or treasure hunt — chosen from your 3D library.
- Required
- FormatsGLB · USDZ
GLB powers 3D and Android AR; add USDZ for the best experience on iPhone and iPad. Keep models low-poly and under ~5 MB so they load fast on phones.
Skybox Image
OptionalThe 360° surround that wraps the scene in a 3D hunt object.
- Optional
- Aspect ratio2:1
- FormatsJPEG / PNG / HDR
Use a 3D badge as a hunt object
The object can be any 3D model — including a 3D badge. See the available shapes and front/back artwork in Design a 3D badge.
For every image spec in one place, see Image & asset specs.
When to use 3D First
3D First is the safest starting point when you want the object to open as an on-screen 3D model, without first relying on a phone's augmented-reality support.
It works especially well when:
- the object should be easy to preview on most devices
- you are still checking that the model and the question both work
- the physical route matters more than placing the object in the phone camera
Configure the object
Open Objects to find
Open the parent hunt, then go to Objects to find.
Create a new object or open an existing draft object to continue editing it.
Fill the object details
Add the information participants see for the object:
- Title
- Subtitle
- Description
- Location Hint
If the hunt uses a map, also set the object's map location so the marker matches its real position in the venue.
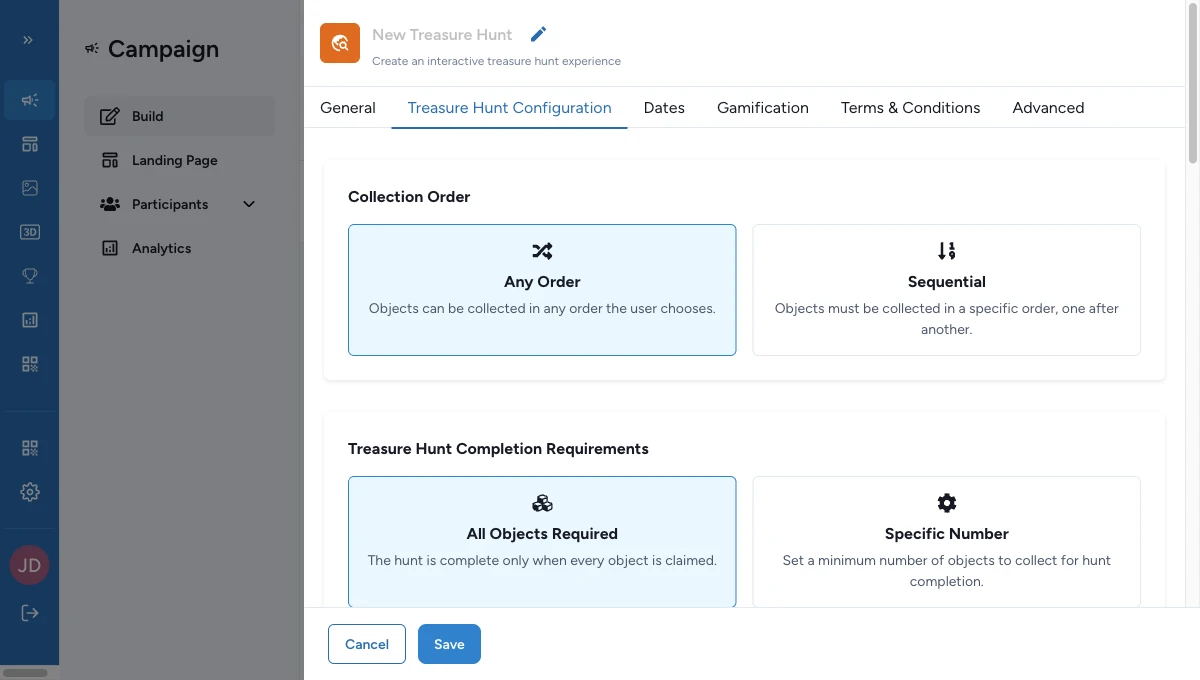
Set Experience Mode to 3D First
Set Experience Mode to 3D First so the object opens as an on-screen 3D model. This setting decides how the object is shown when participants open it.

Select the 3D model file
Add the object's 3D model file in the asset field.
This file is required. Without it, participants have nothing to view when the object opens.
Review the optional visual settings
Open the object's advanced 3D settings only when the experience needs more visual context.
A common addition is a background scene (sometimes called a skybox) that surrounds the object. Add it after the object and its model file already work in preview.
Add the interaction and save
Choose the interaction that fits the object:
- Direct when participants should collect the object immediately. Use this when finding it is the reward.
- Multi Choice when they should answer from three choices. Use this for a quick quiz moment.
- Text Answer when they should type the expected answer. Use this for a code word or clue solution.
Save the object, then test it from a shared object link or a preview.
What a good 3D object includes
Before you move on, make sure each object has:
- a clear title and subtitle
- a location hint that helps without giving everything away
- a working 3D model file
- an interaction that matches the intended difficulty
For example, a family hunt might use a short visual clue such as "Look near the giant yellow display" with a Direct collect, while a branded story hunt might use a richer clue and a question.
If something's blocked
A few common reasons and how to fix them:
- The object has no title — add a participant-facing title in the object's appearance settings.
- The object has no subtitle — add supporting copy in the object's appearance settings.
- No experience mode is selected — choose 3D First or AR First as the object's experience mode.
- The object has no 3D model file — participants will have nothing to view. Add the model file before testing or publishing.
- A background scene was added but no height is set — enter a height value such as
100m,50cm, or1500mm. - The height value isn't recognised — use a number immediately followed by
m,cm, ormm, with no spaces.
Related
Configure hunt objects — AR mode
Switch to an AR-first experience when camera-based placement is part of the concept.
Asset management for hunts
Prepare the banner, 3D model files, and optional map or background visuals before launch.
Configure interactivity (questions and answers)
Apply the exact rules for Direct, Multi Choice, and Text Answer interactions.
Object placement — QR codes in the venue
Match the digital object setup to the physical route participants will follow.