Your first receipt game
Build a receipt game with one prize, publish it, and try it on your phone.
You'll build "Spend €30, get €5": once a shopper's approved receipts from participating shops add up to €30, they get a €5 gift card. Open the campaign that will hold it, and check its dates include today. Have a banner image and a prize icon ready.
Add the receipt game
-
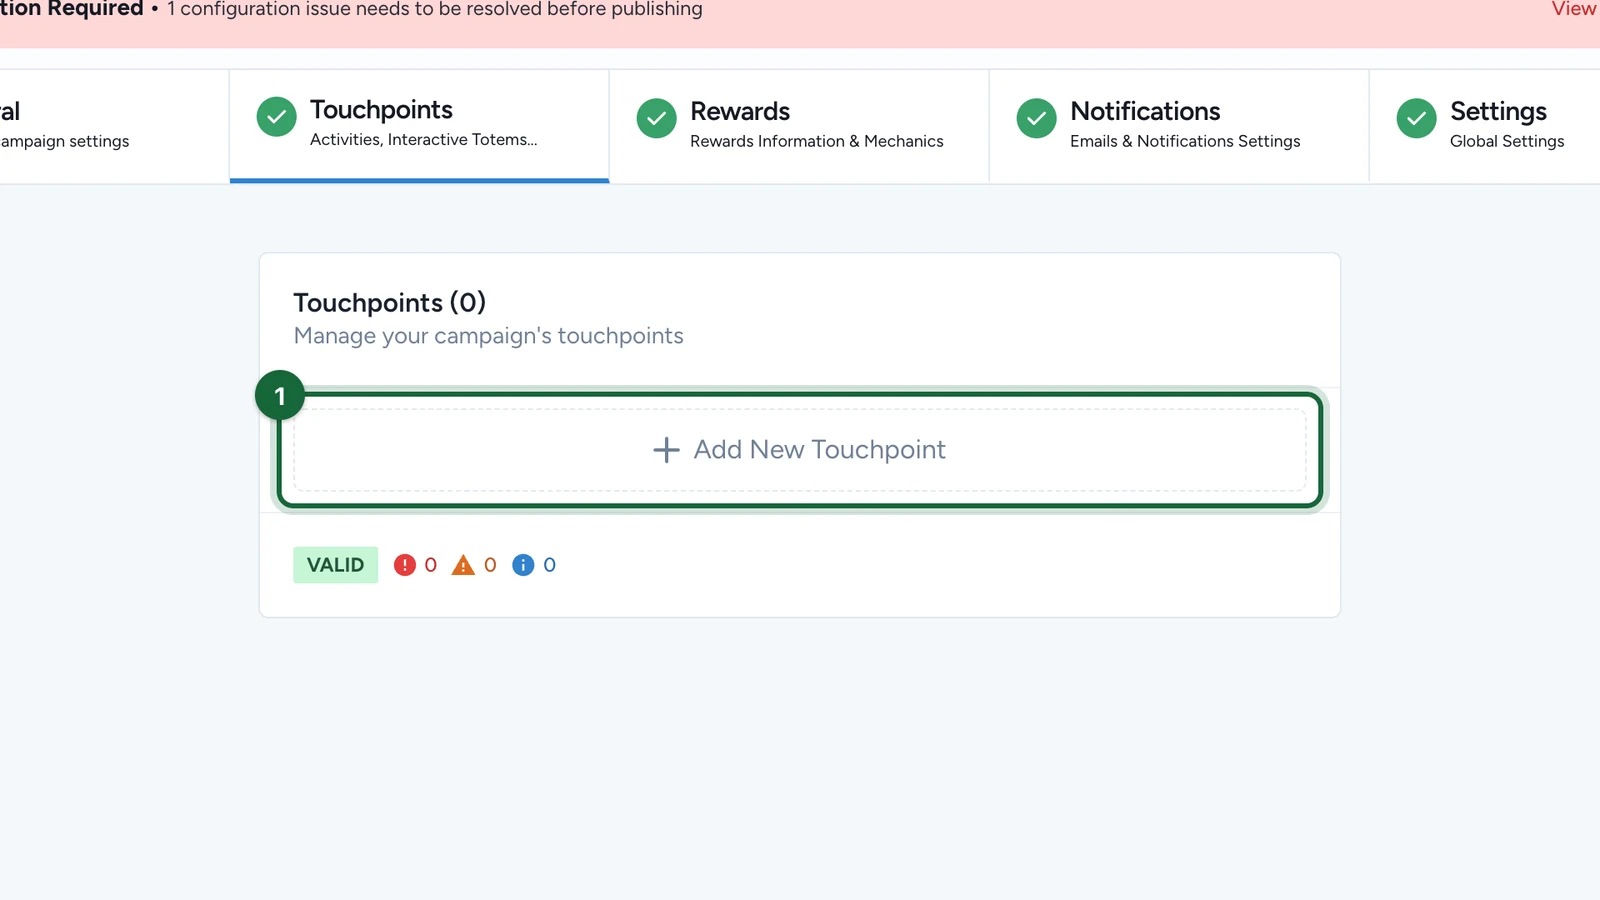
In Build > Touchpoints, select Add New Touchpoint.
-
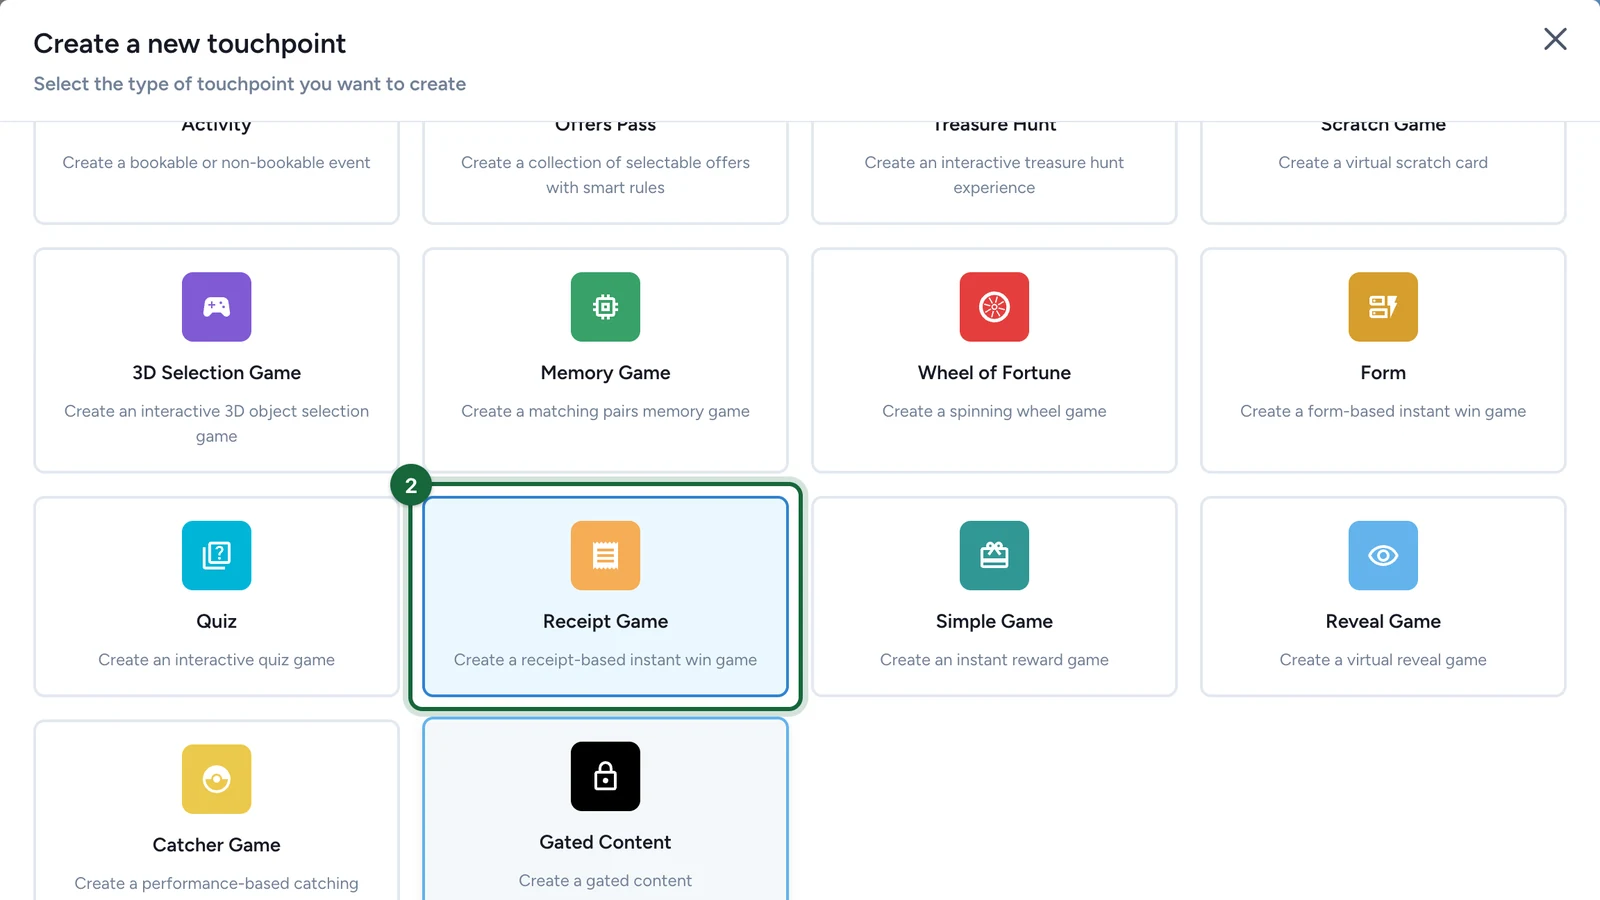
Choose Receipt Game.
-
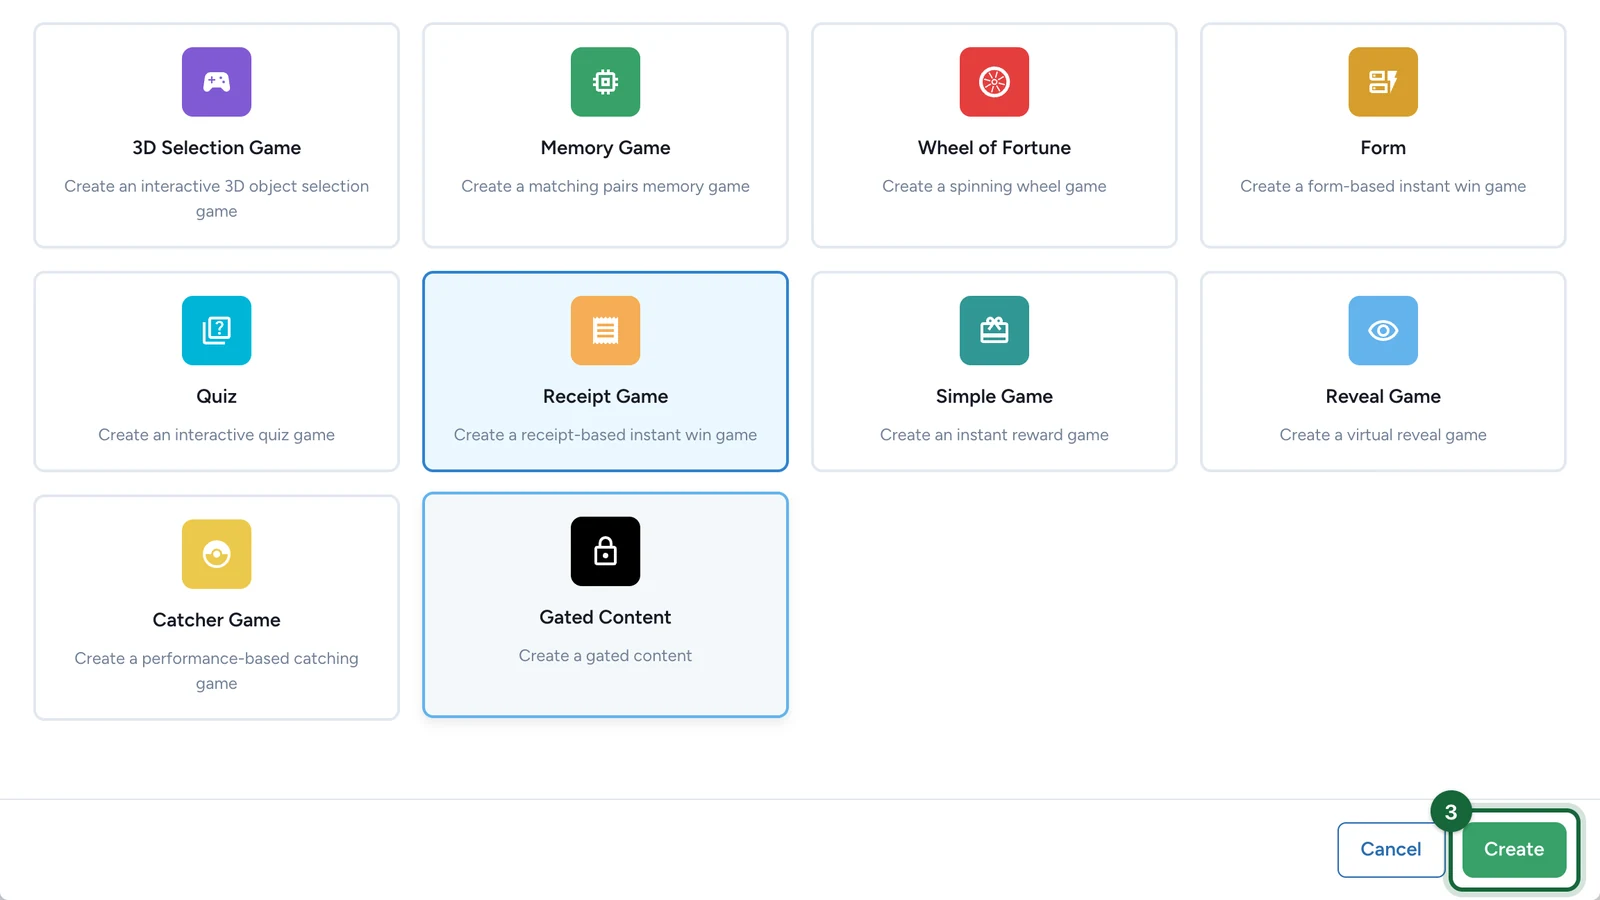
Select Create.
-
On the new New Receipt Game card, select Configure.
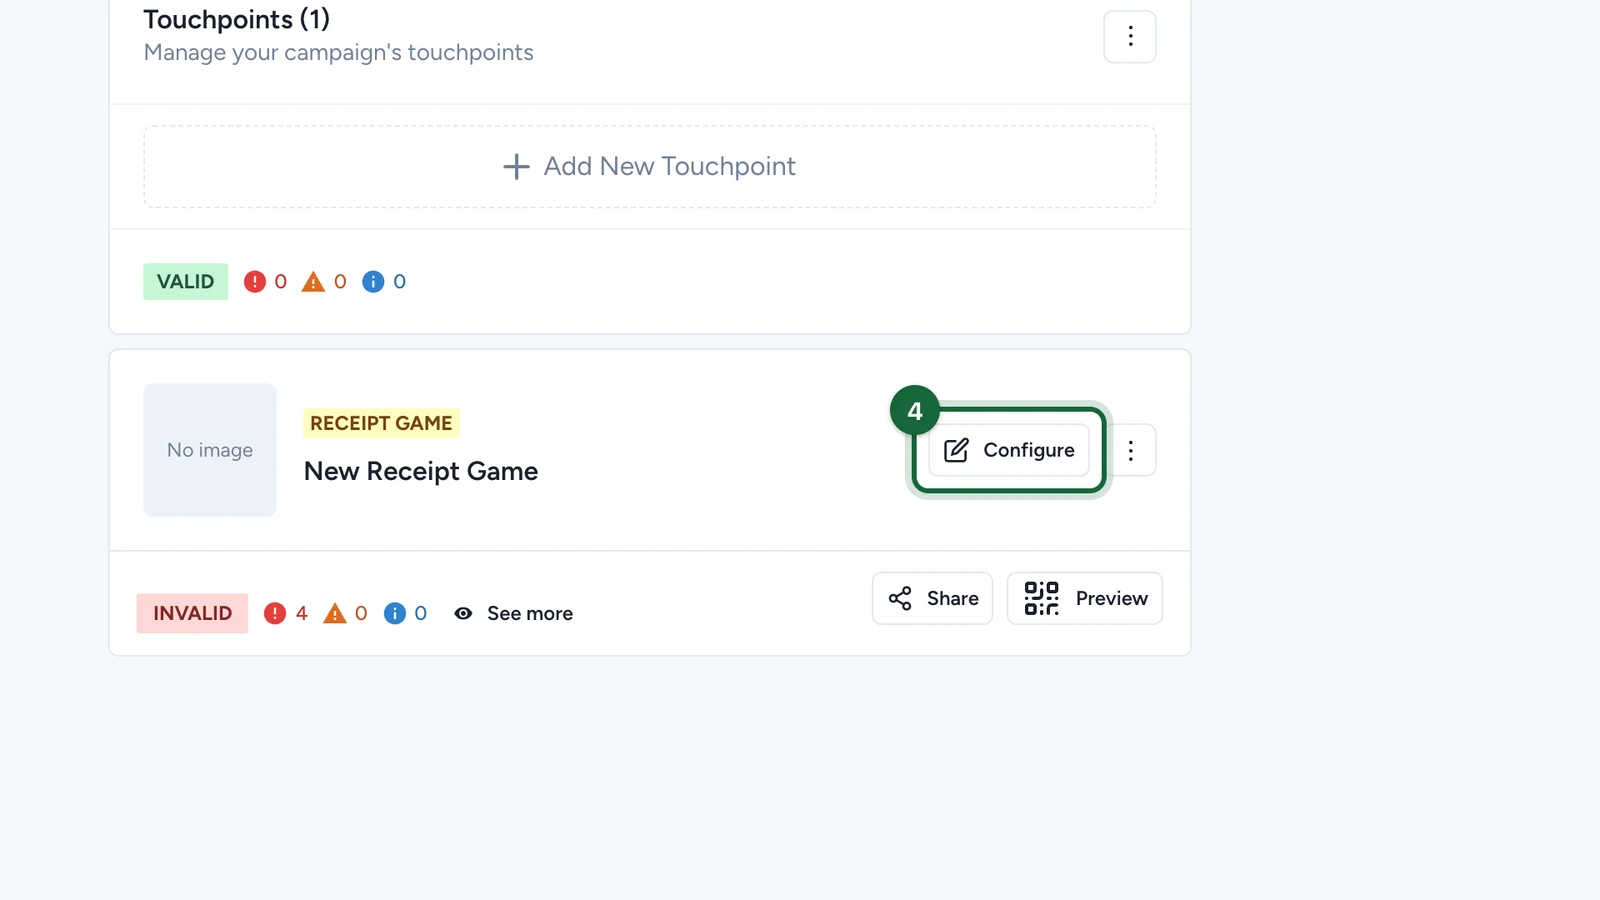
The card shows INVALID until the prize and the rule are set up.
-
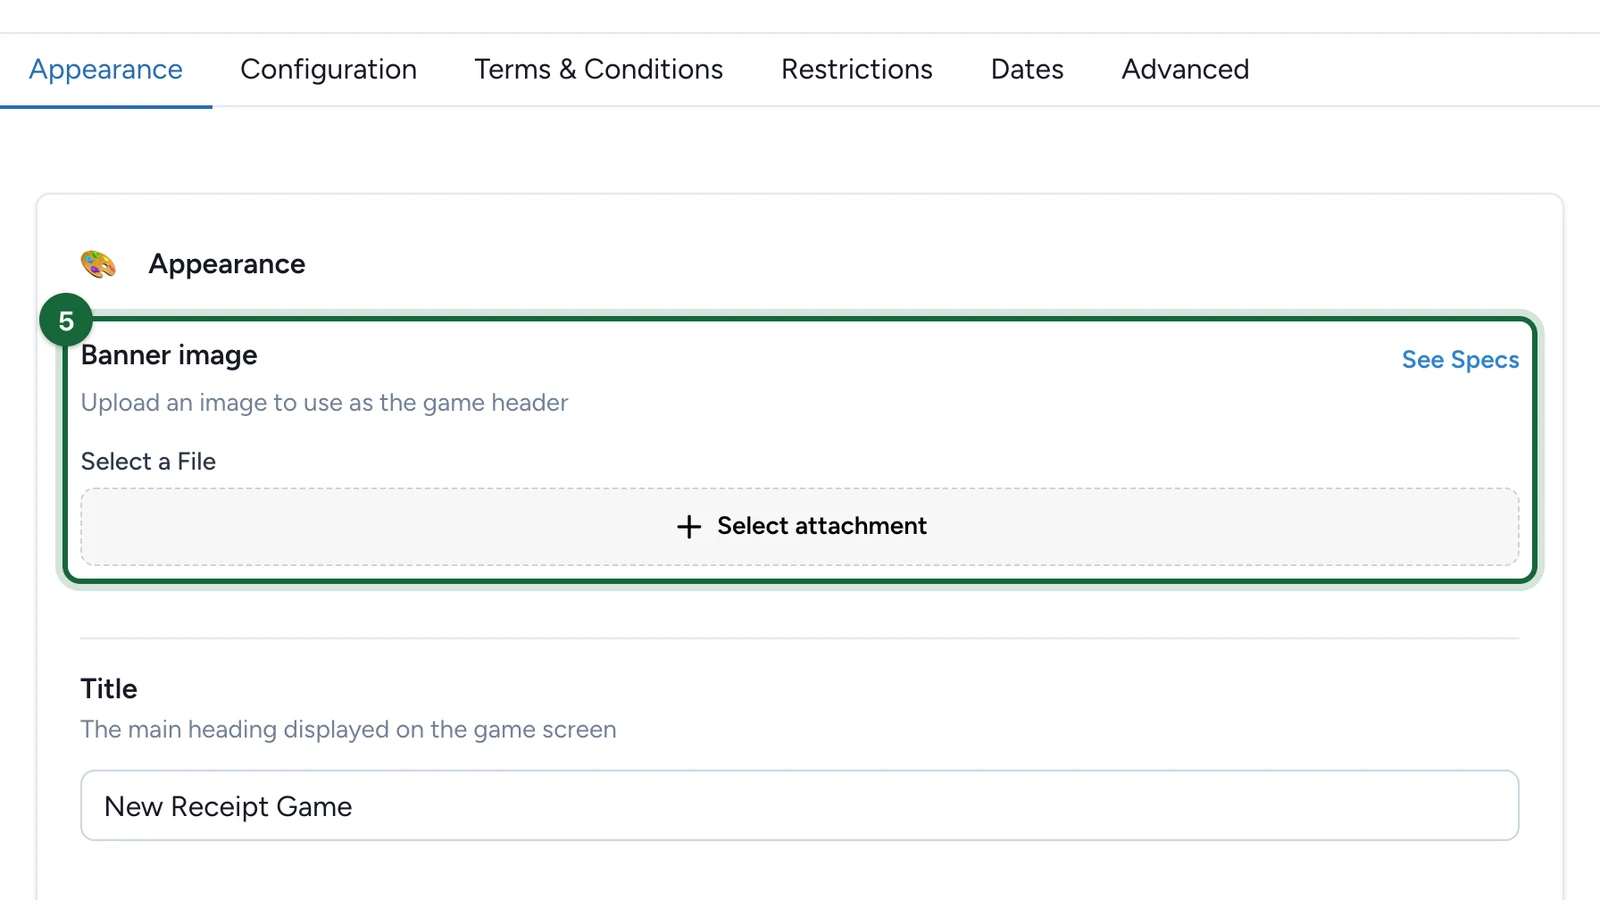
Under Banner image, choose Select attachment.
-
On your banner, choose Select File.
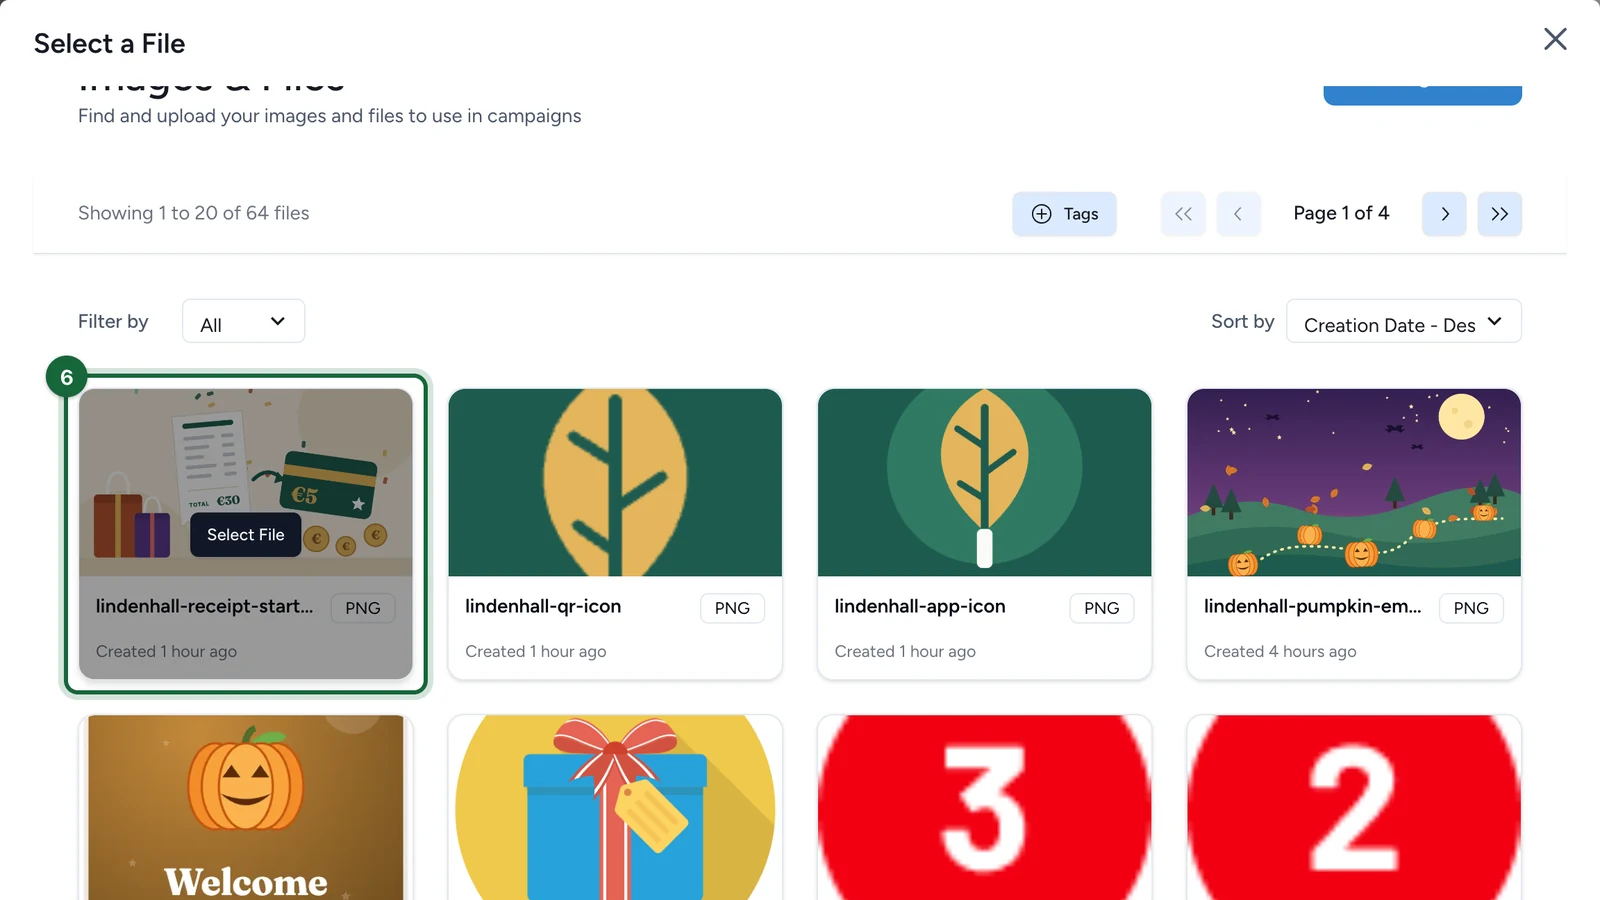
Not in the list? Select Add Image or File to upload it.
-
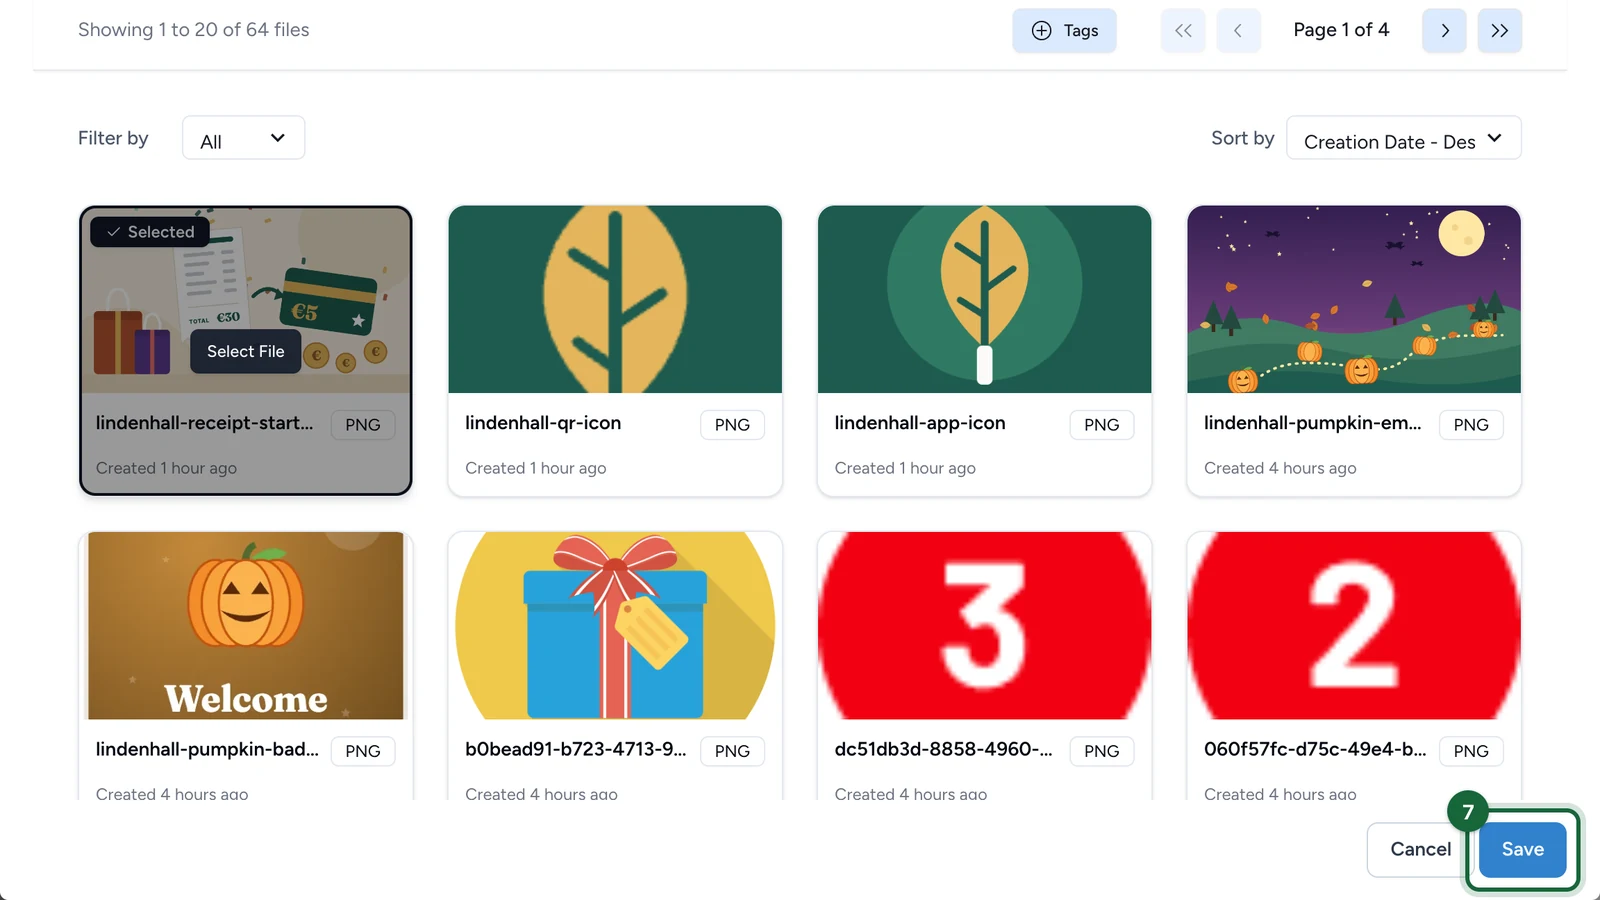
Select Save.
-
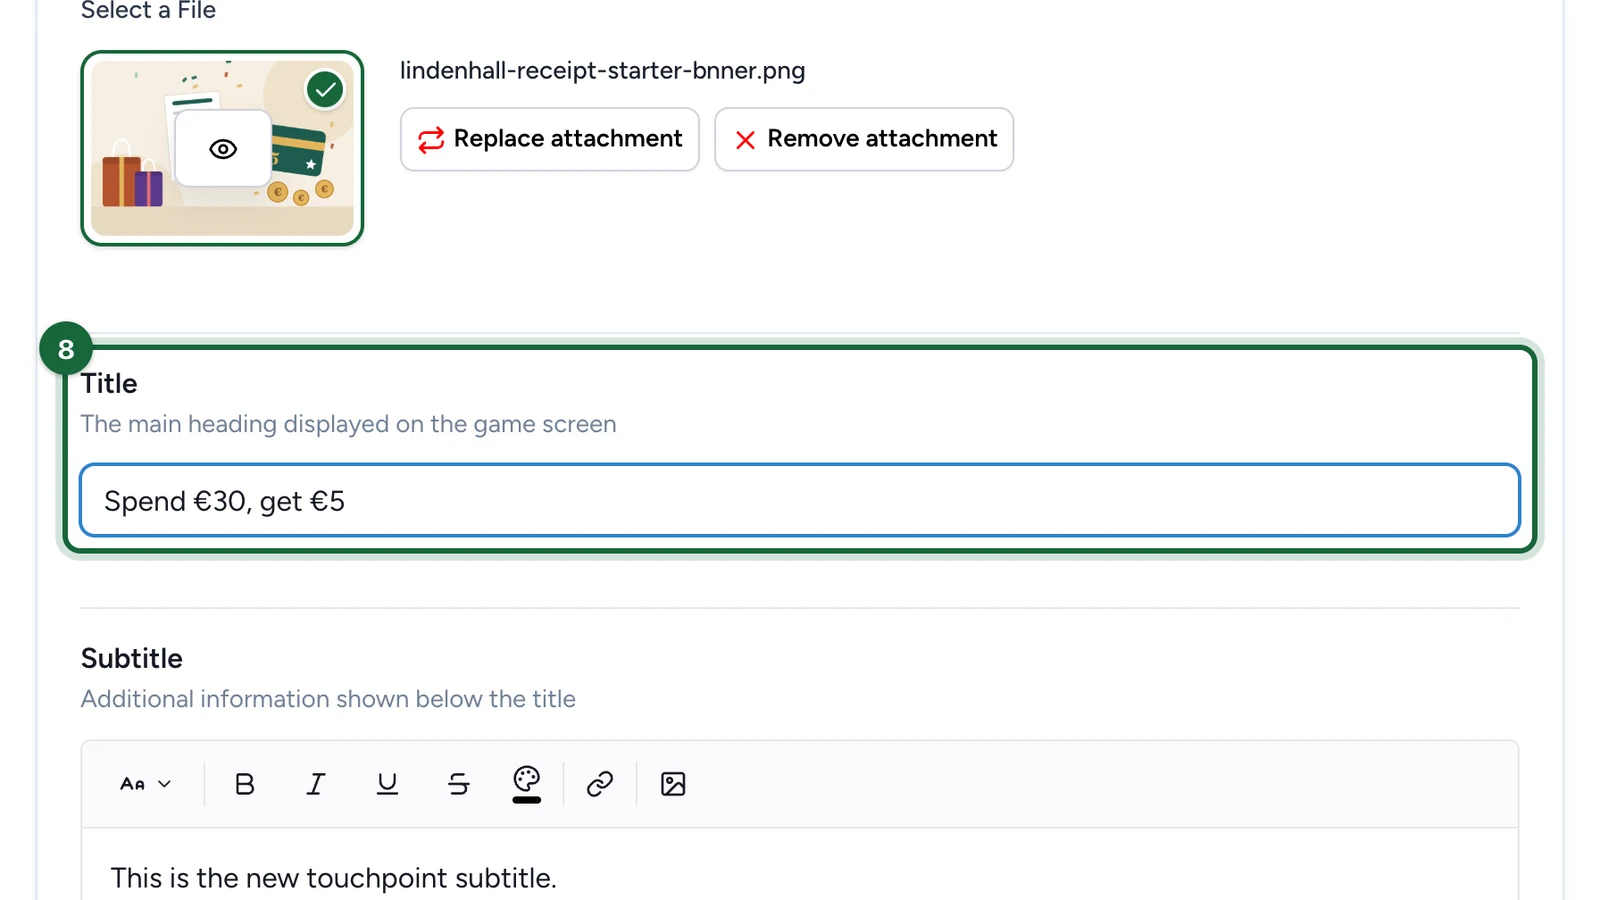
Replace the Title with the game's name, "Spend €30, get €5".
-
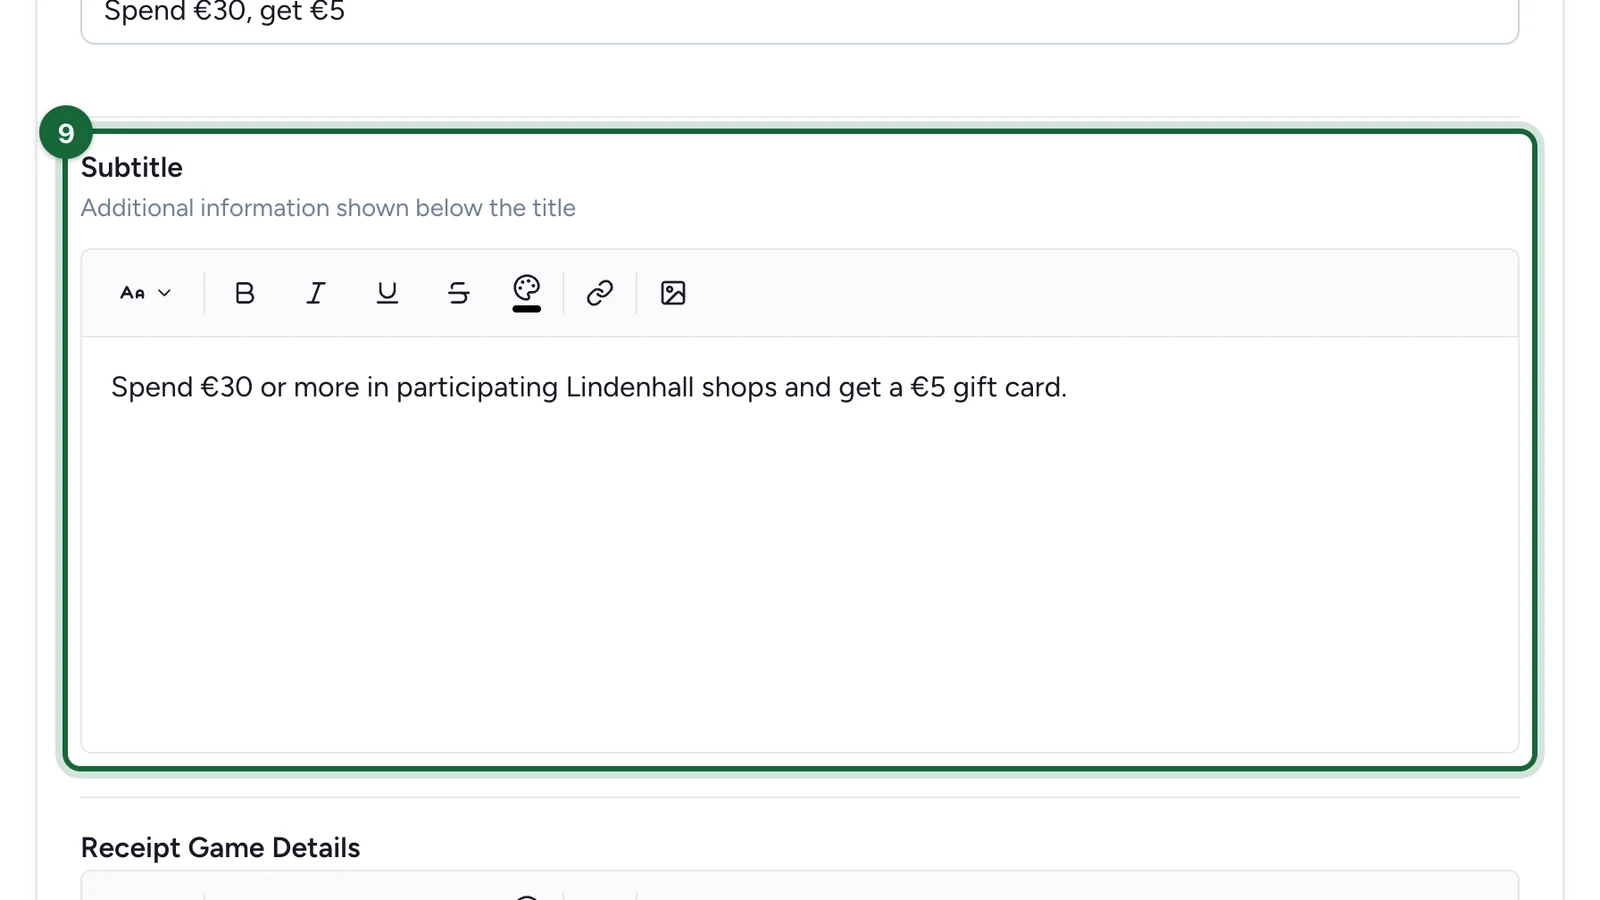
In Subtitle, write the spend target.
-
In Receipt Game Details, explain how it works: shop, upload each receipt, reach €30.
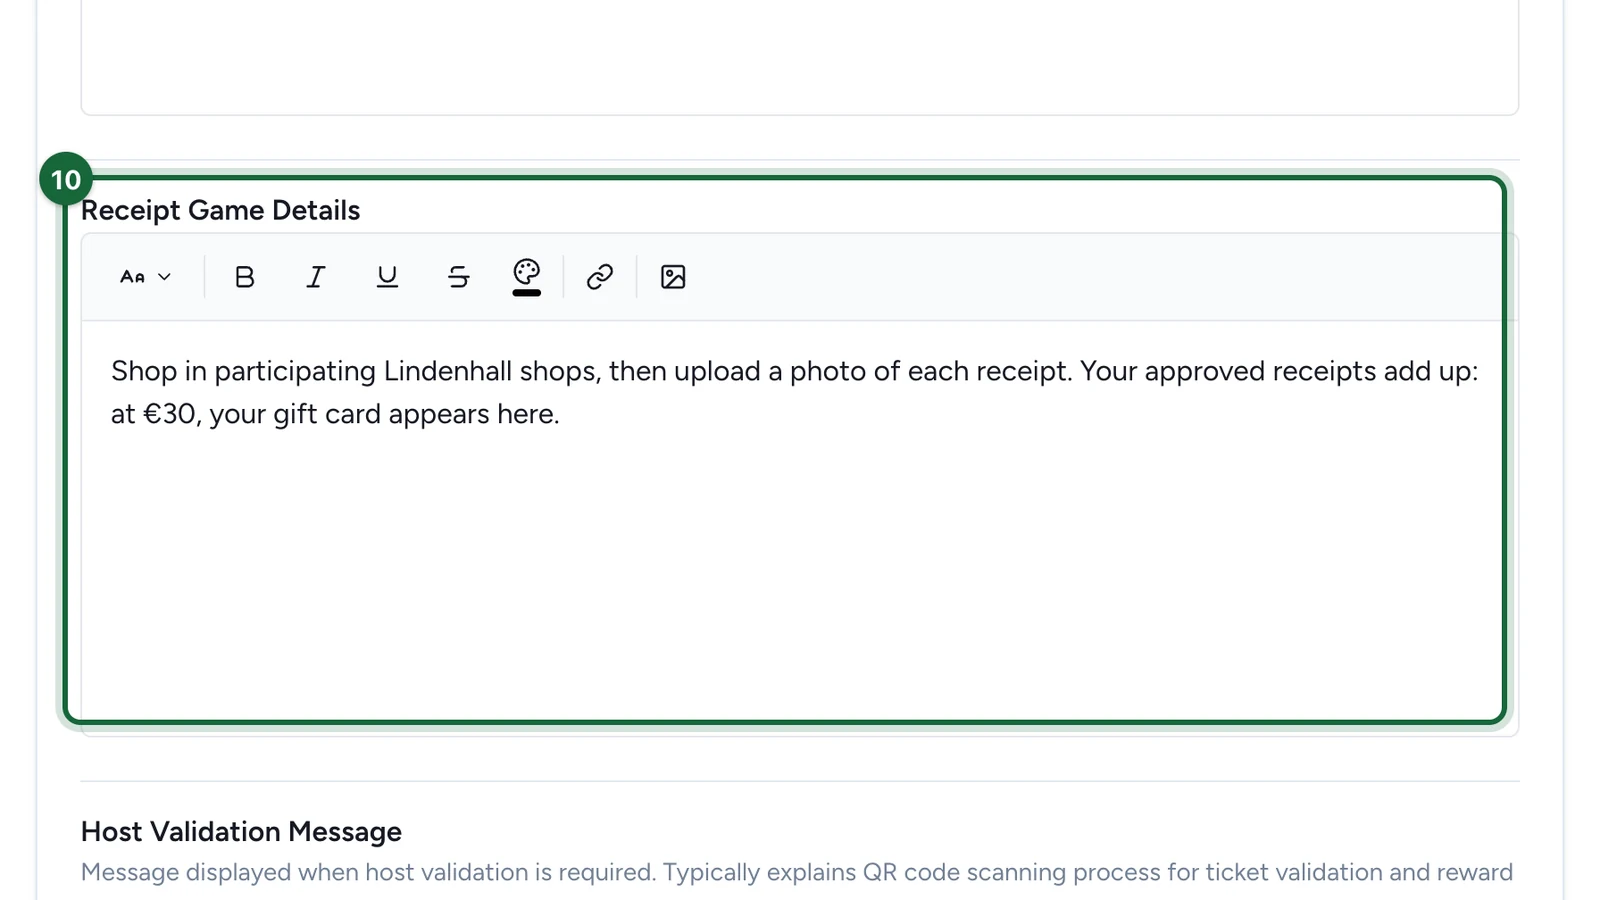
Shoppers see it at the bottom of the game, under Rules.
-
In Host Validation Message, write what shoppers see after they upload a receipt.
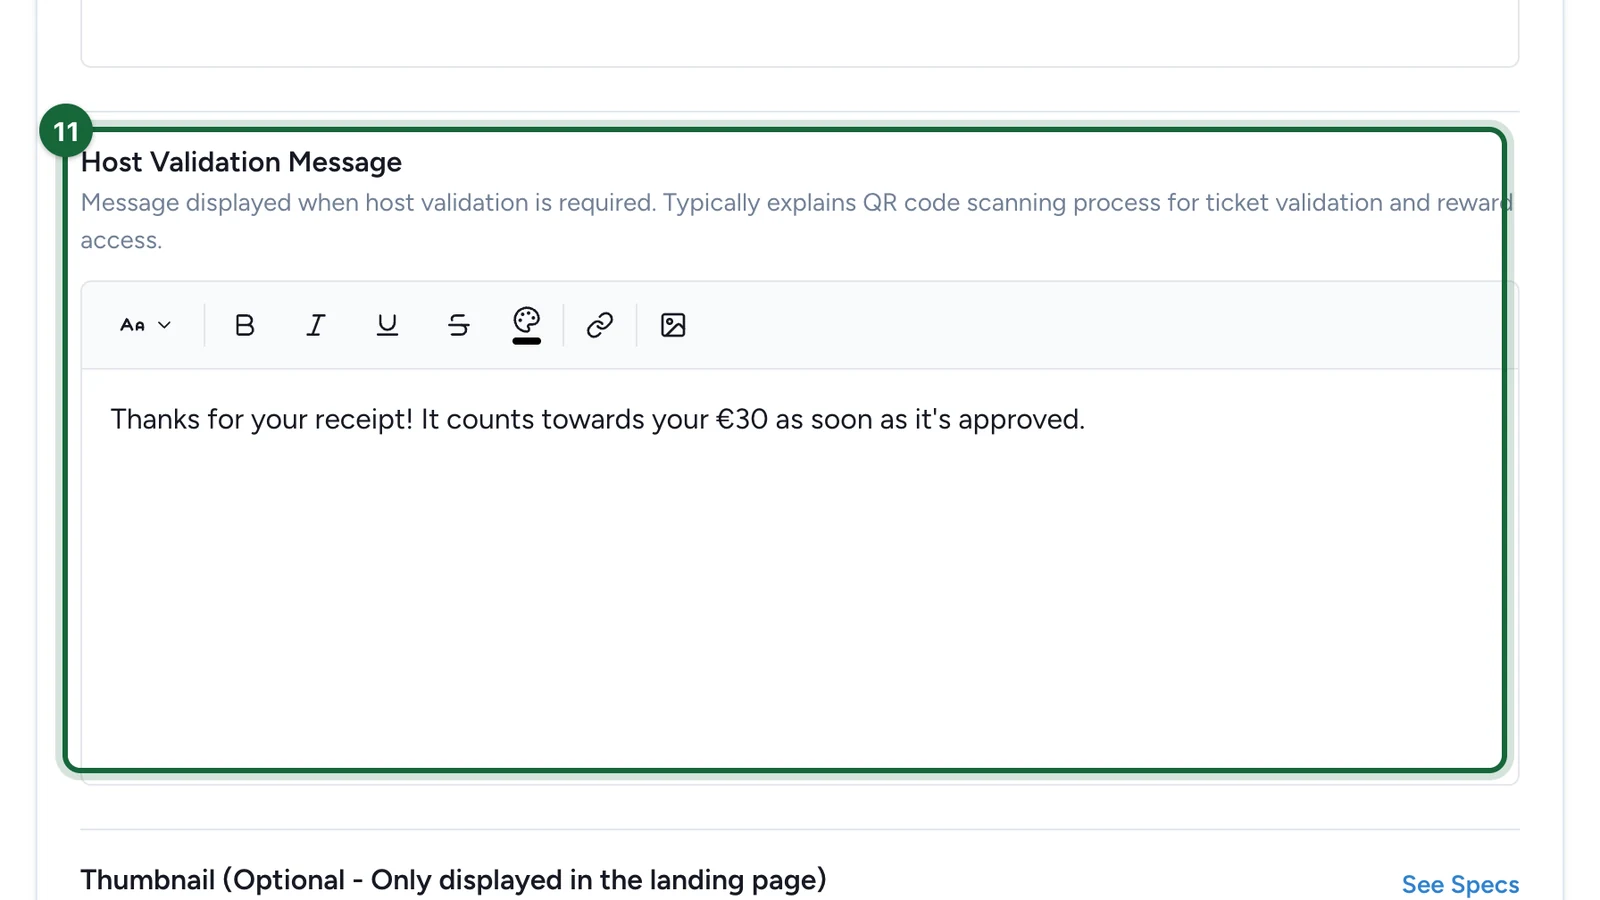
It shows with Automatic validation too. Left empty, shoppers see a default message in French.
-
Select Save.
Create the prize's reward
-
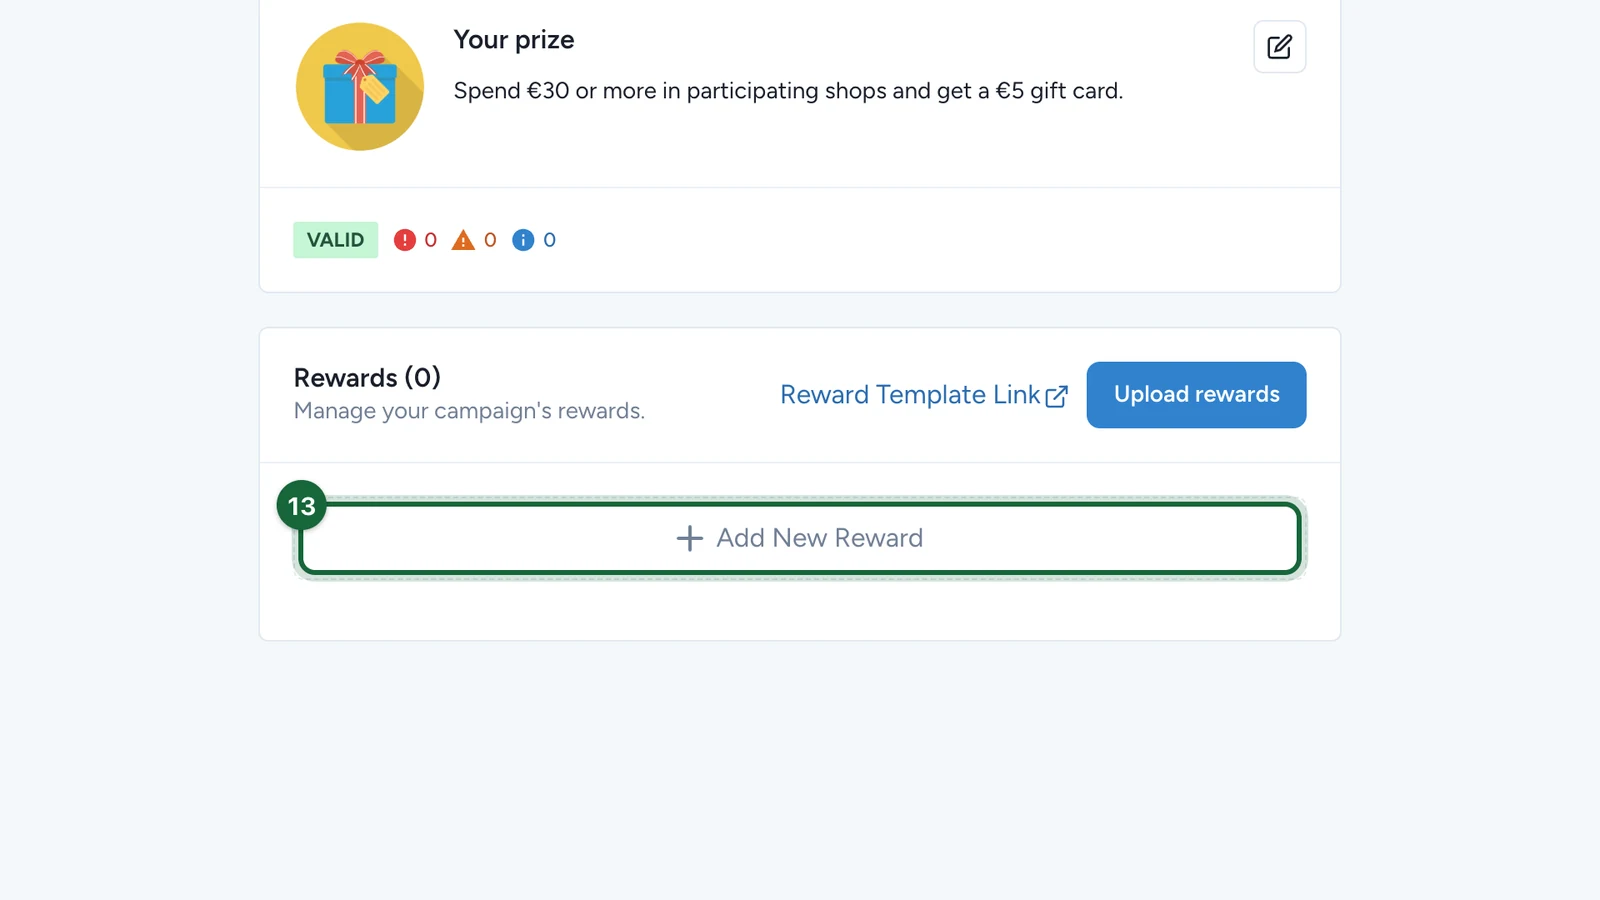
In Build > Rewards, select Add New Reward.
-
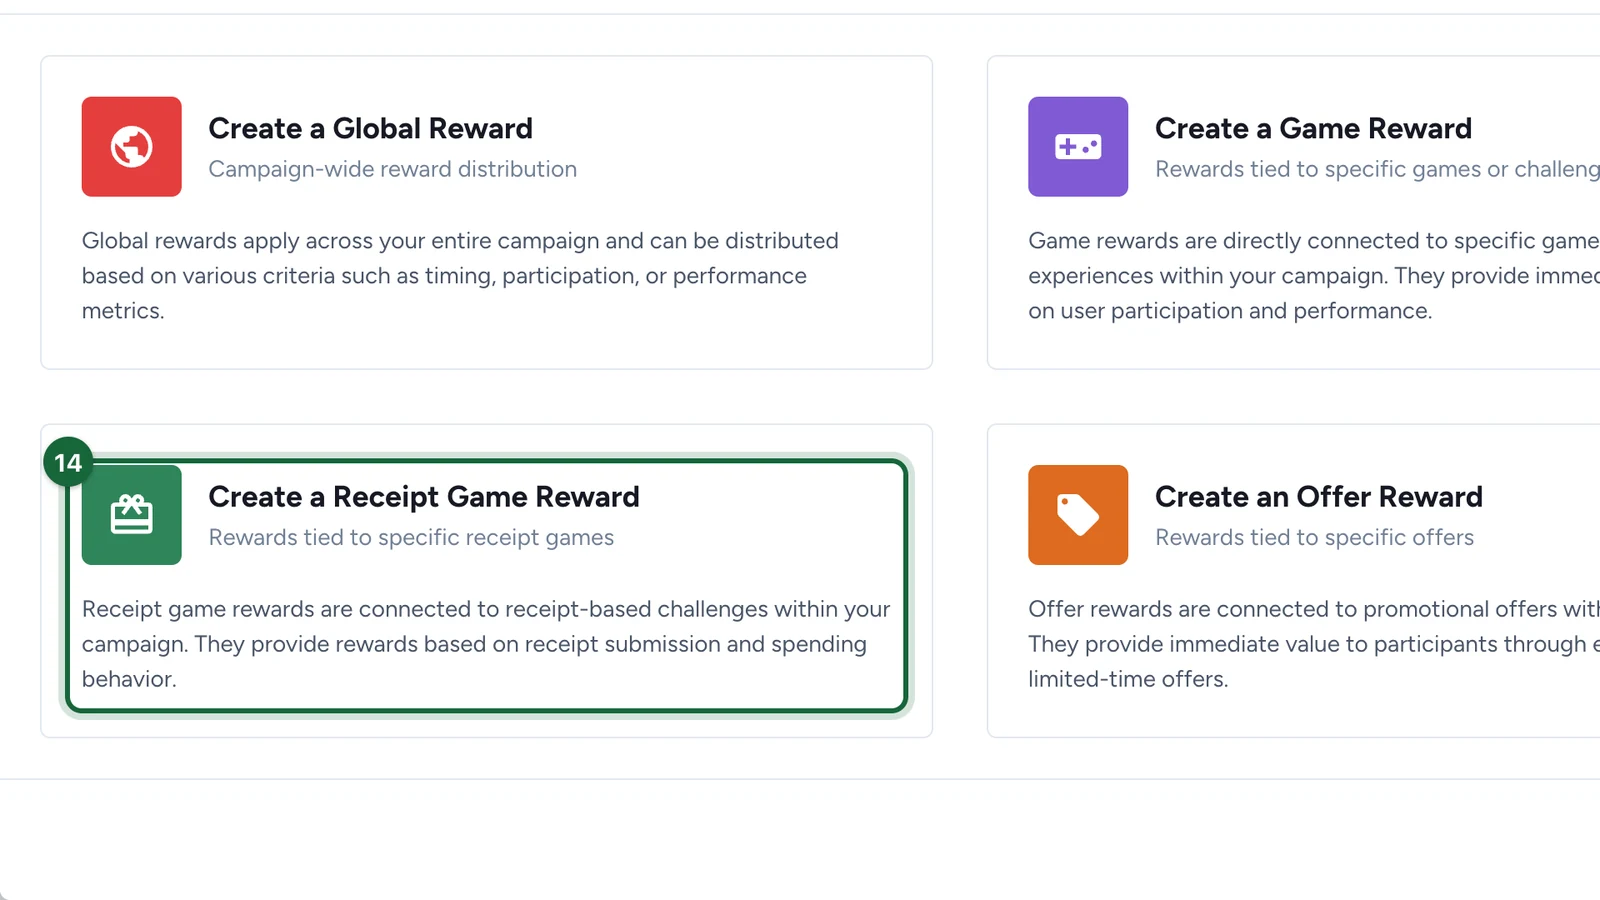
Choose Create a Receipt Game Reward.
-
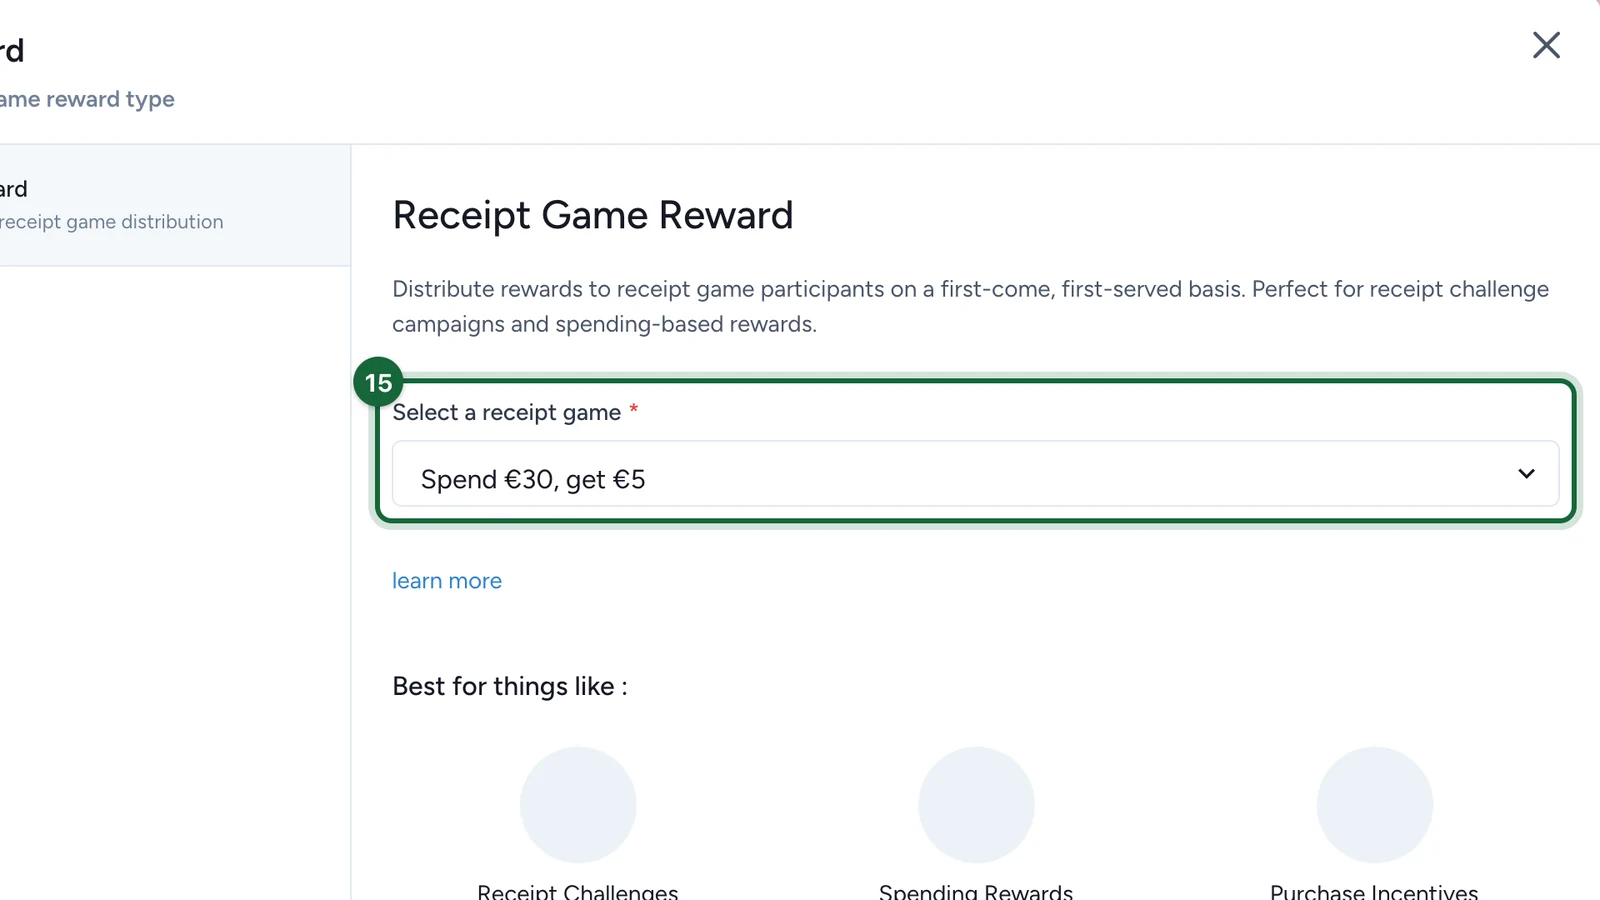
Under Select a receipt game, choose Spend €30, get €5.
-
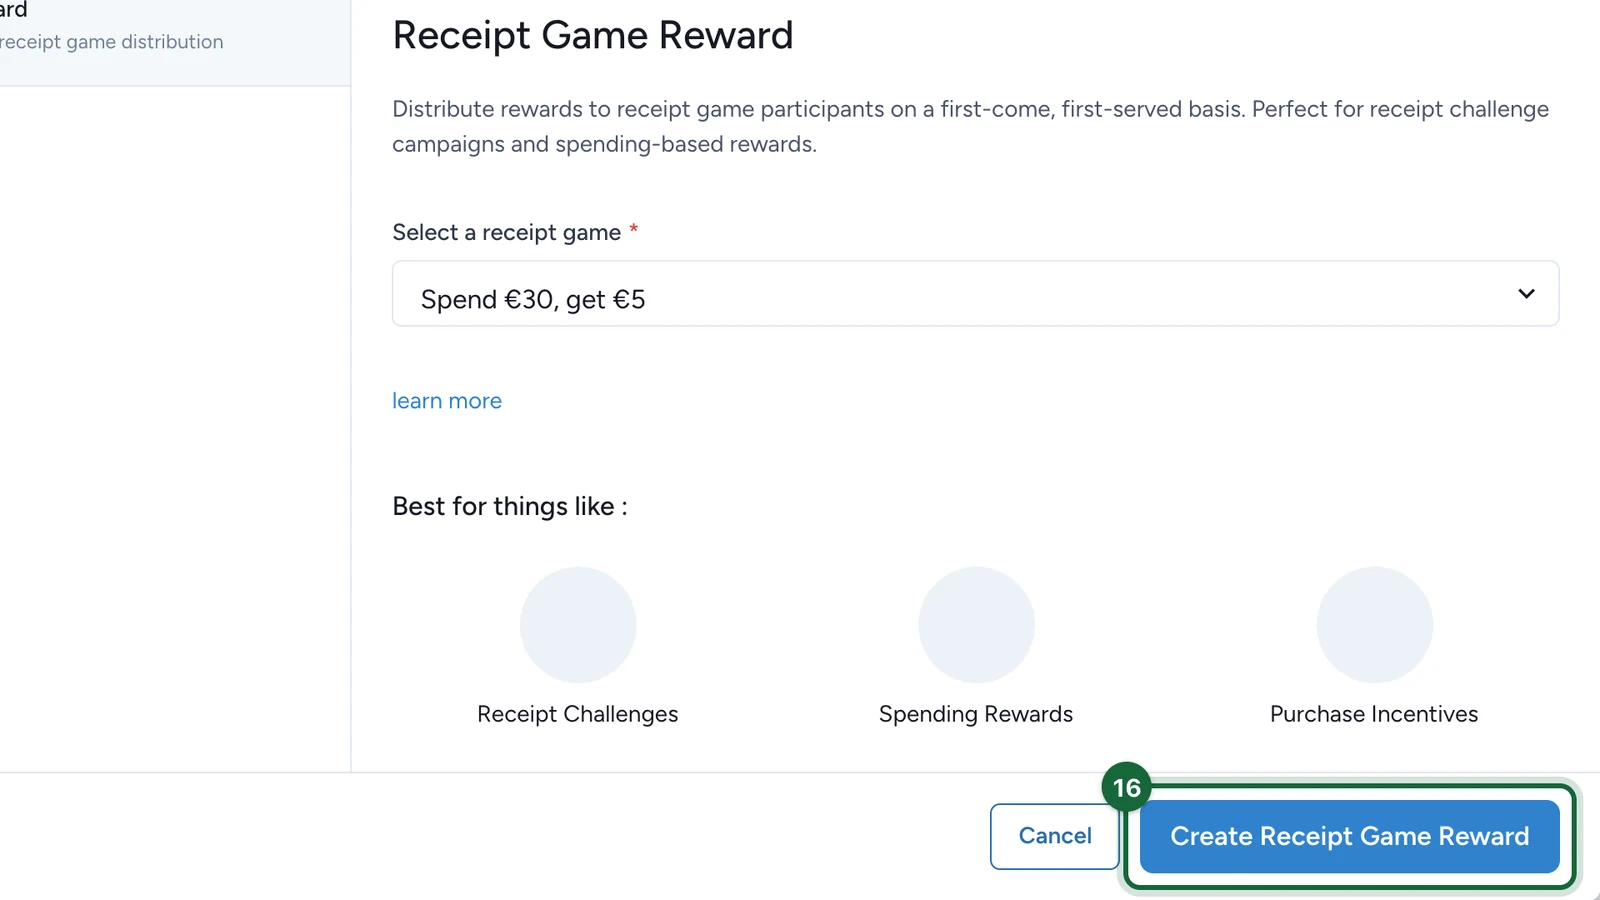
Select Create Receipt Game Reward.
-
On the new Receipt Game Reward, select Configure.
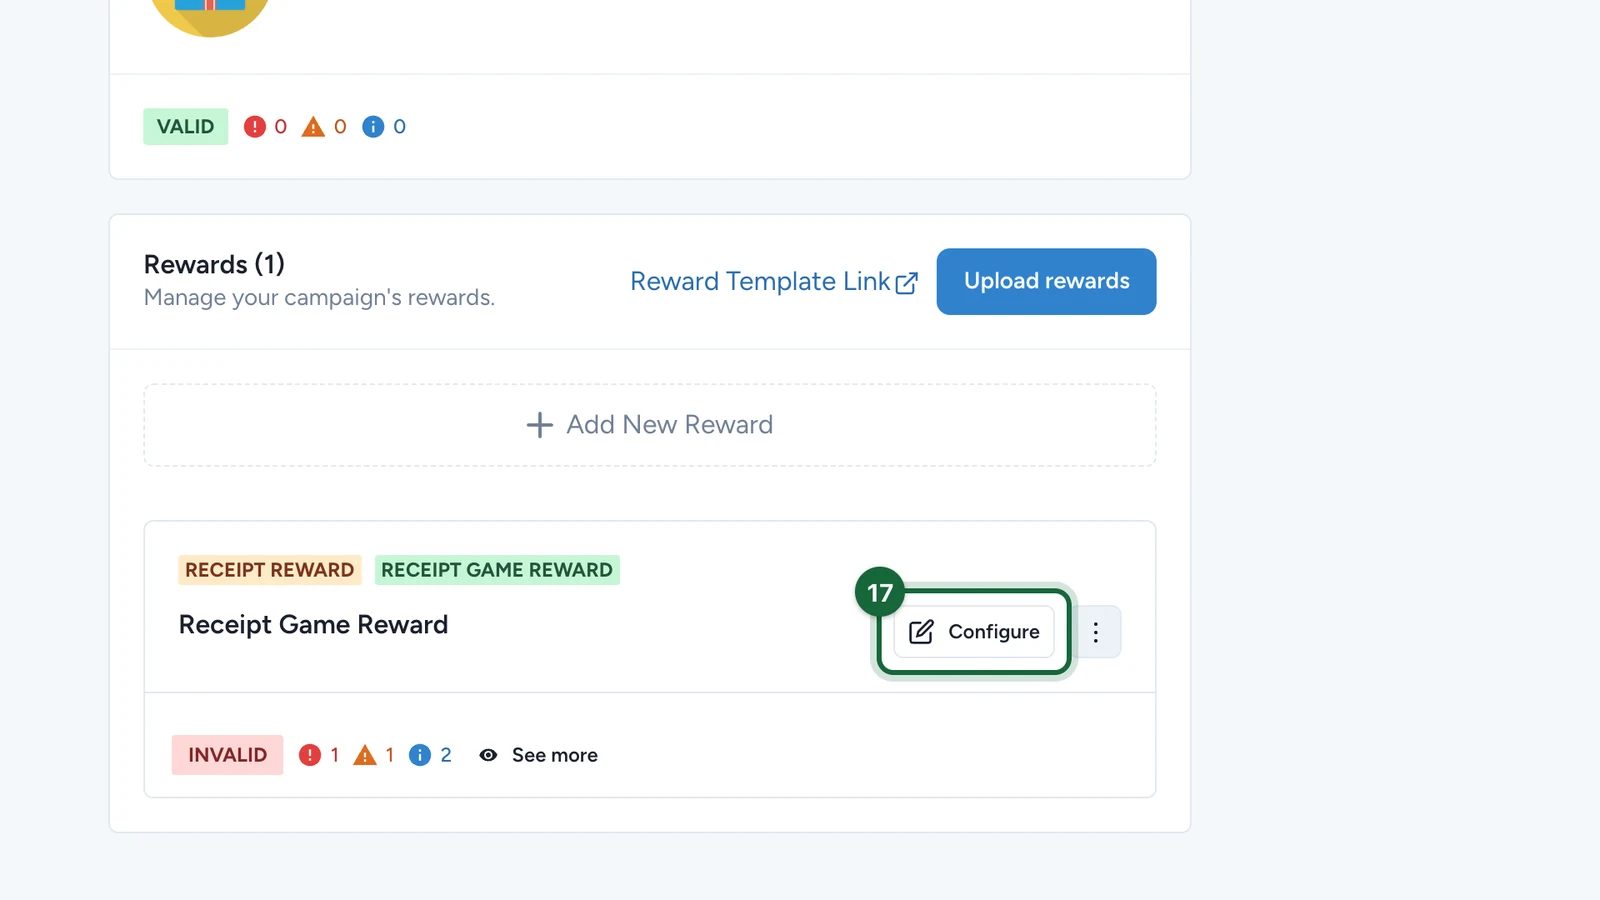
In the reward editor, open Appearance.
-
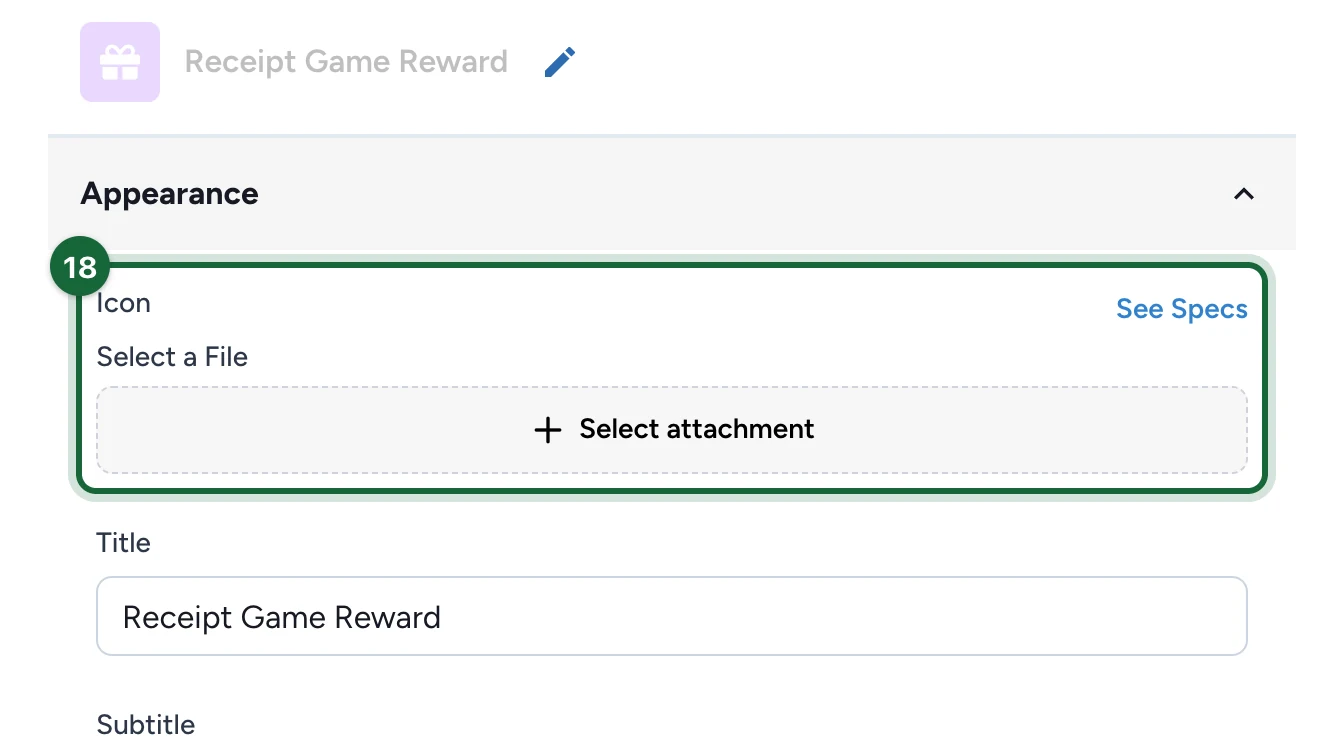
Under Icon, choose Select attachment.
-
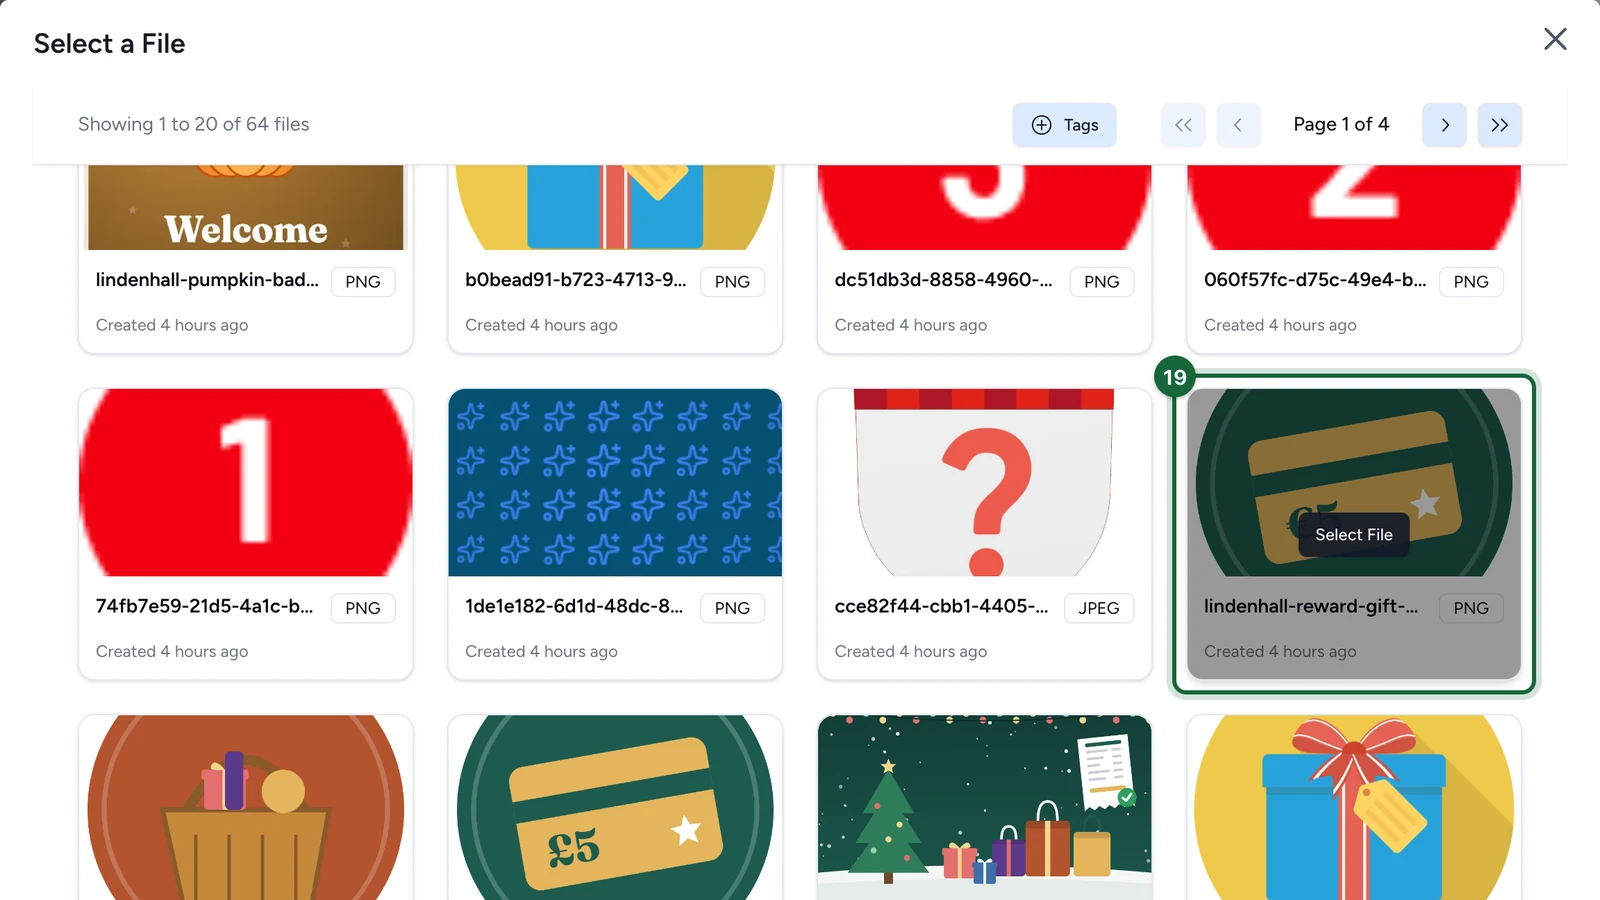
On your prize icon, choose Select File.
-
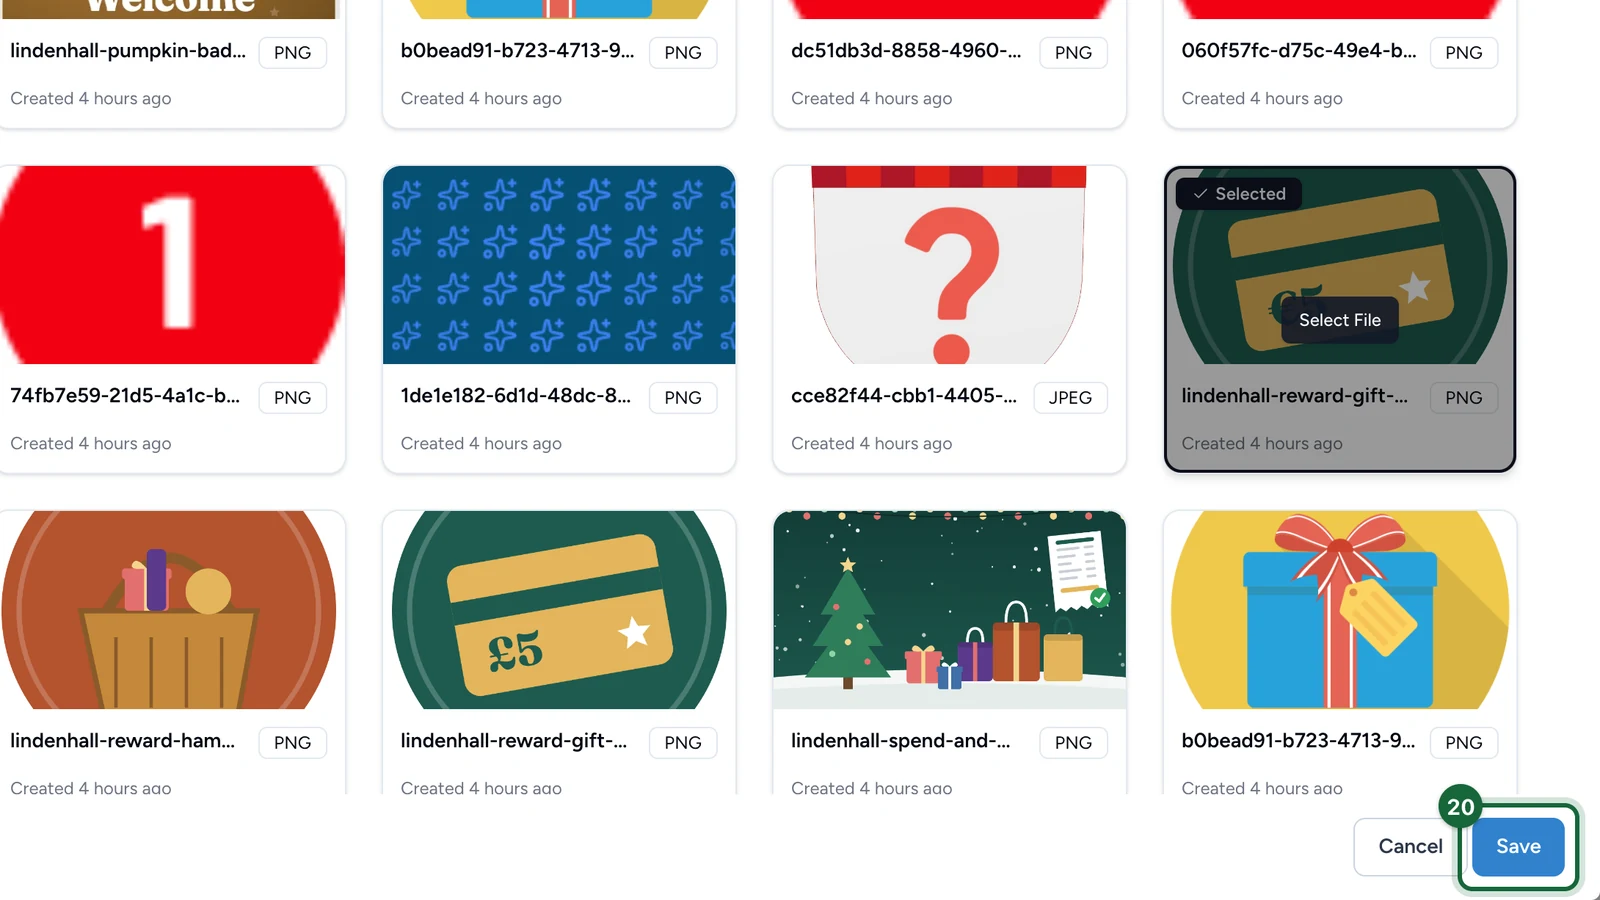
Select Save.
-
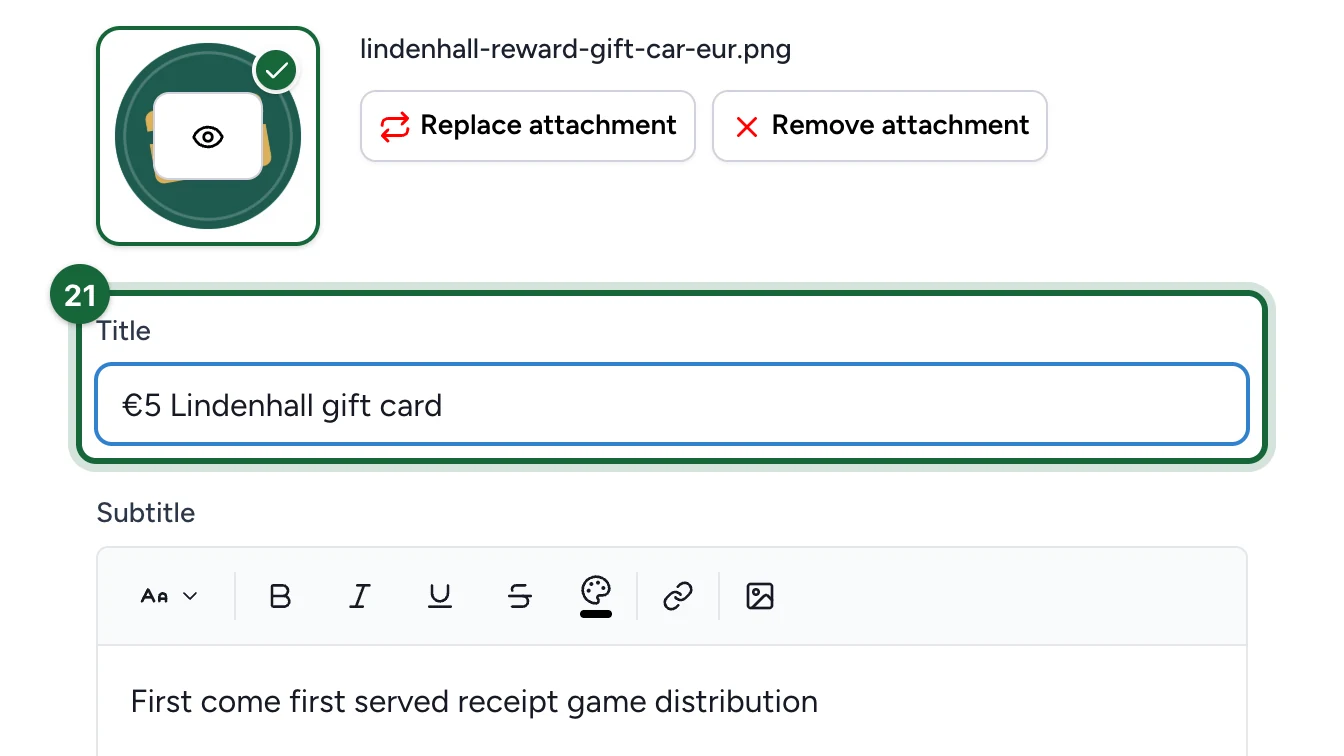
Replace the Title with the prize's name.
-
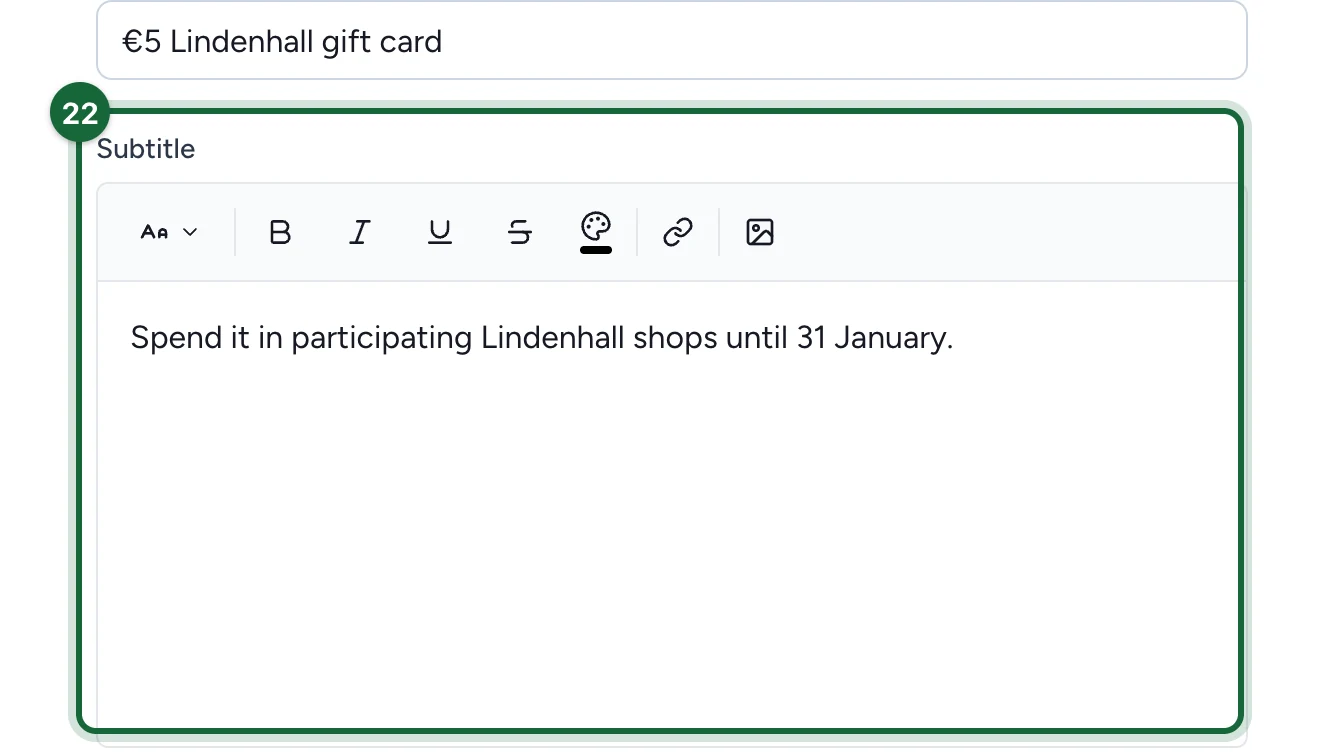
In Subtitle, say where to spend it.
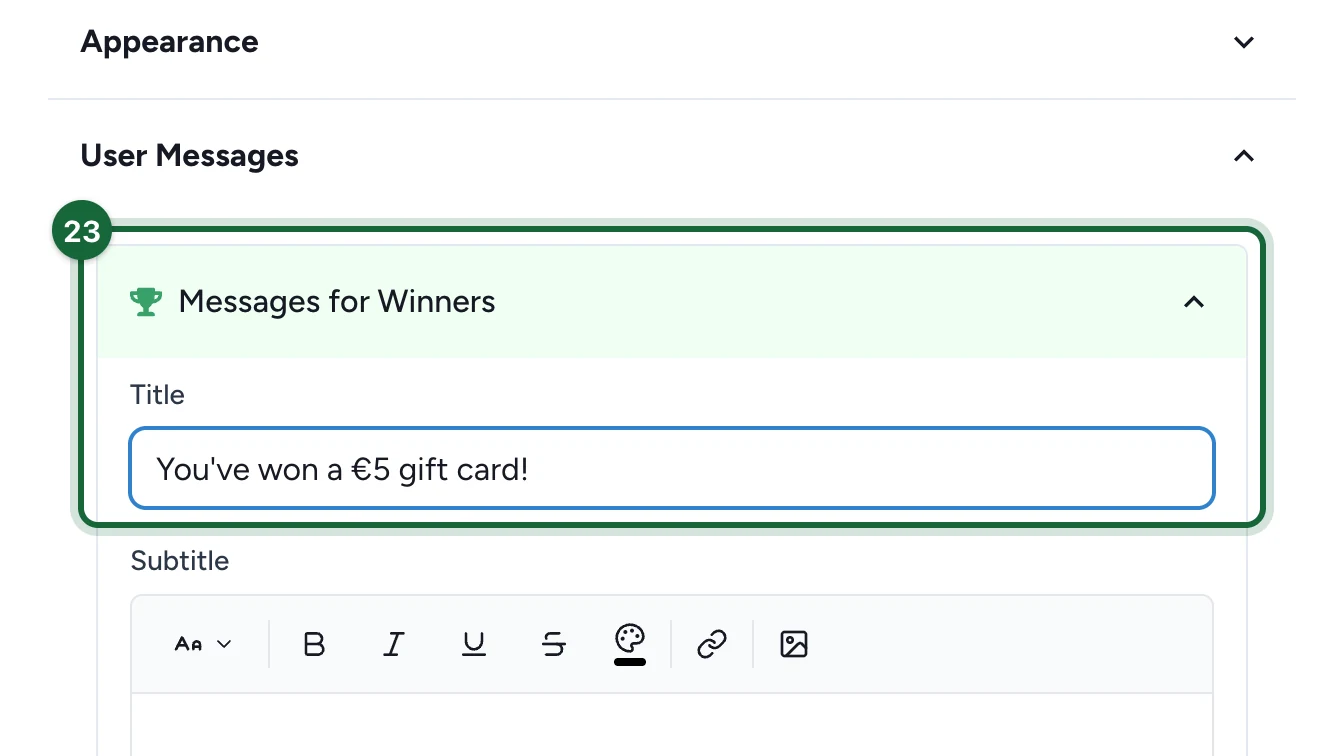
Open User Messages.
-
Under Messages for Winners, enter the Title winners see.
-
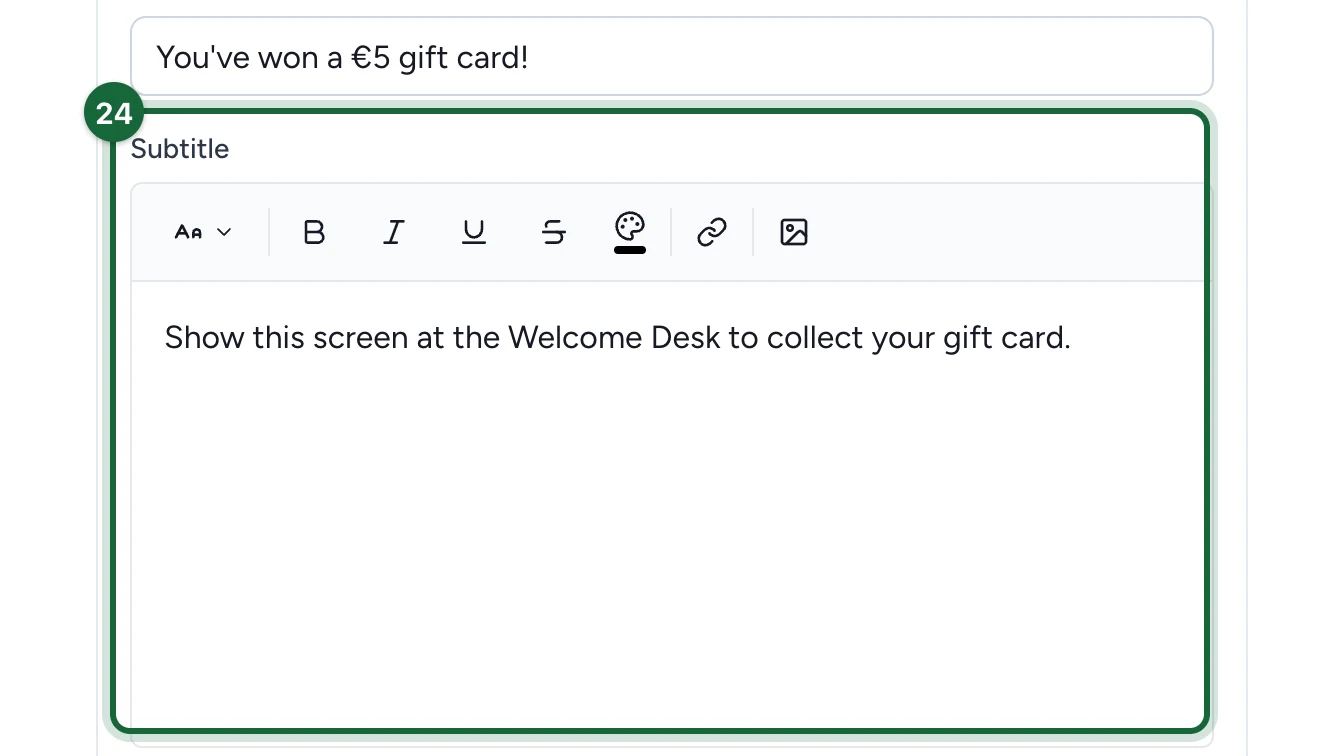
Enter the winners' Subtitle.
-
Select Save.
Set up the prize in the game
In Build > Touchpoints, select Configure on the receipt game.
-
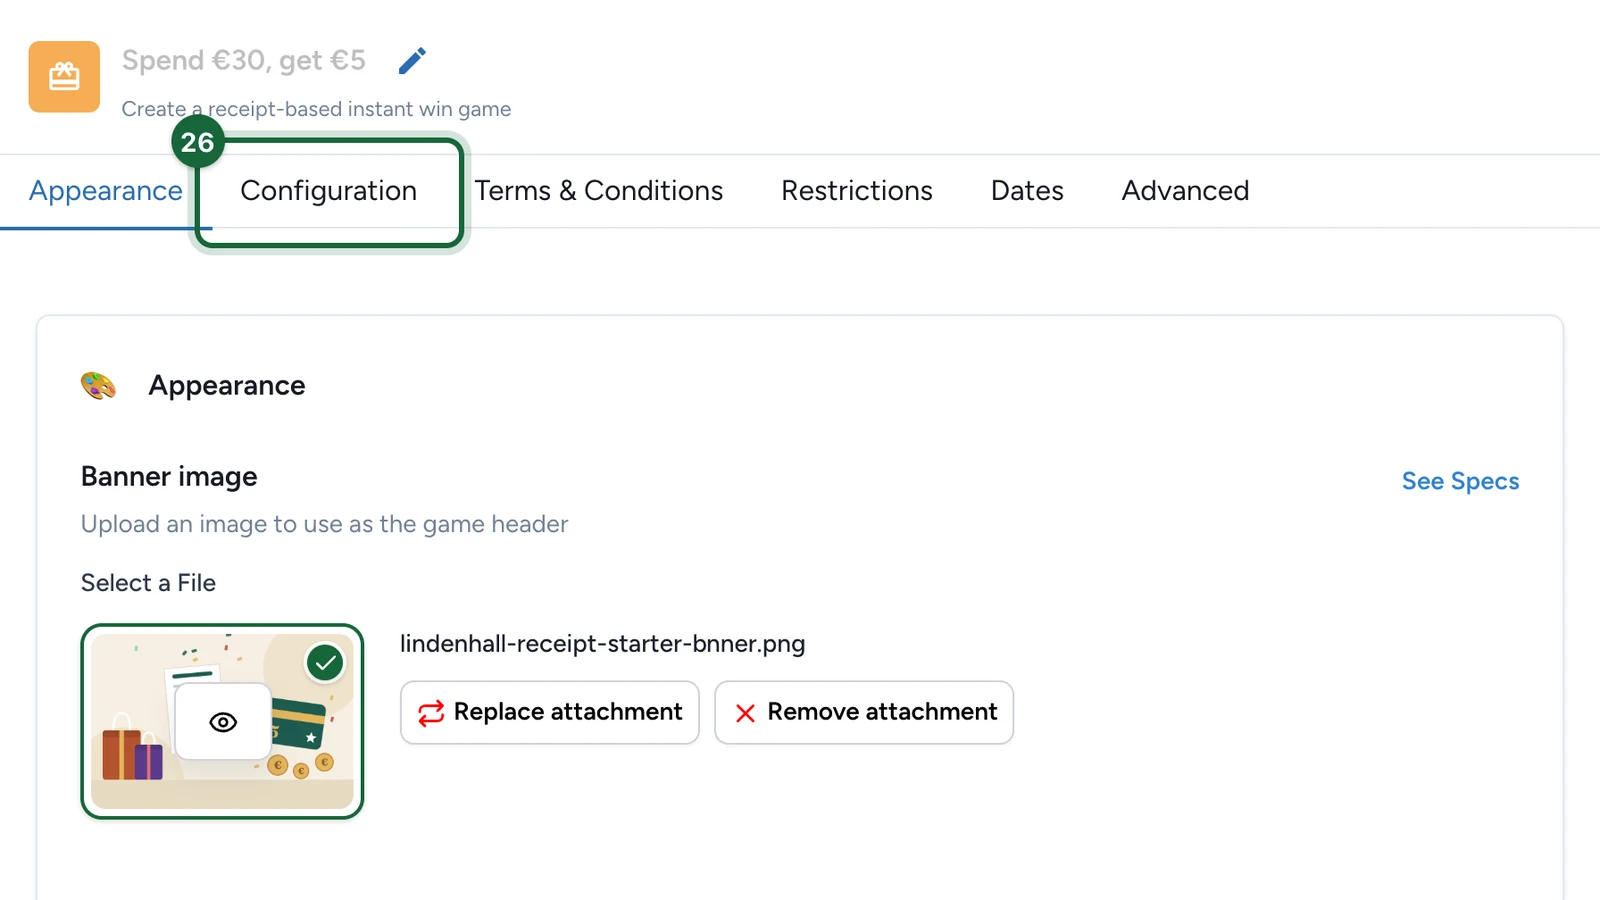
Select the Configuration tab.
-
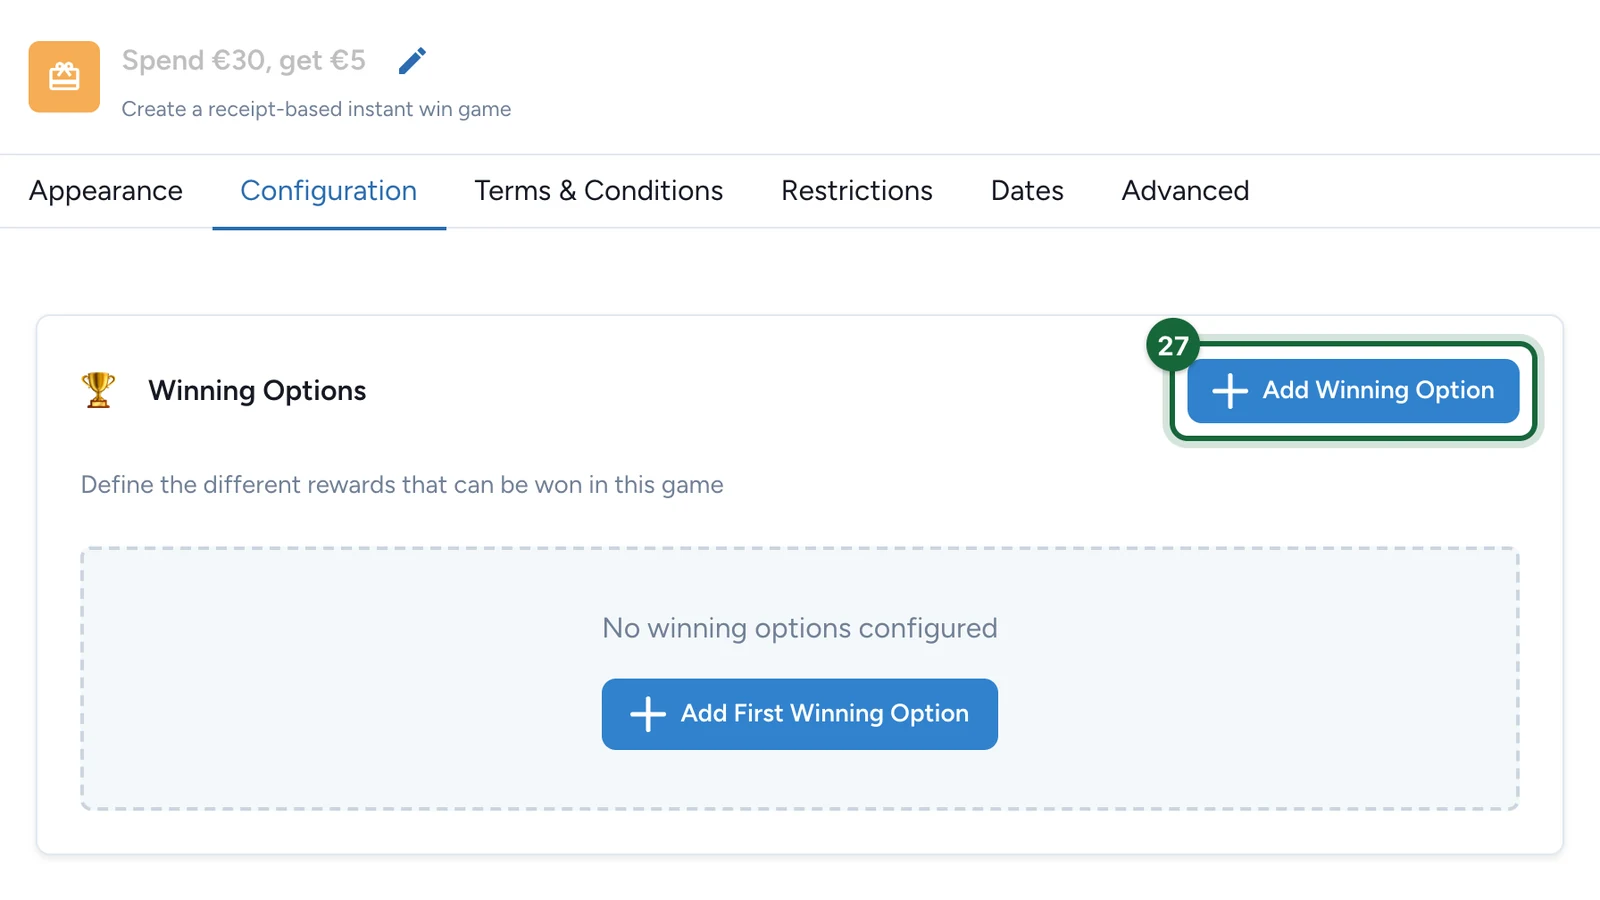
Under Winning Options, select Add Winning Option.
-
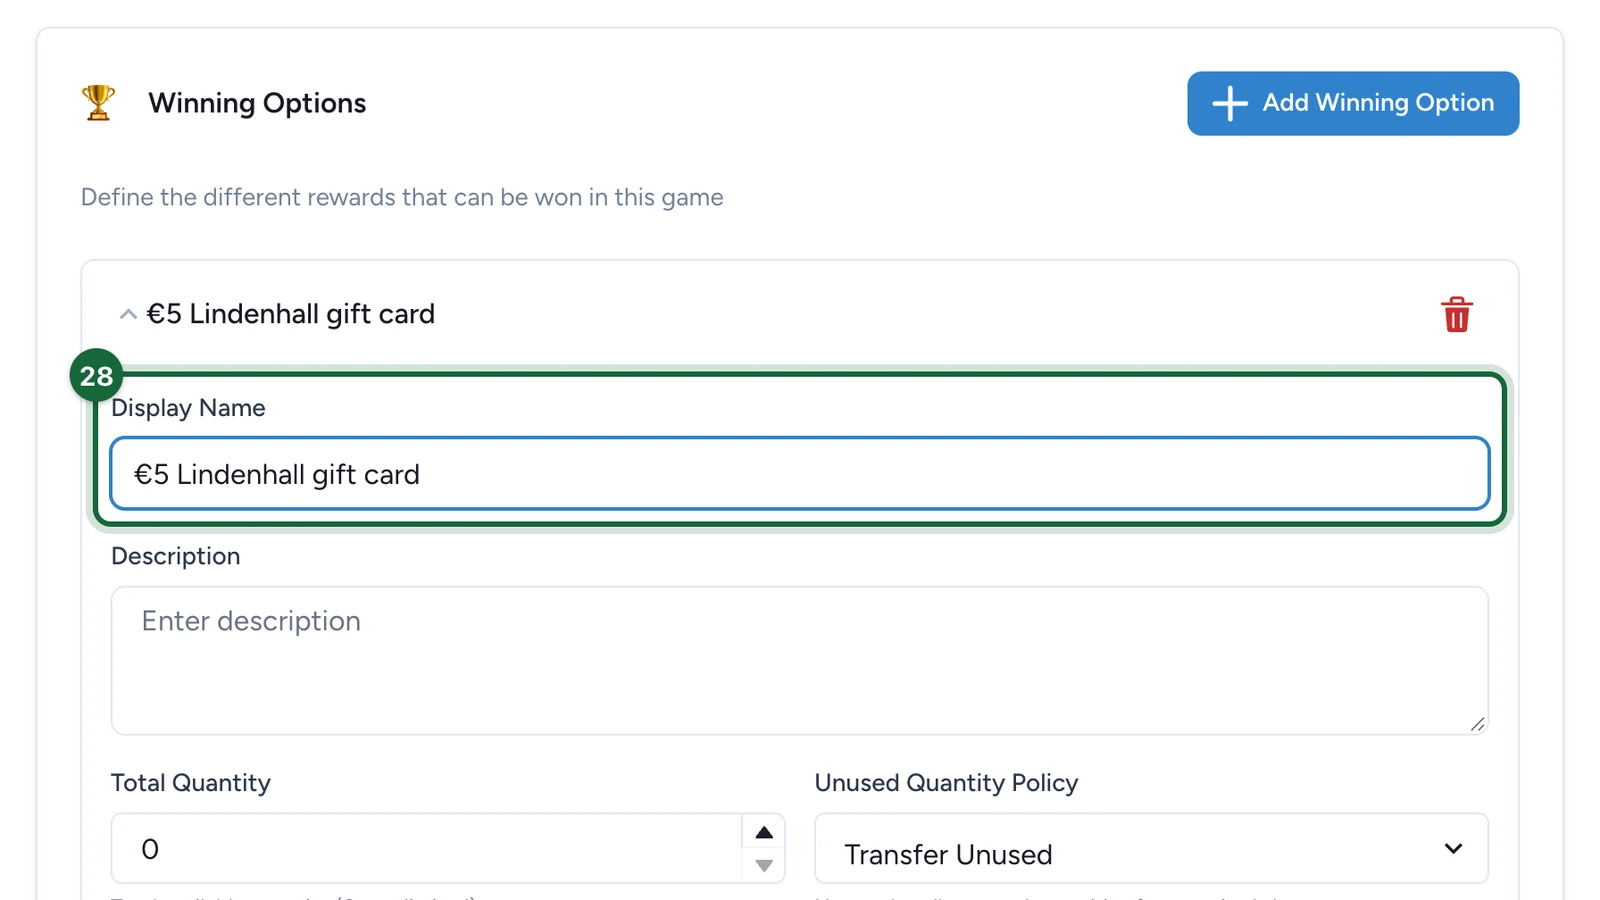
In the new option, enter the Display Name, such as "€5 Lindenhall gift card".
-
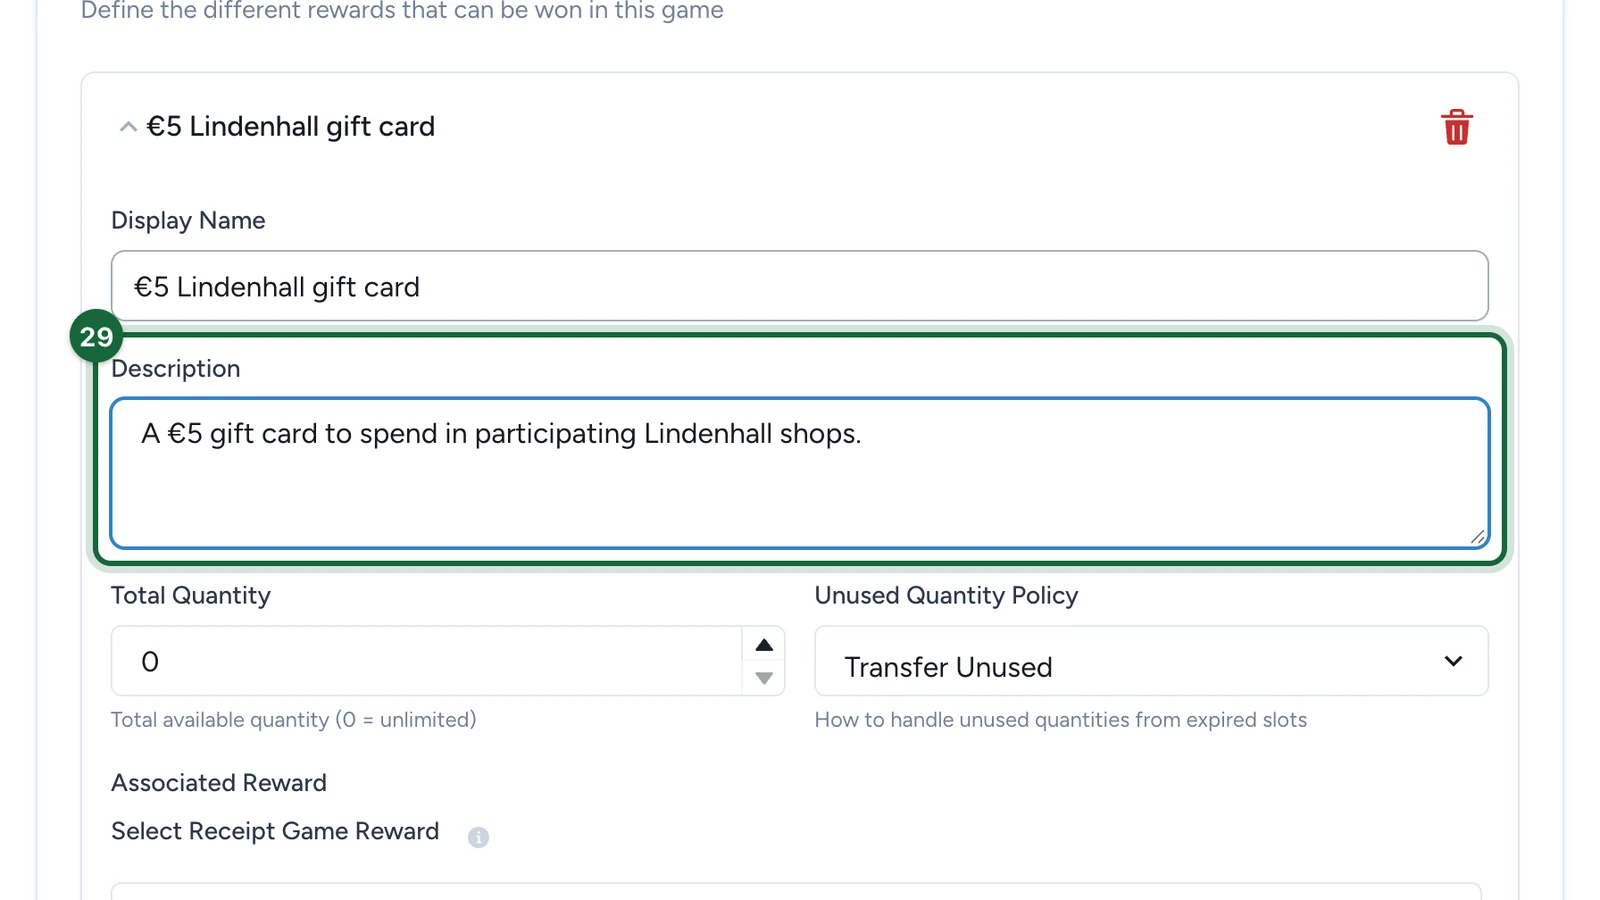
Enter a Description of the prize.
-
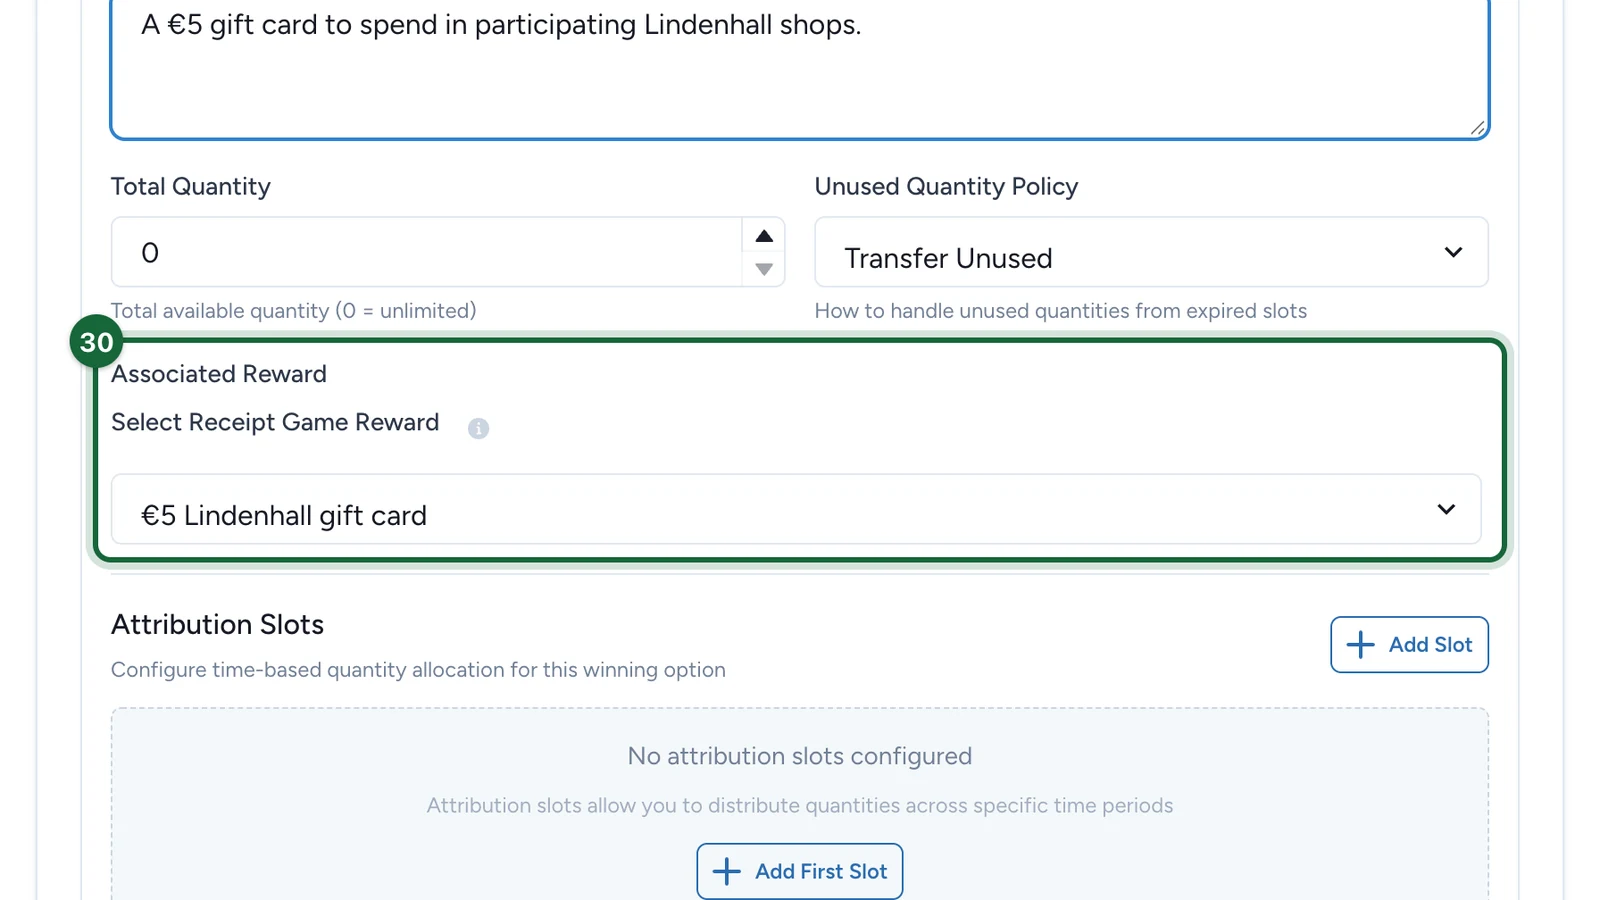
Under Associated Reward, choose the reward you created.
-
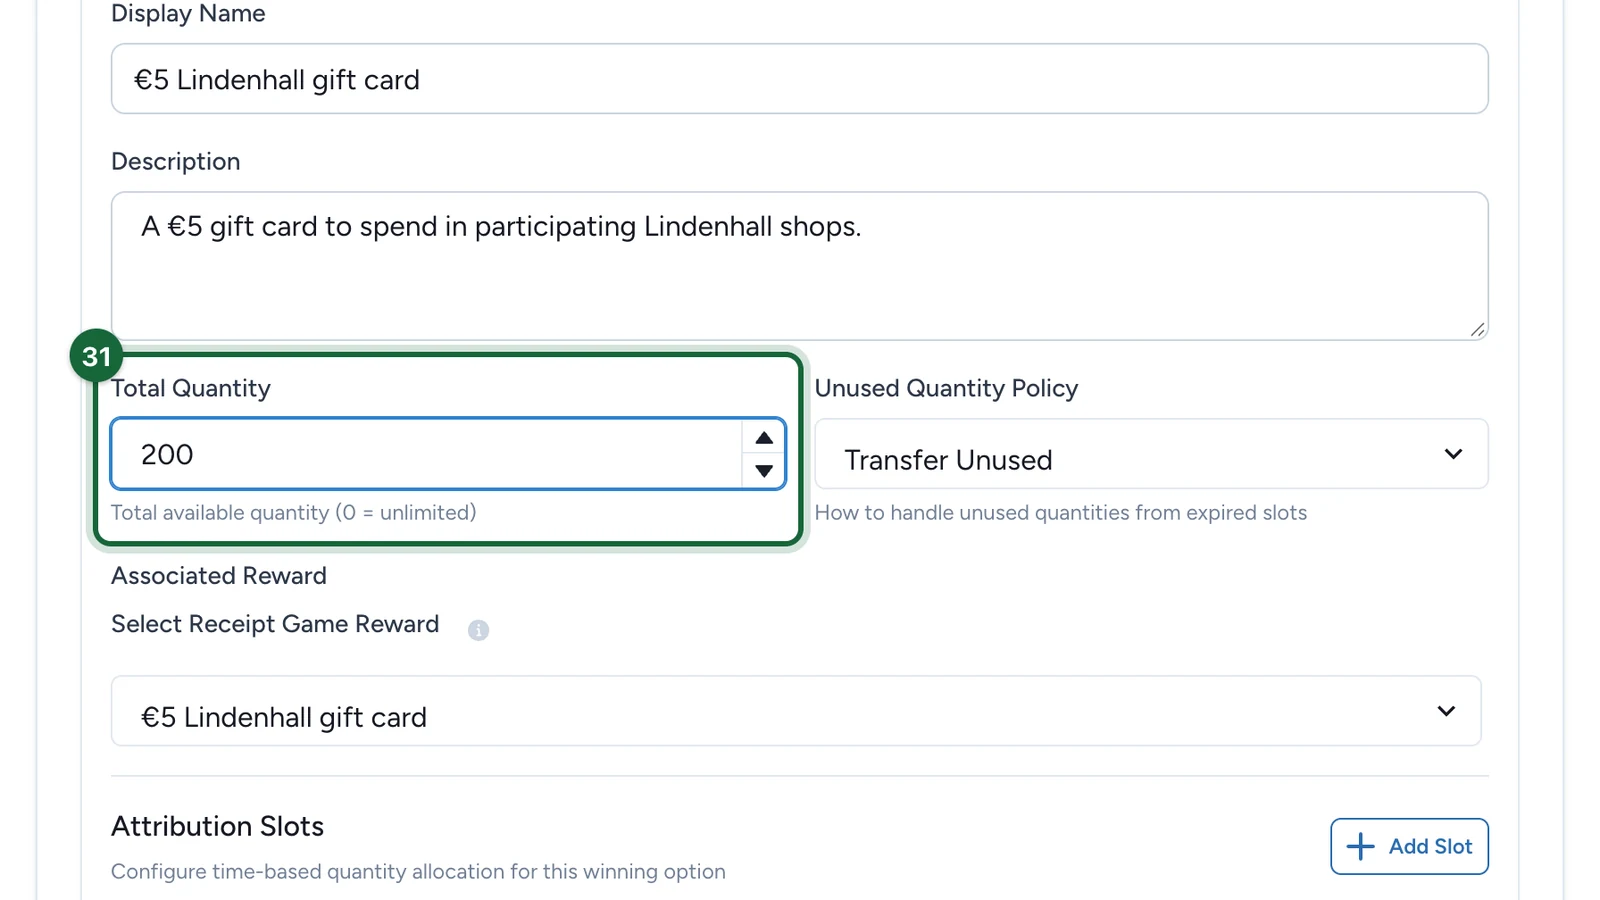
Set the Total Quantity to the number of gift cards, such as 200.
-
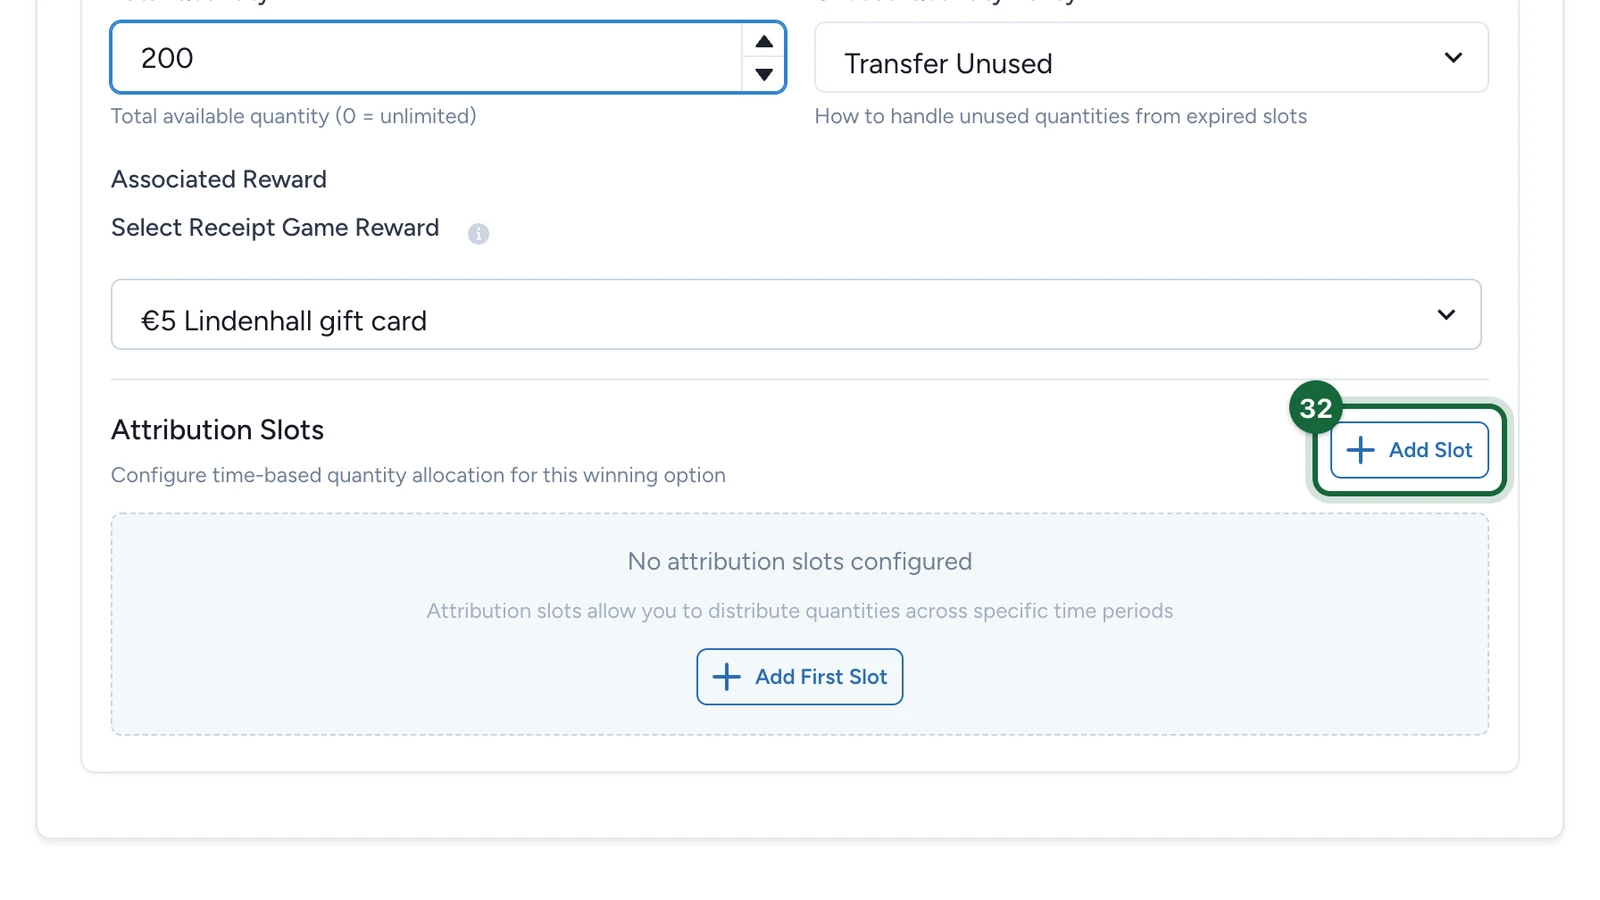
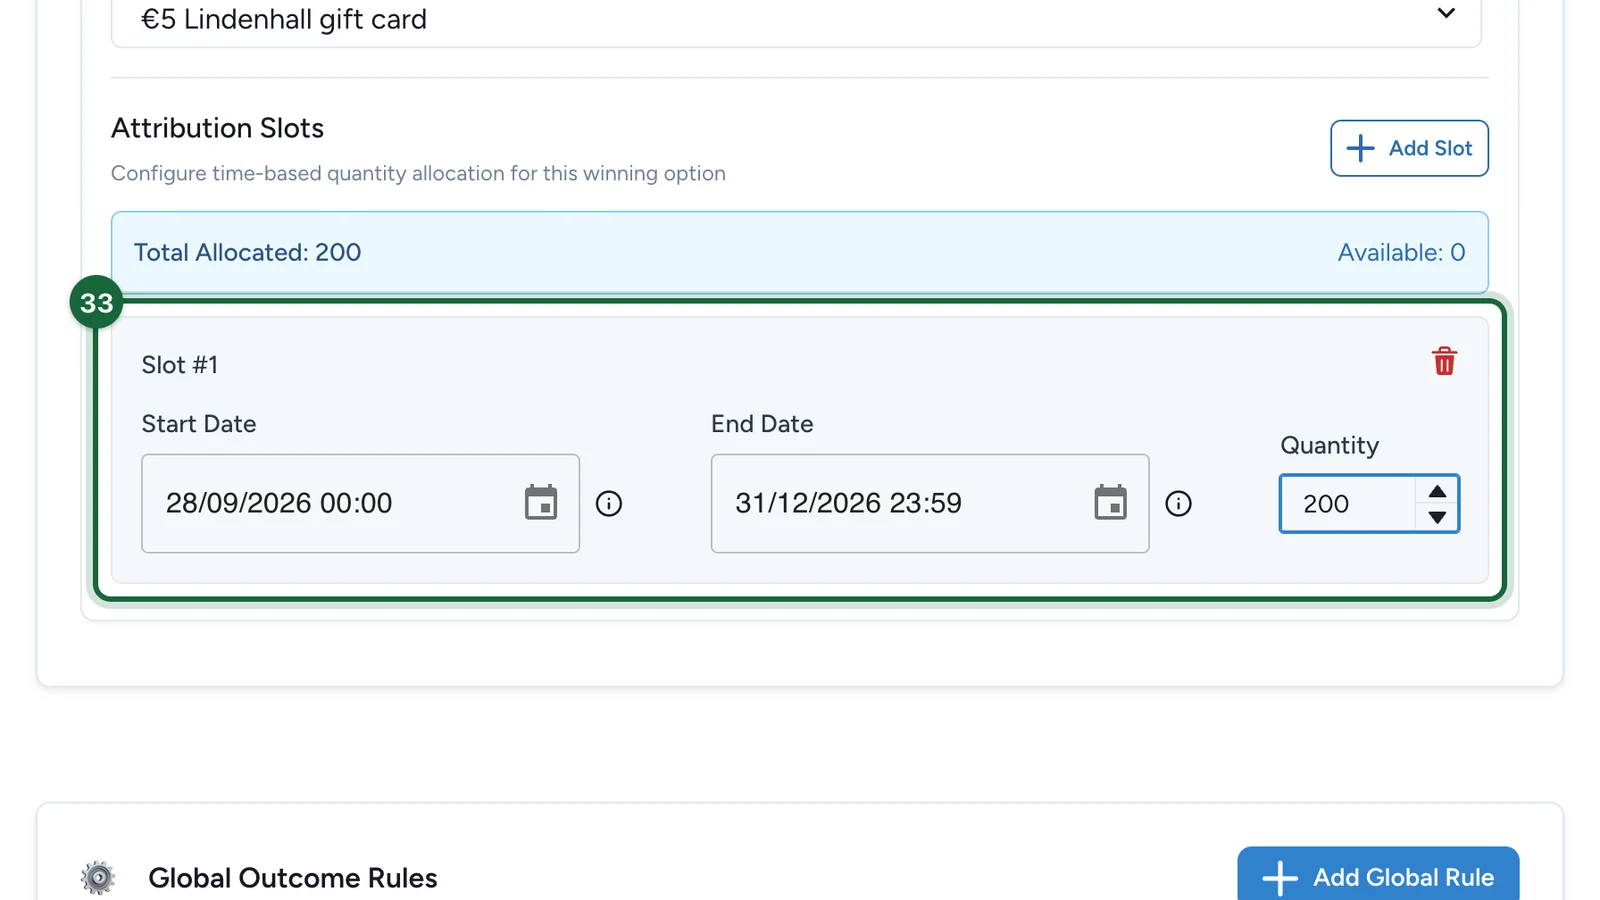
Under Attribution Slots, select Add Slot.
-
Set the slot's Start Date and End Date to the campaign's dates, and its Quantity to the same 200.
Add the spend rule
-
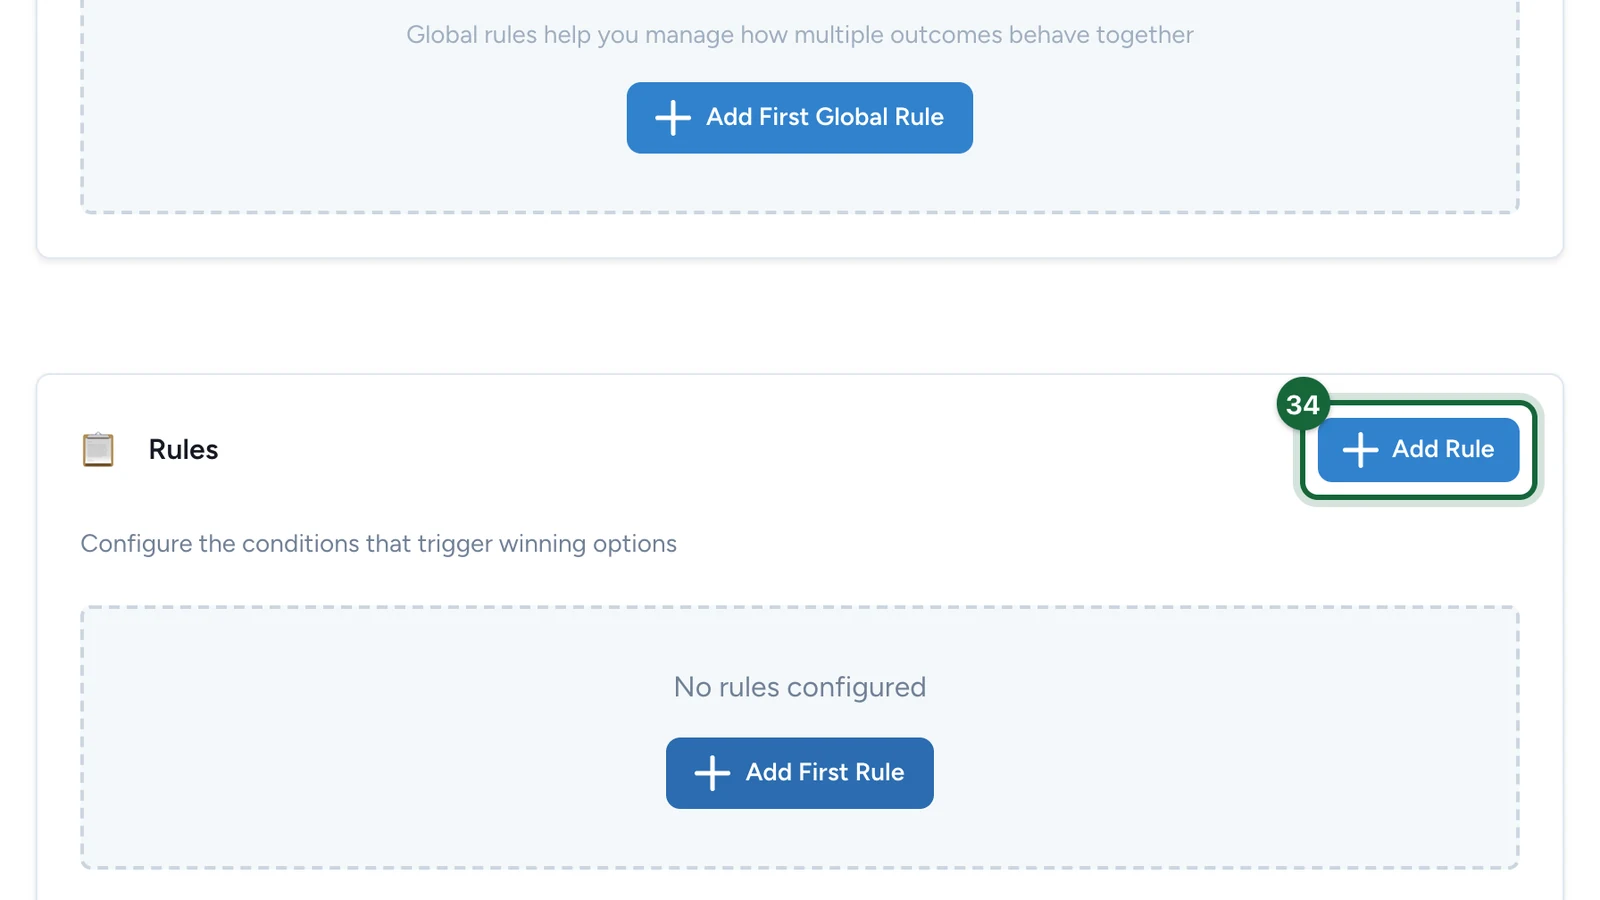
Under Rules, select Add Rule.
-
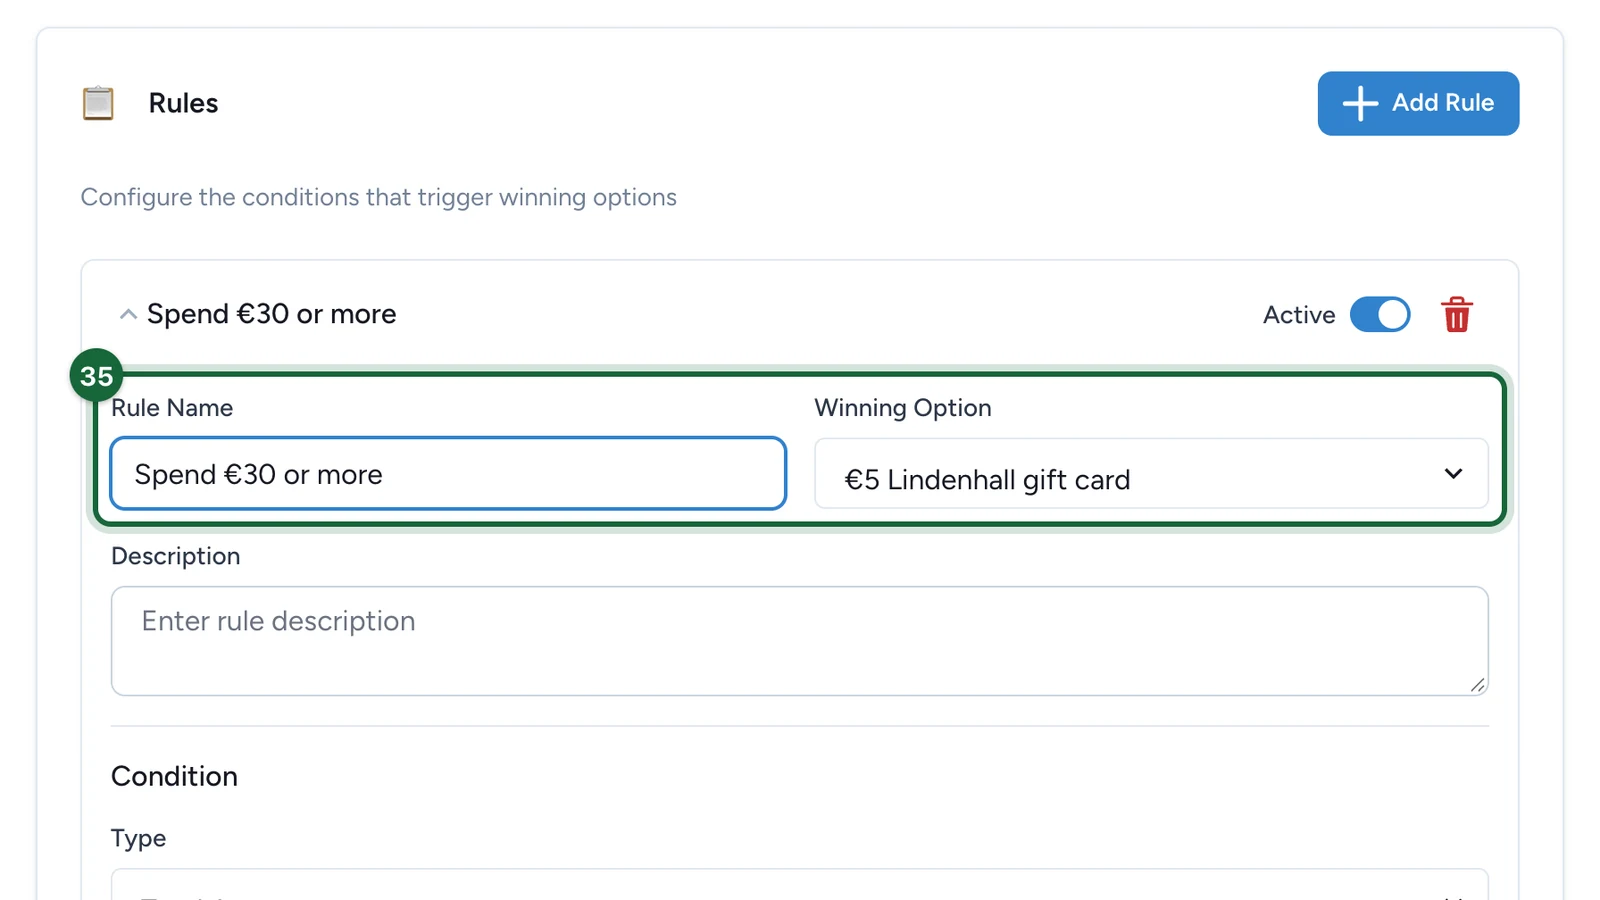
In the new rule, enter the Rule Name, then choose the Winning Option.
-
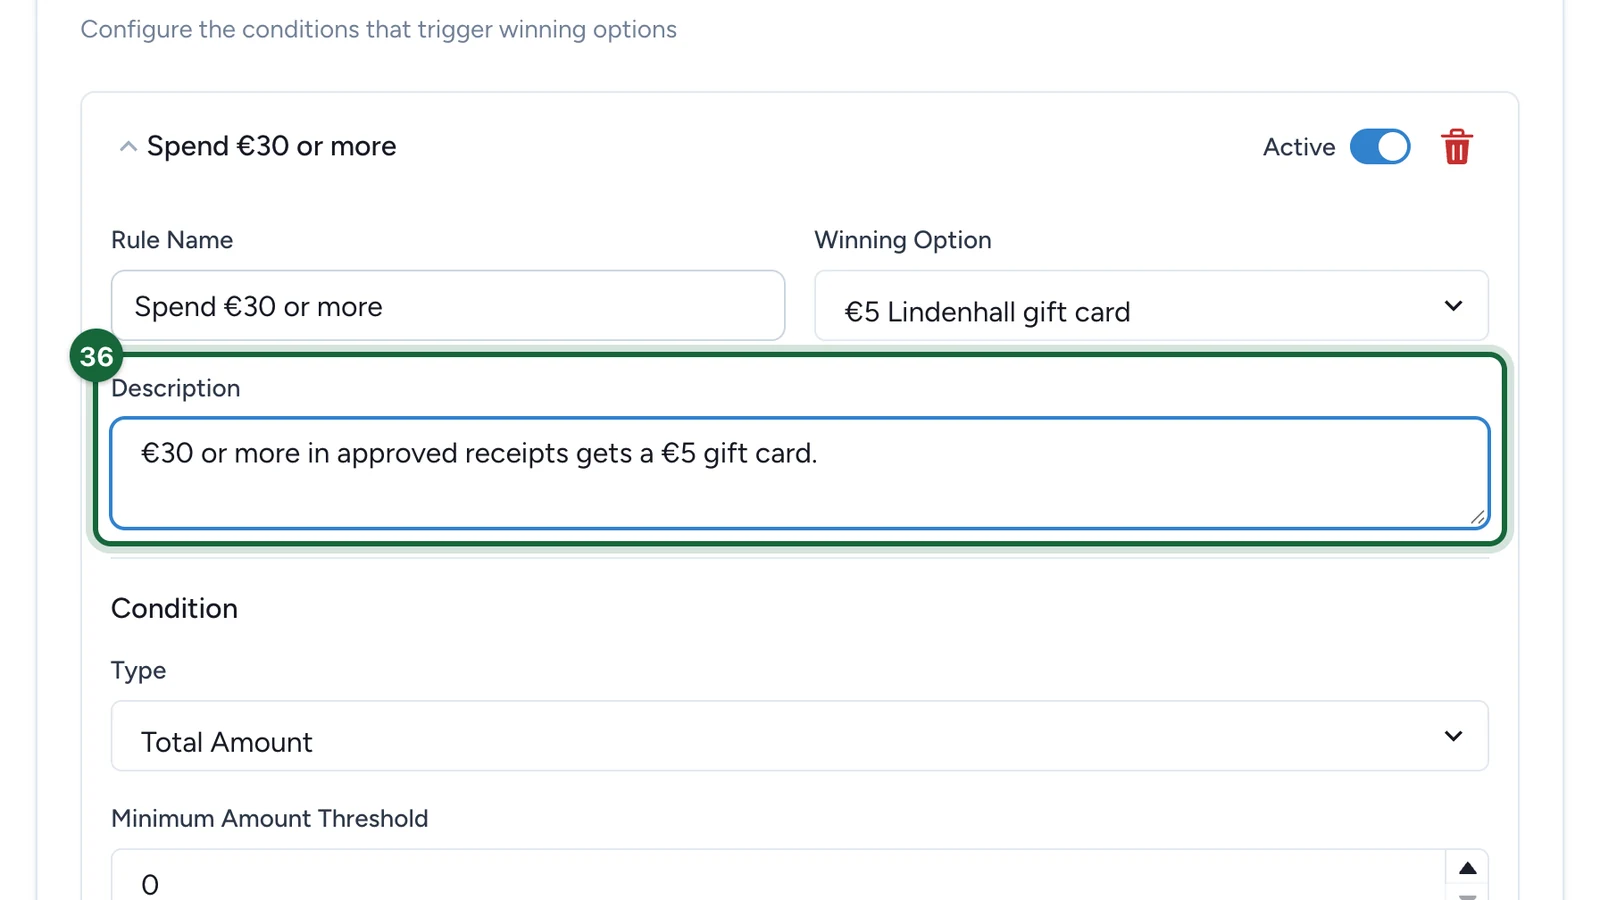
Enter a Description of the rule.
-
Keep Type on Total Amount, then enter
30as the Minimum Amount Threshold.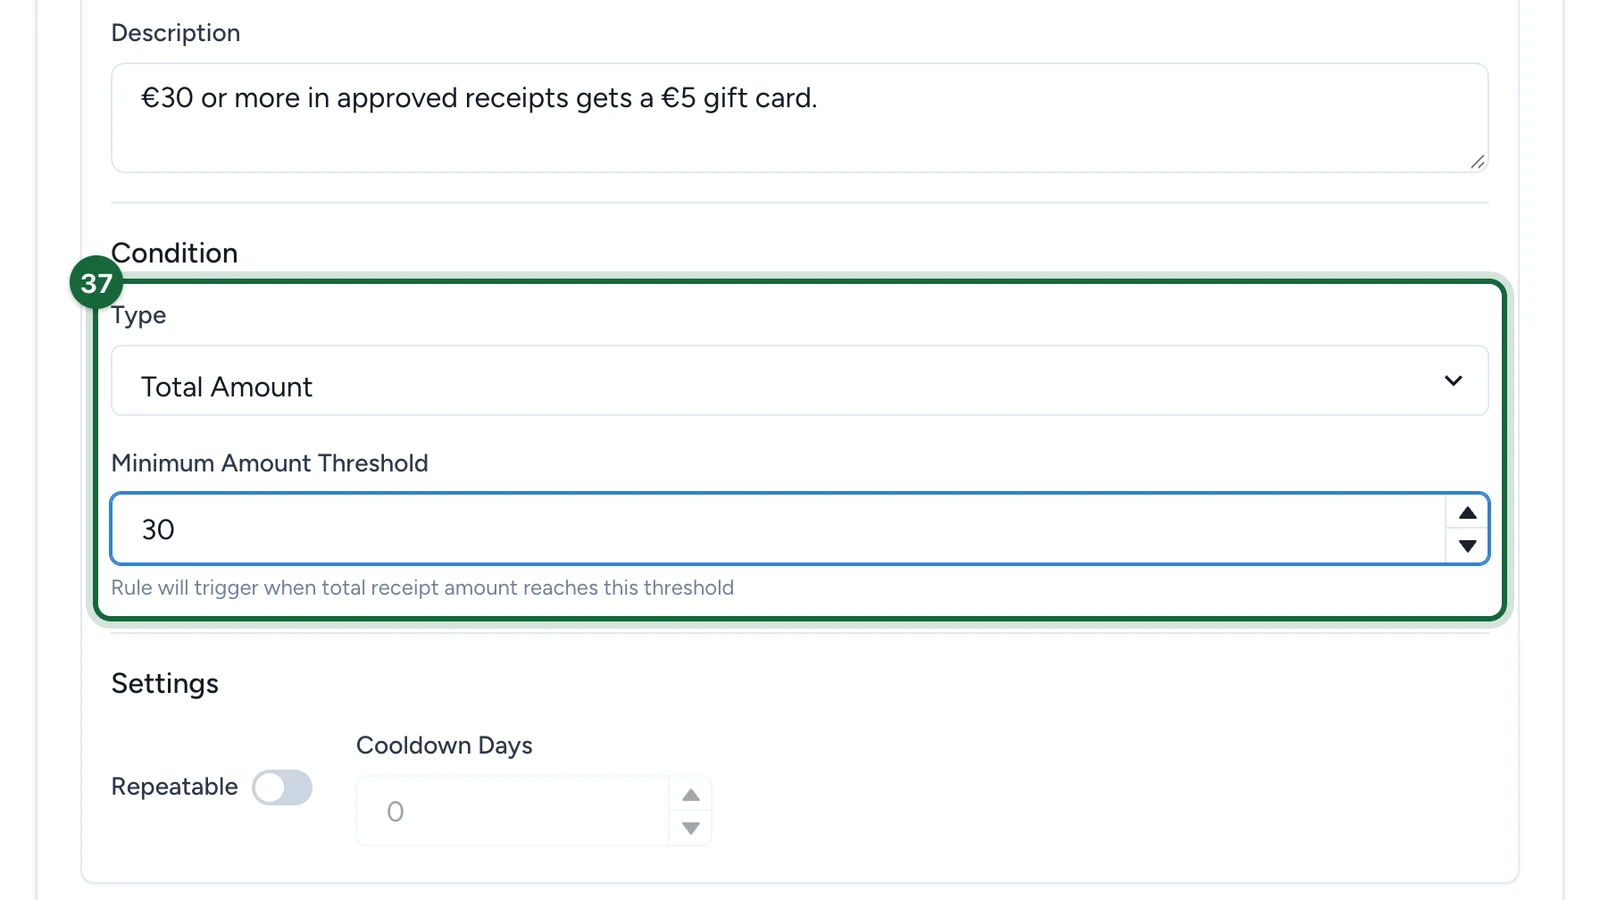
Total Amount adds up the shopper's approved receipts, so two €15 receipts get the gift card too.
Choose which receipts count
-
Under Field Requirements, turn on Amount.
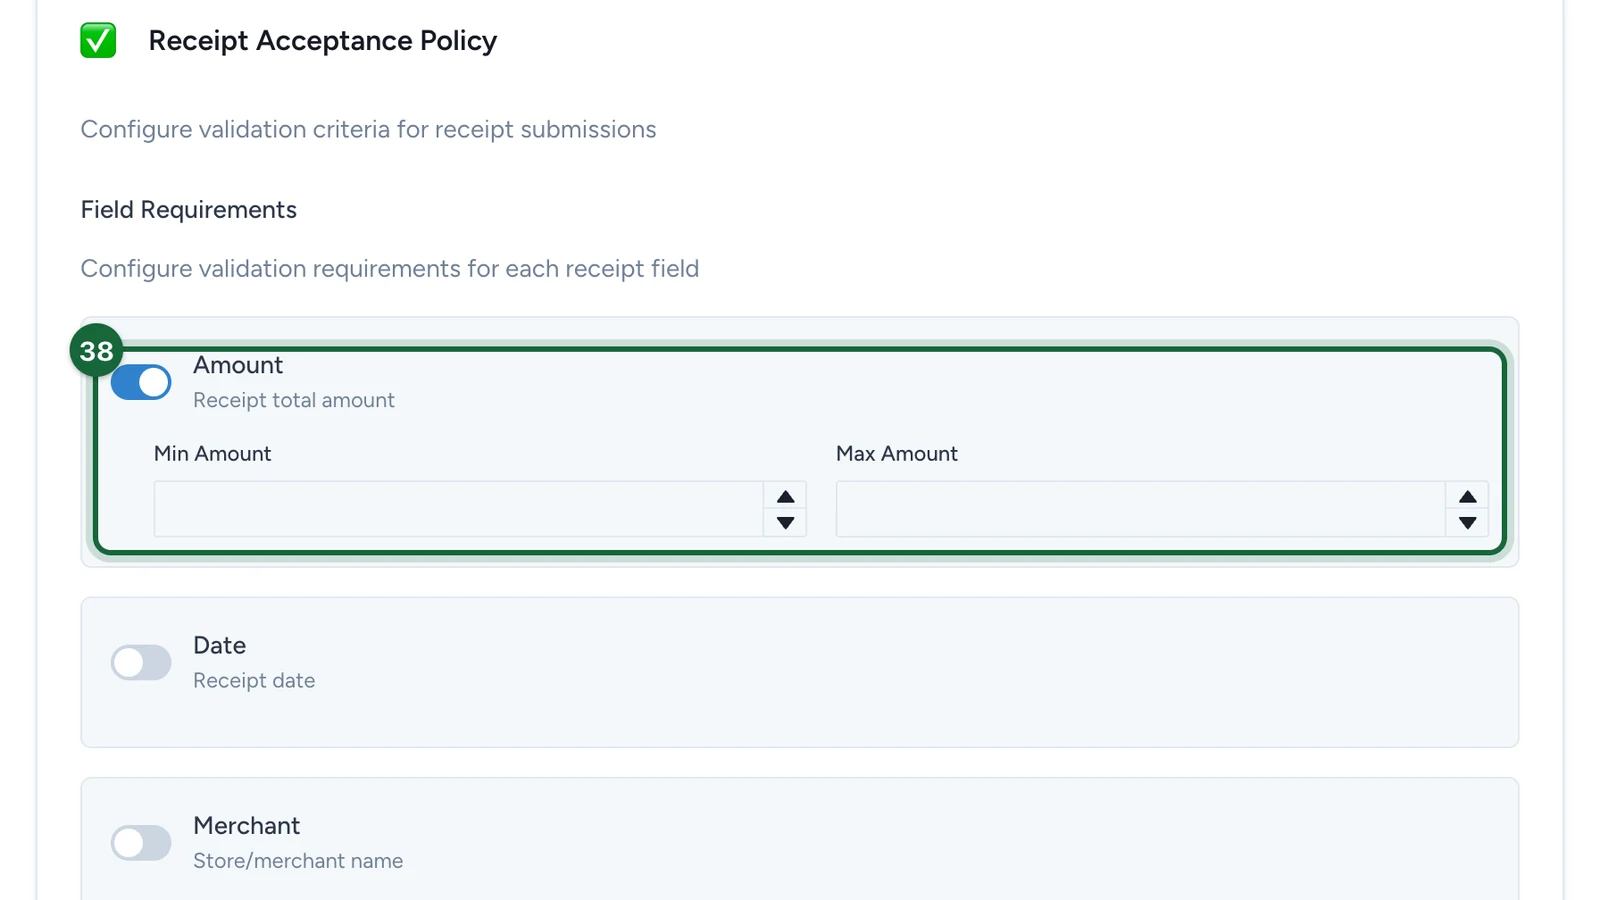
Leave Min Amount and Max Amount empty, so every receipt counts towards the €30.
-
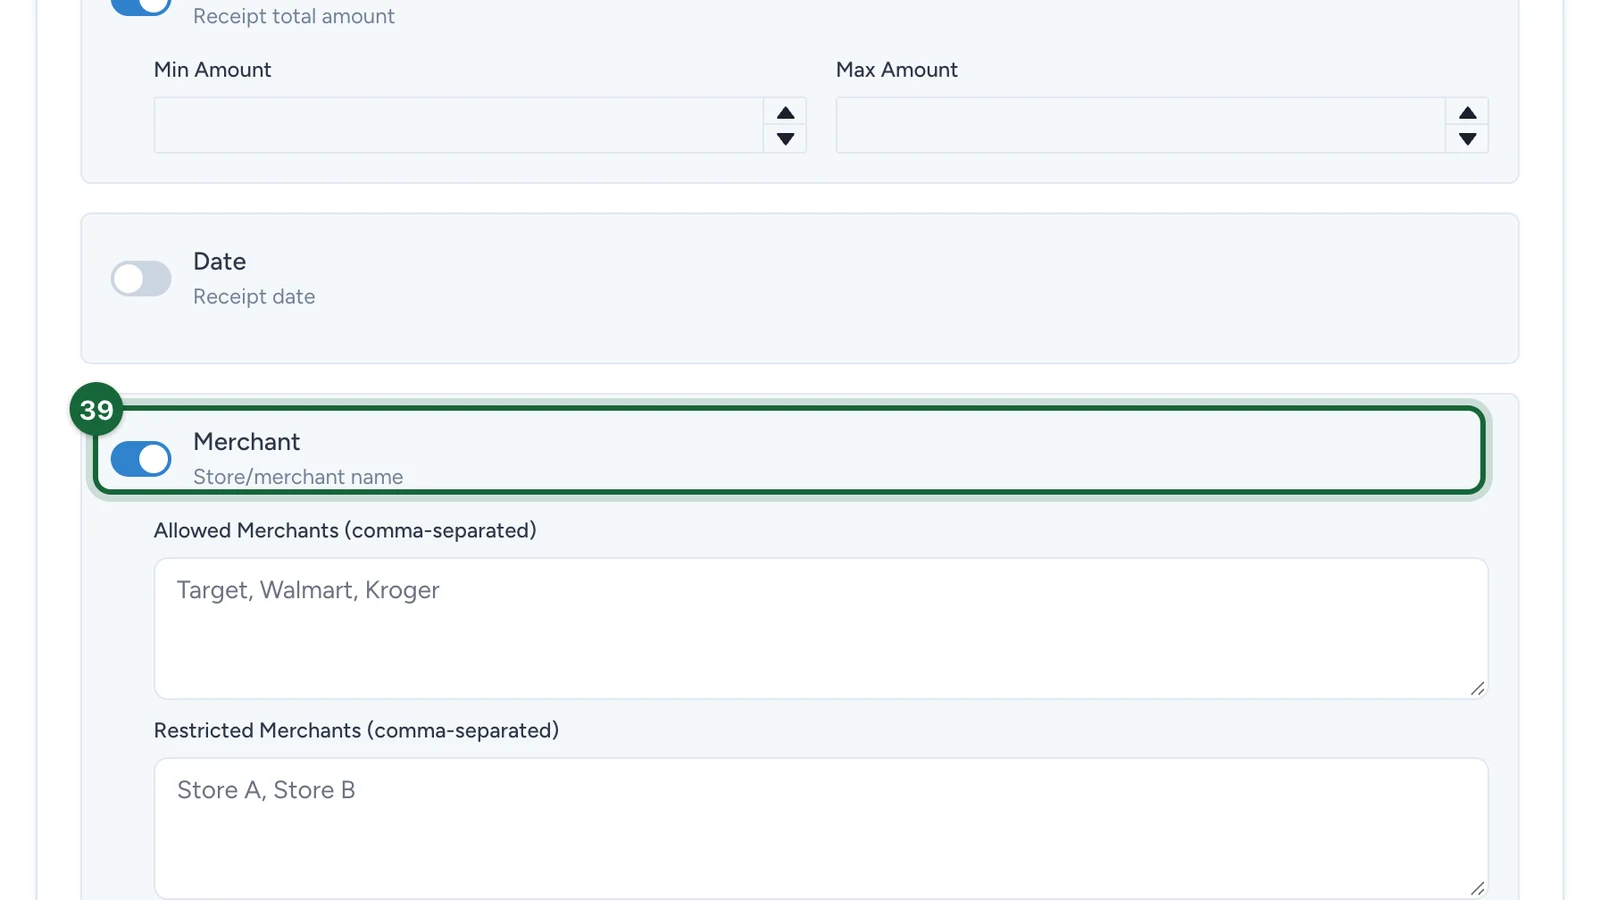
Turn on Merchant.
-
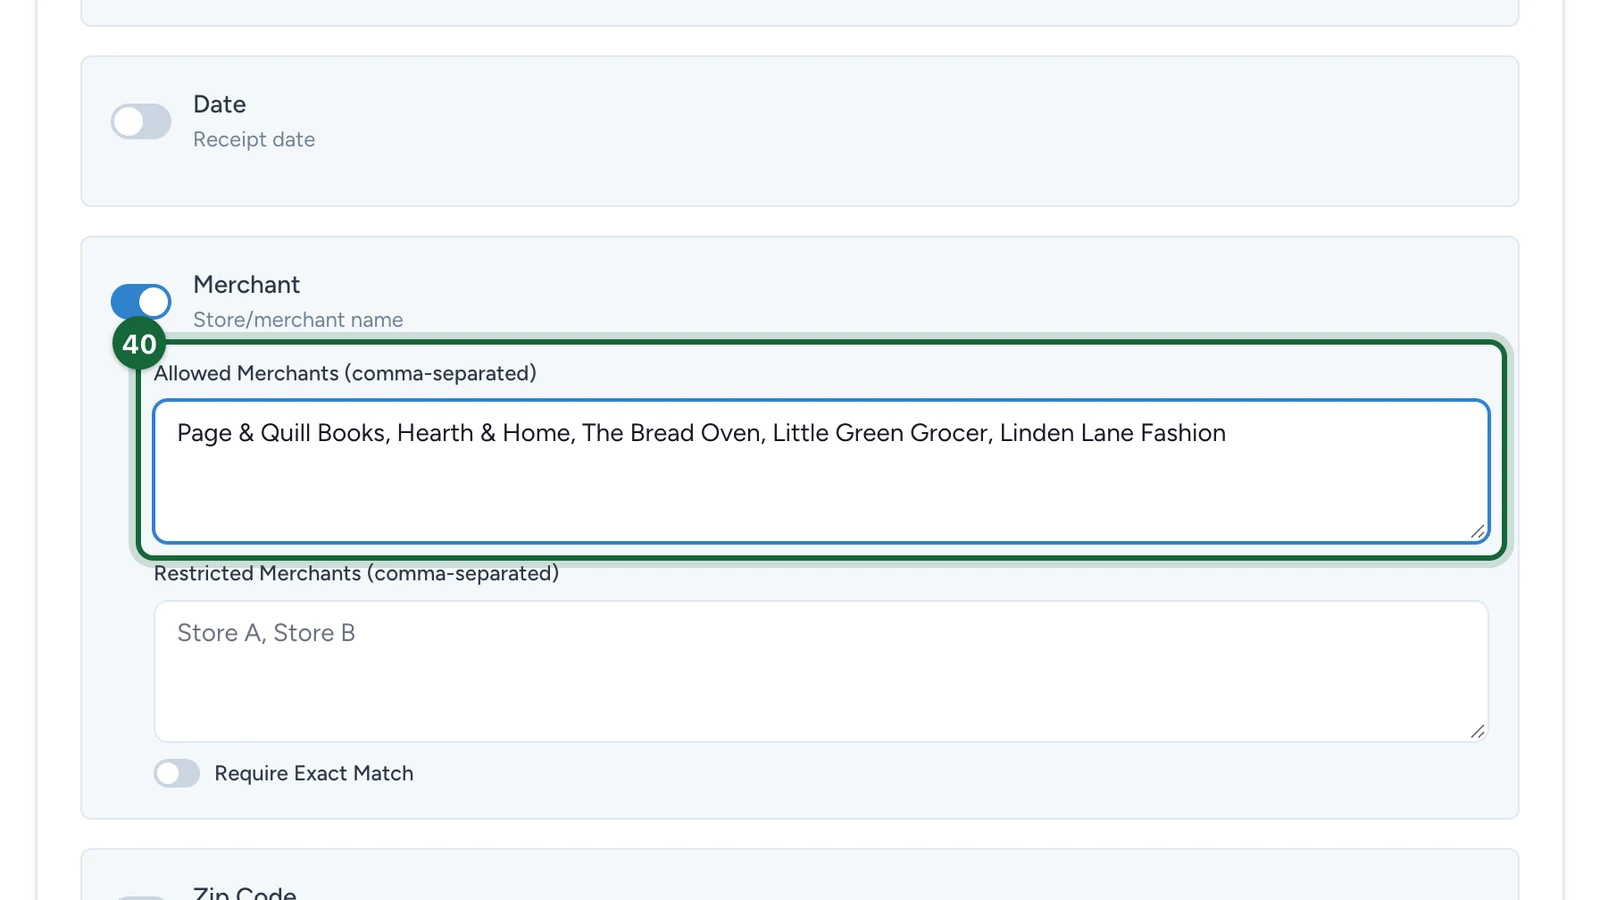
In Allowed Merchants (comma-separated), list the participating shops.
-
Under Receipt Validation Policy, set Validation Mode to Automatic.
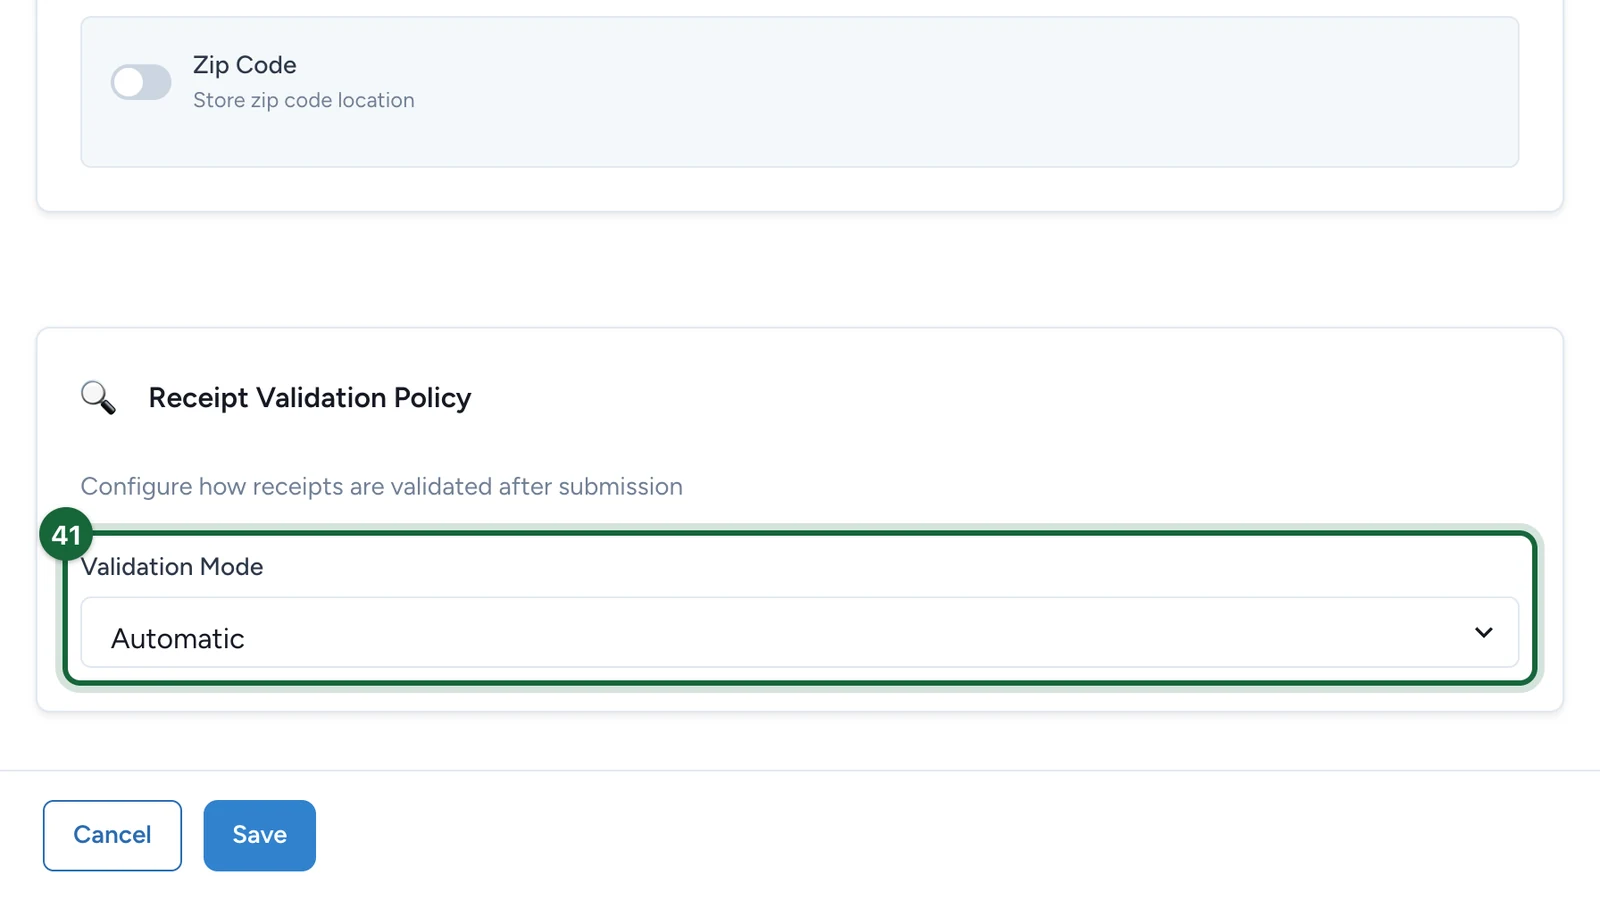
Receipts then count straight away. For prizes your team checks first, see Validation policy.
-
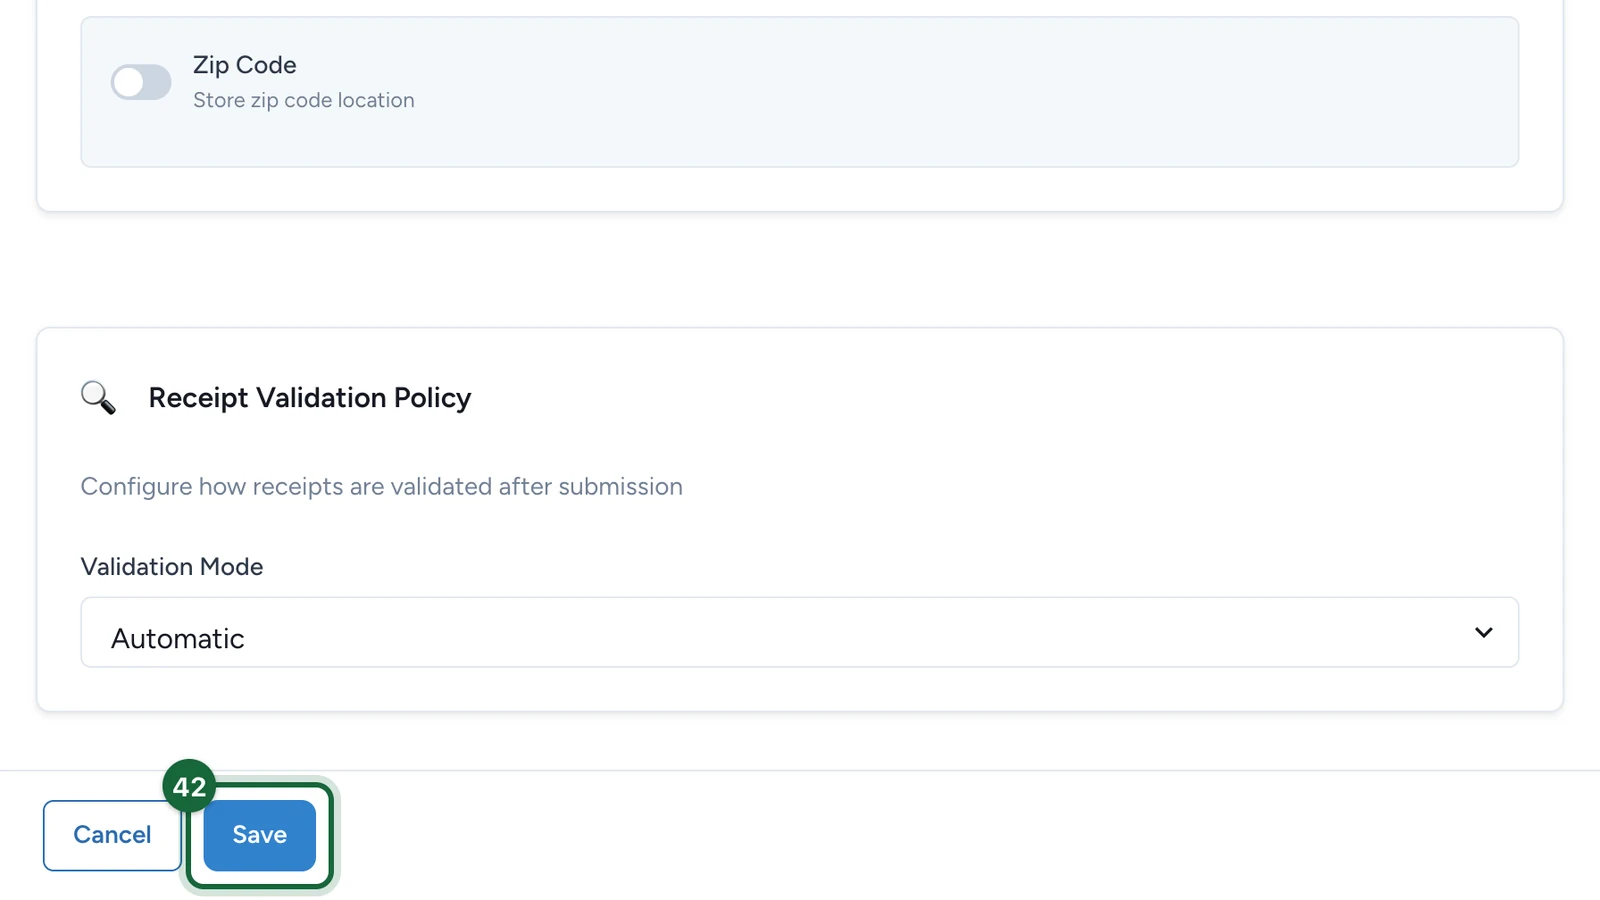
Select Save.
Publish and try it
A draft can't be opened, so publish before you test.
-
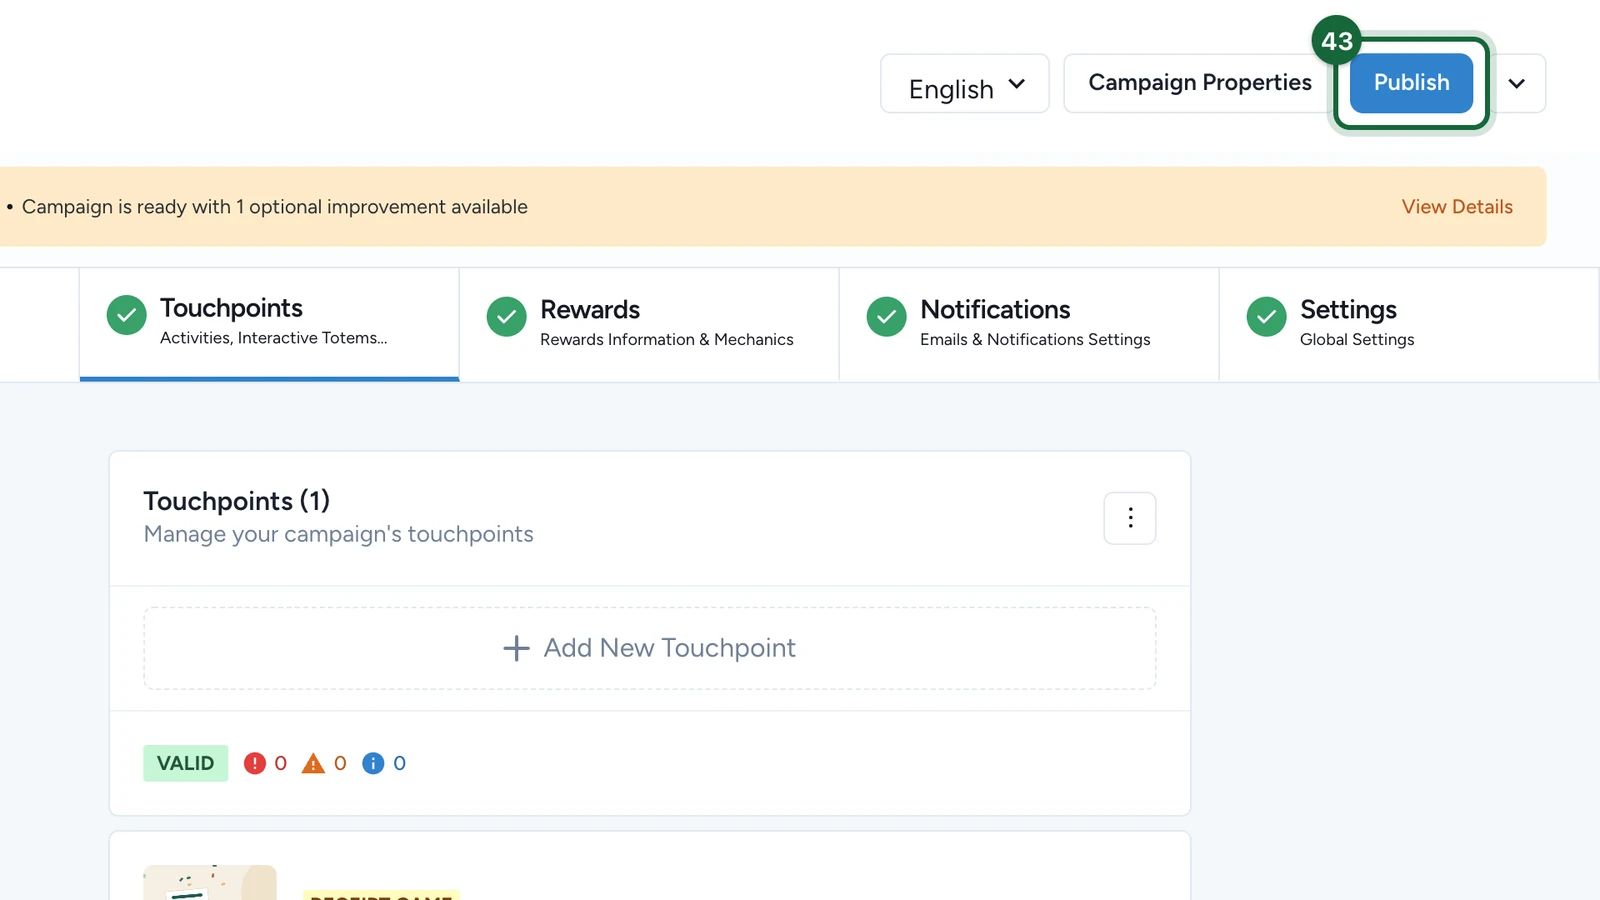
At the top of the campaign, select Publish.
-
When the window says Campaign is ready to publish!, select Publish.
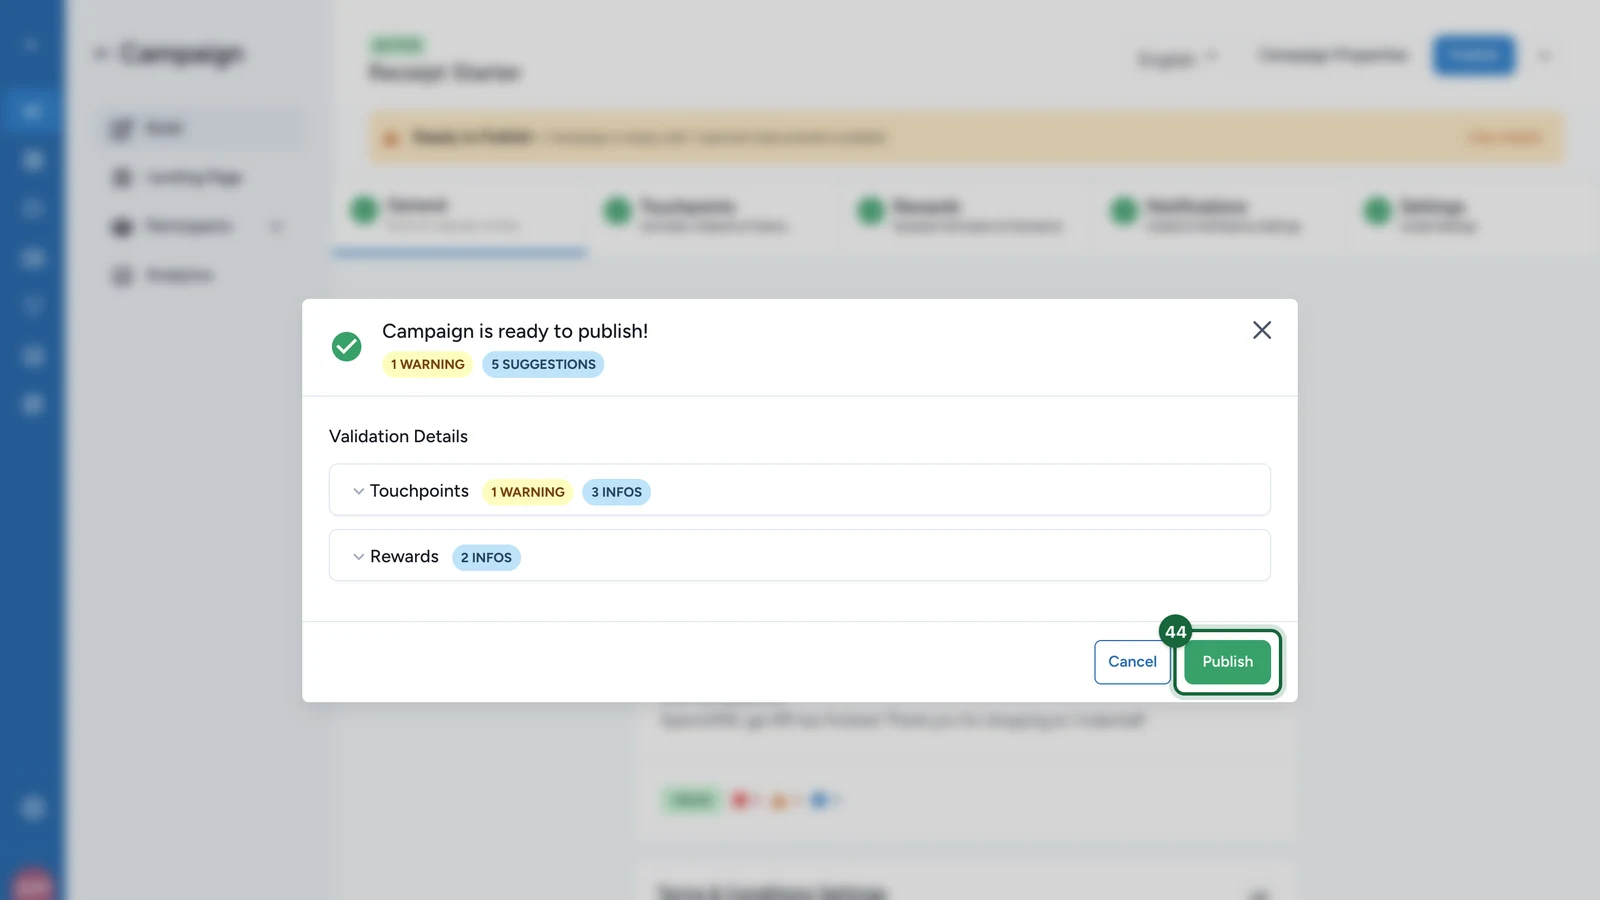
A warning or a suggestion doesn't block publishing. An Automatic receipt game always shows one about its automatic configuration: you can ignore it.
-
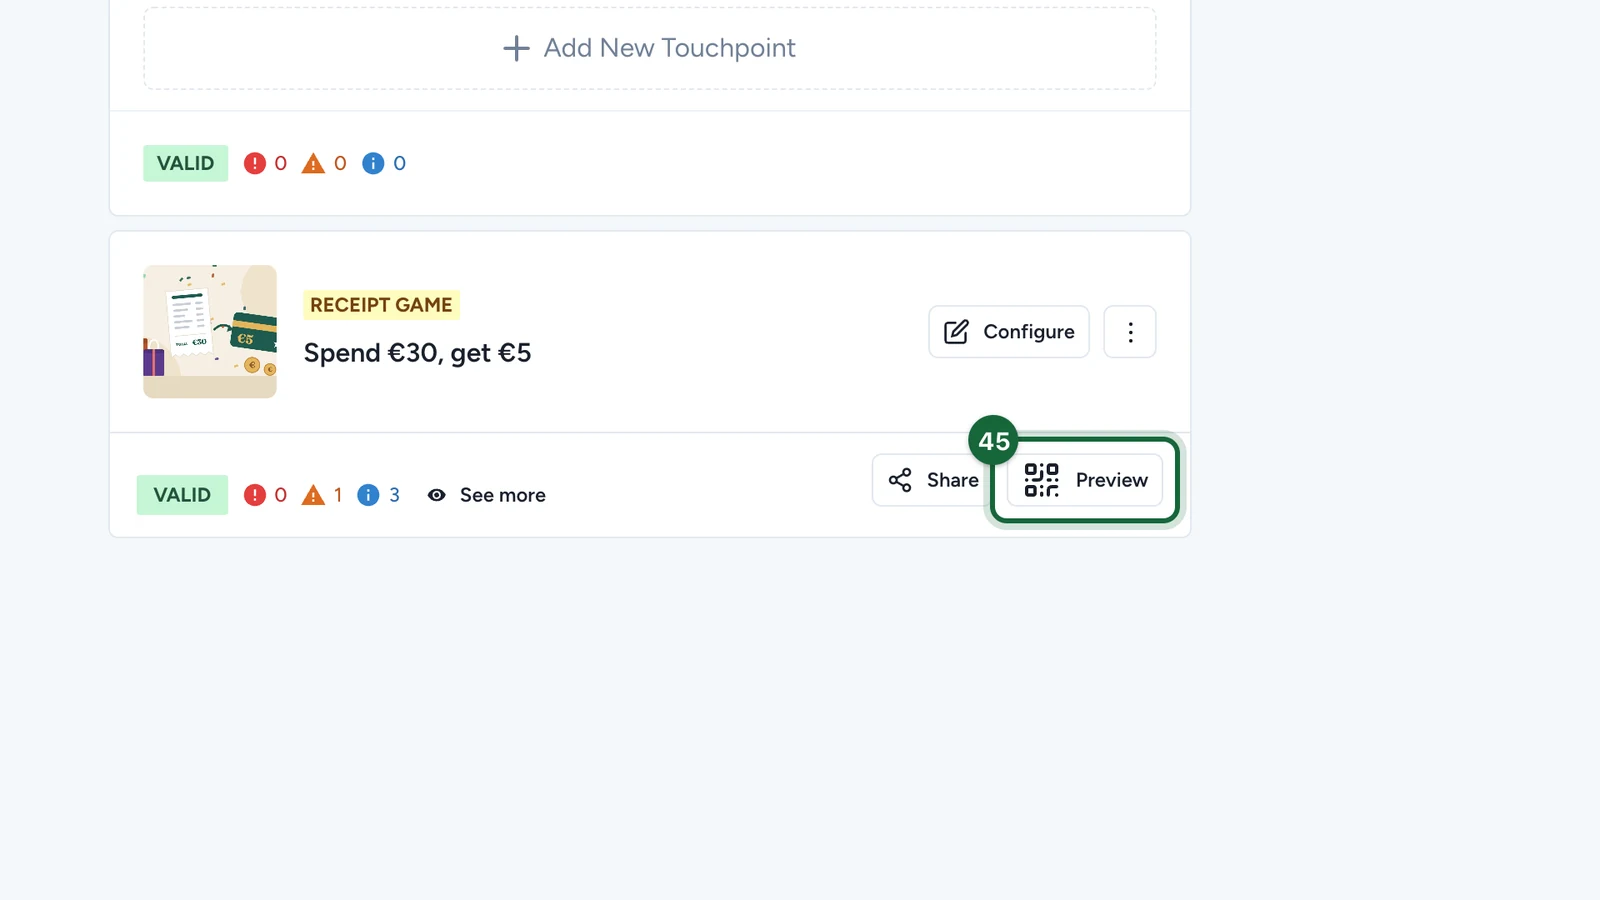
On the receipt game's card, select Preview.
-
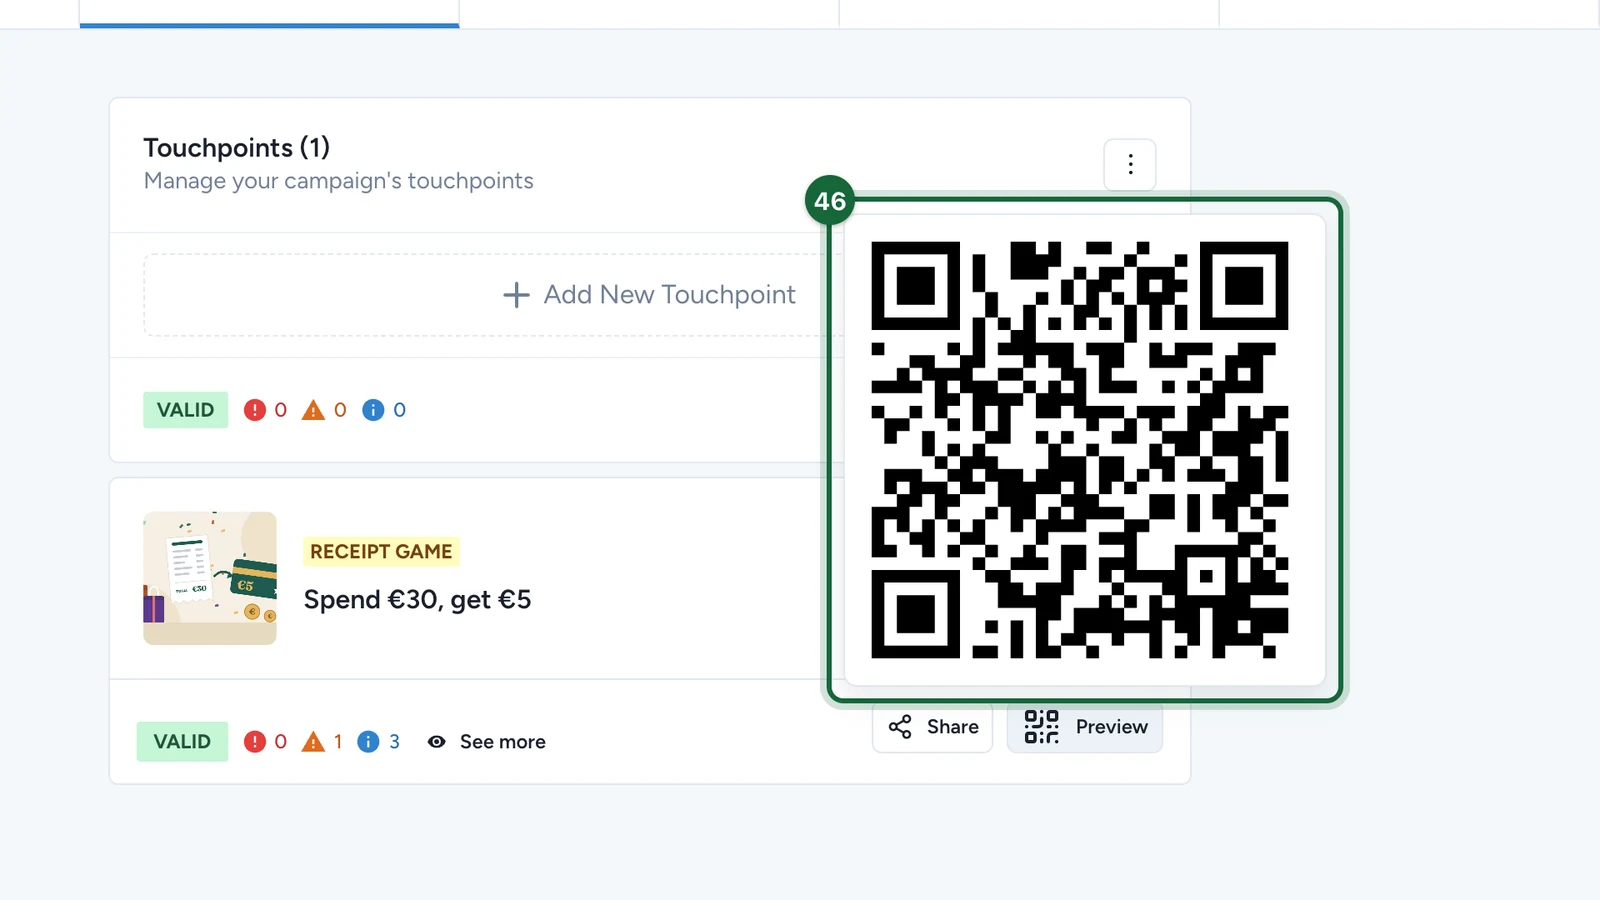
Scan the QR code with your phone.
On your phone, accept the terms, sign in and upload a receipt from one of your shops. Once your approved receipts reach €30, the gift card appears, ready to claim.
If publishing is blocked
The window lists what to fix, by tab:
- Total and slots don't match: make Total Quantity equal the slot's Quantity.
- Rule without a winning option: choose the rule's Winning Option.
- Missing acceptance policy: turn on Amount and Merchant.
- Missing validation policy: choose a Validation Mode.
- A slot outside the campaign dates: move the slot's dates inside the campaign's.
Next steps
- Test the receipt flow: try receipts that should fail too.
- Add a bigger prize: a hamper at €150, for example.
- Distribute the entry point