Your first Smart Link
Create a Smart Link in a folder, test it, download its QR code and open its analytics.
You'll make the QR code for the Spend and Win flyers: a Smart Link in a new "Christmas" folder that opens the receipt game. Have the touchpoint's link ready: see Smart Links for a campaign.
Make a folder
In Studio's side menu, open Smart Links.
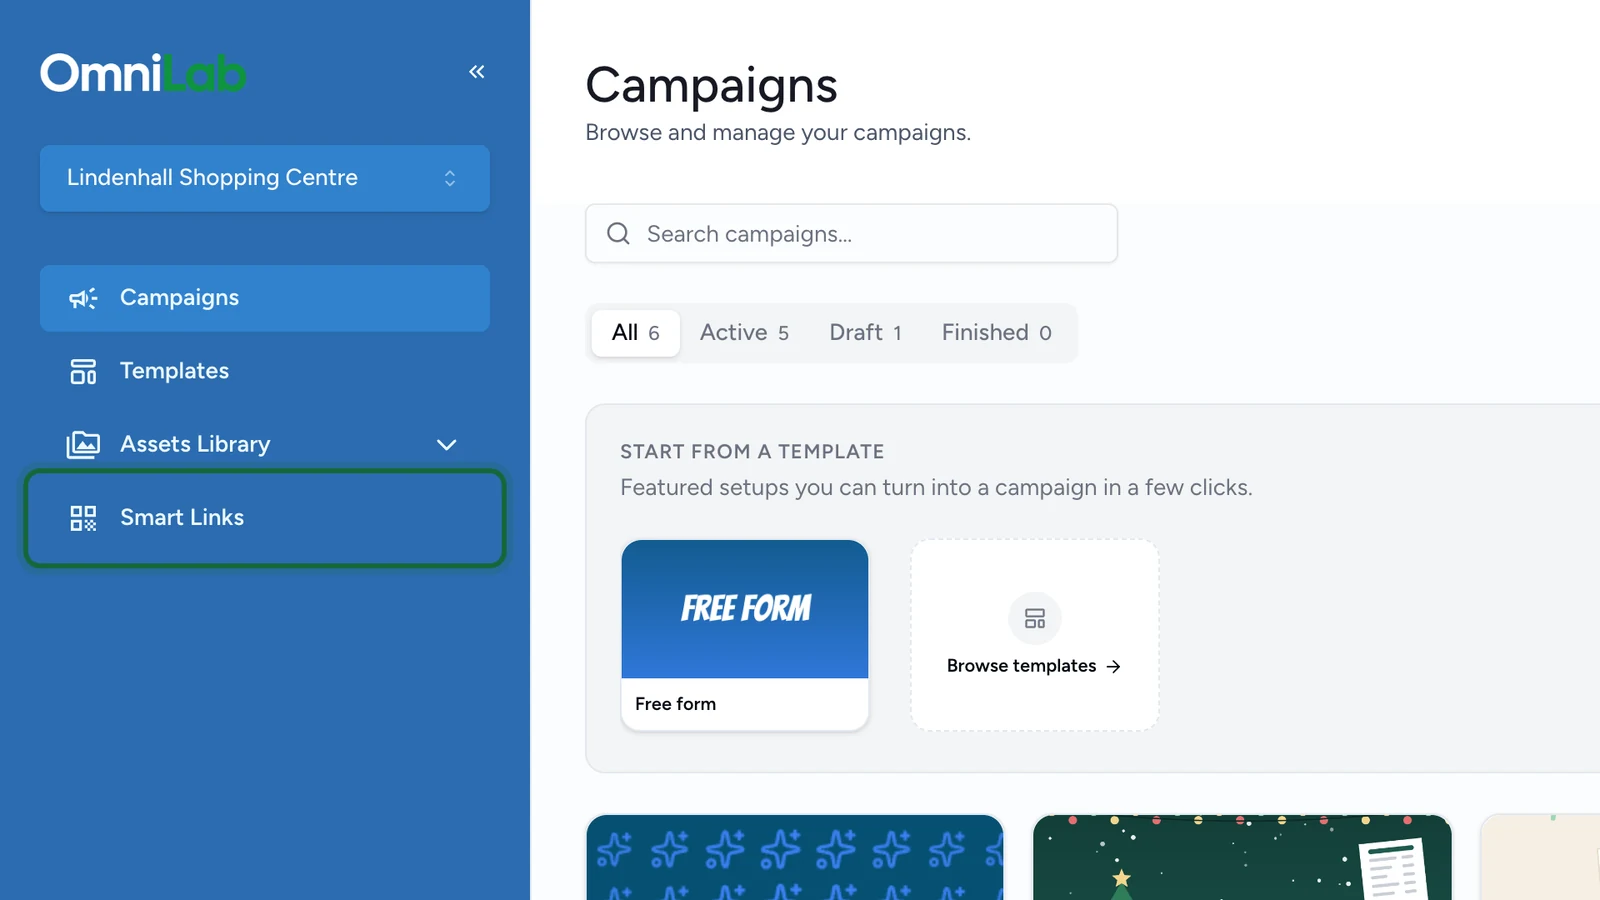
-
In Smart Links, select the folder button next to Create SmartLink.
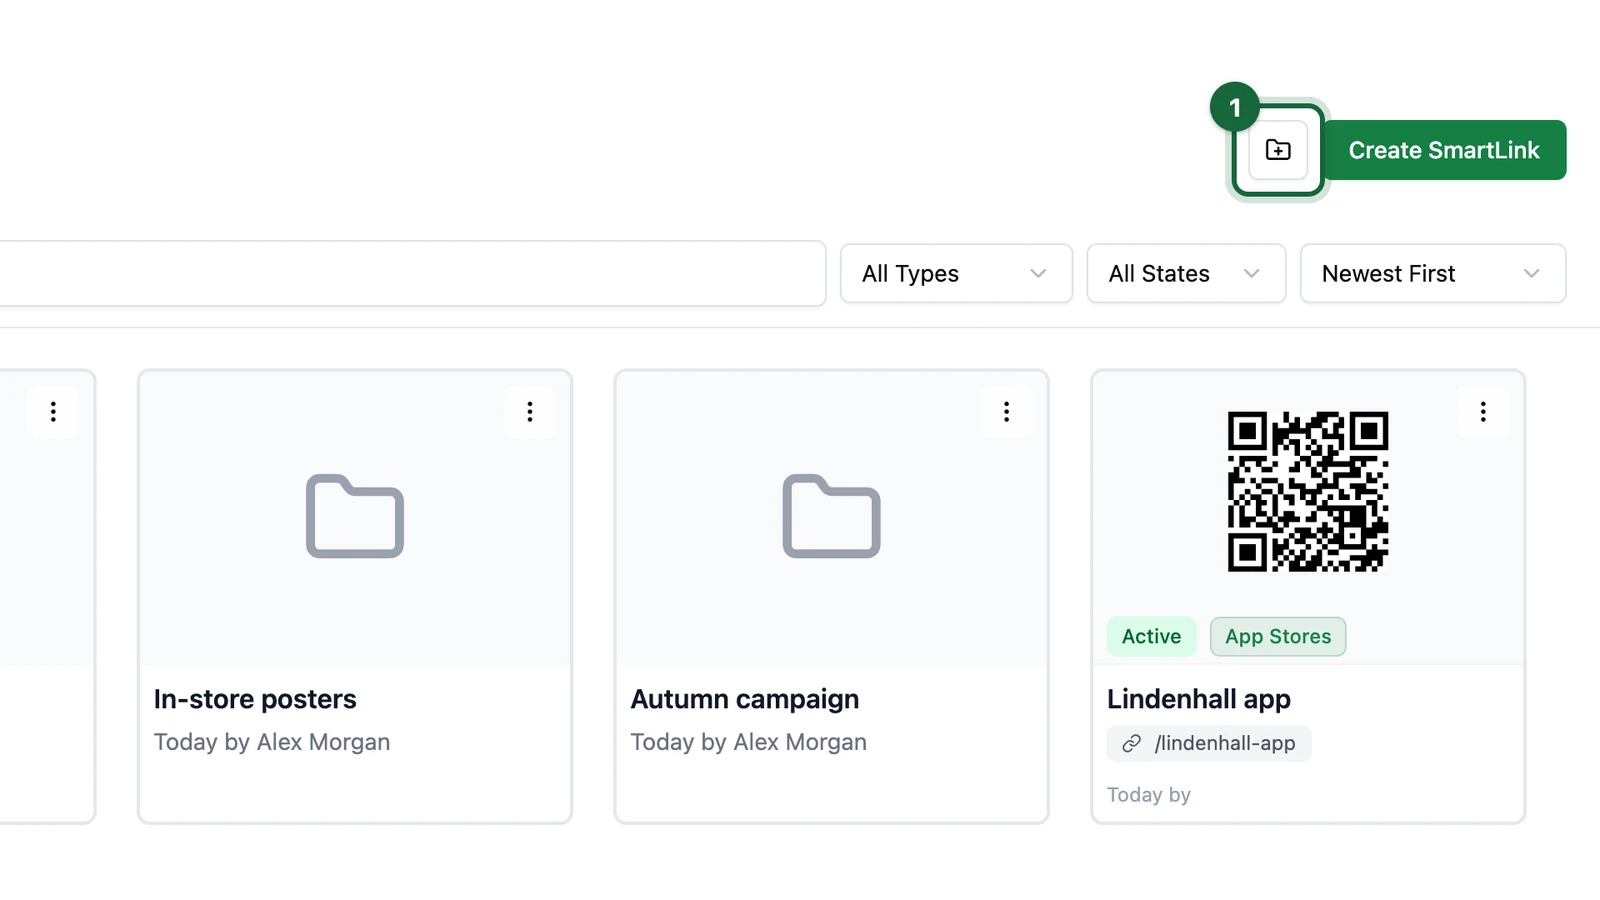
-
Enter the Folder Name, such as "Christmas".
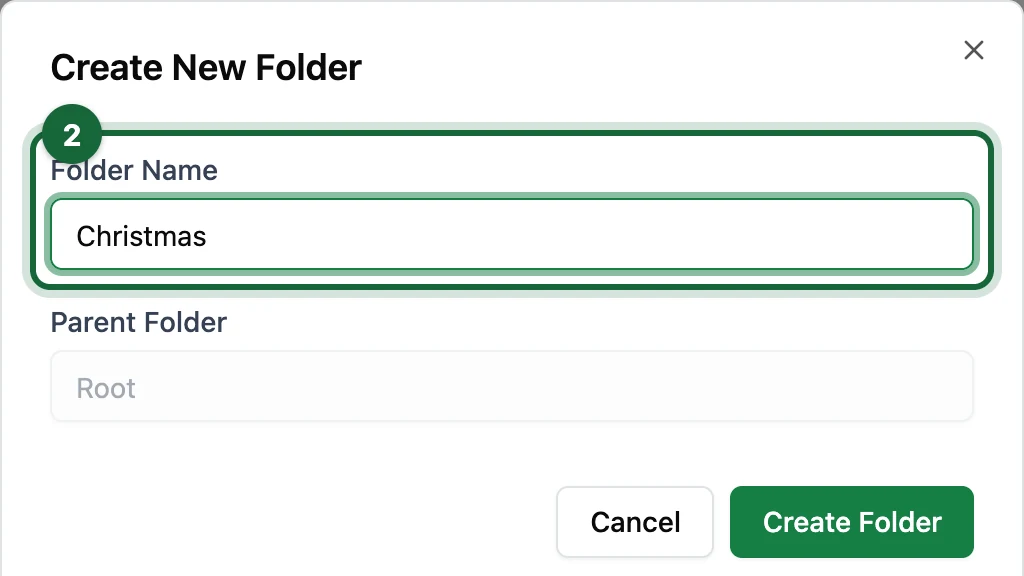
-
Select Create Folder.
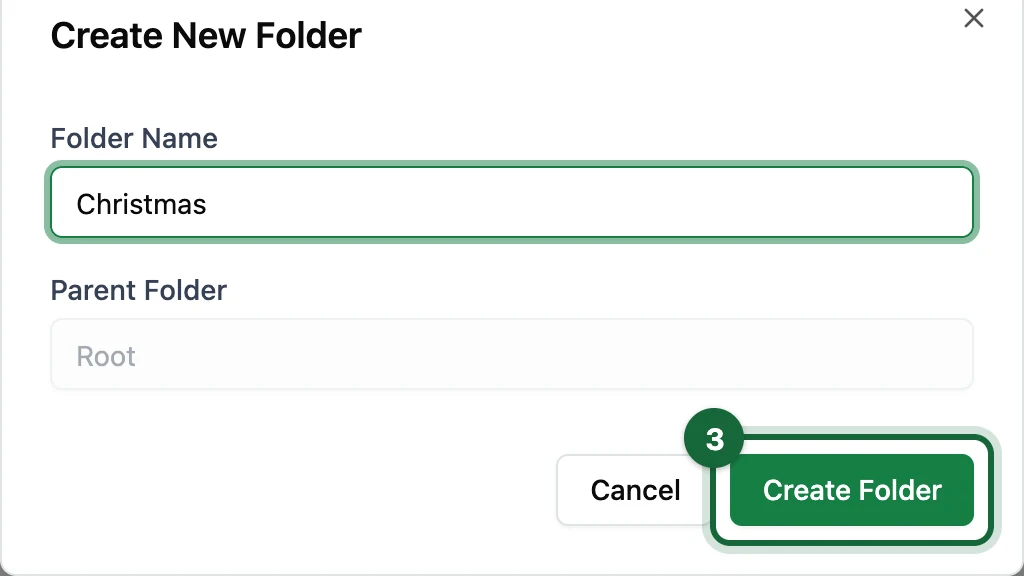
-
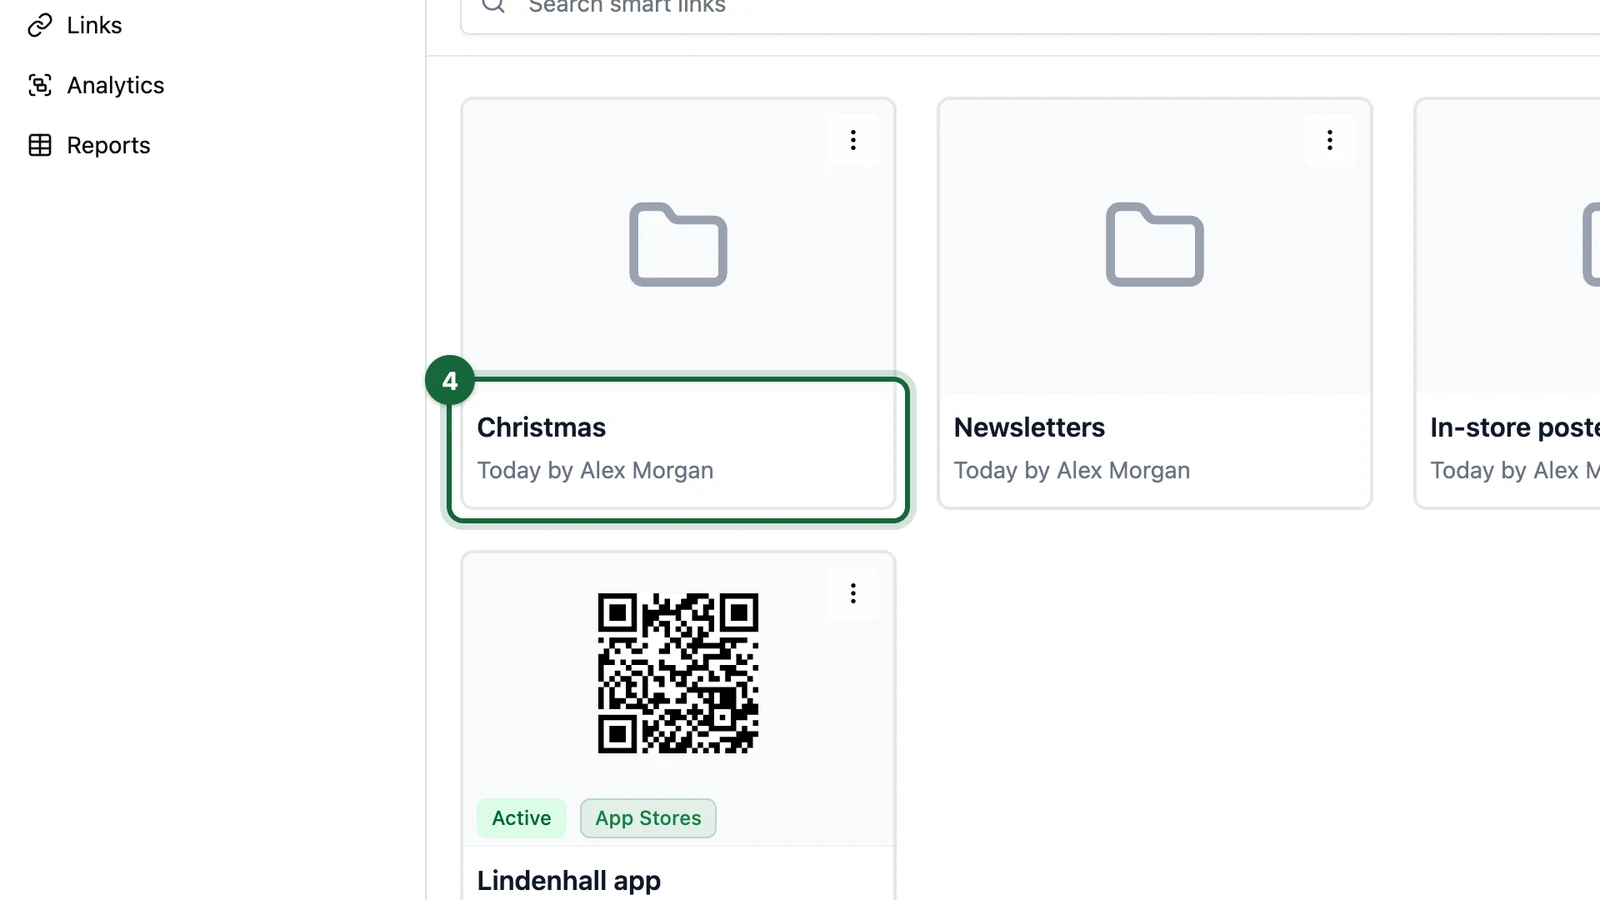
Open the new folder.
Create the Smart Link
-
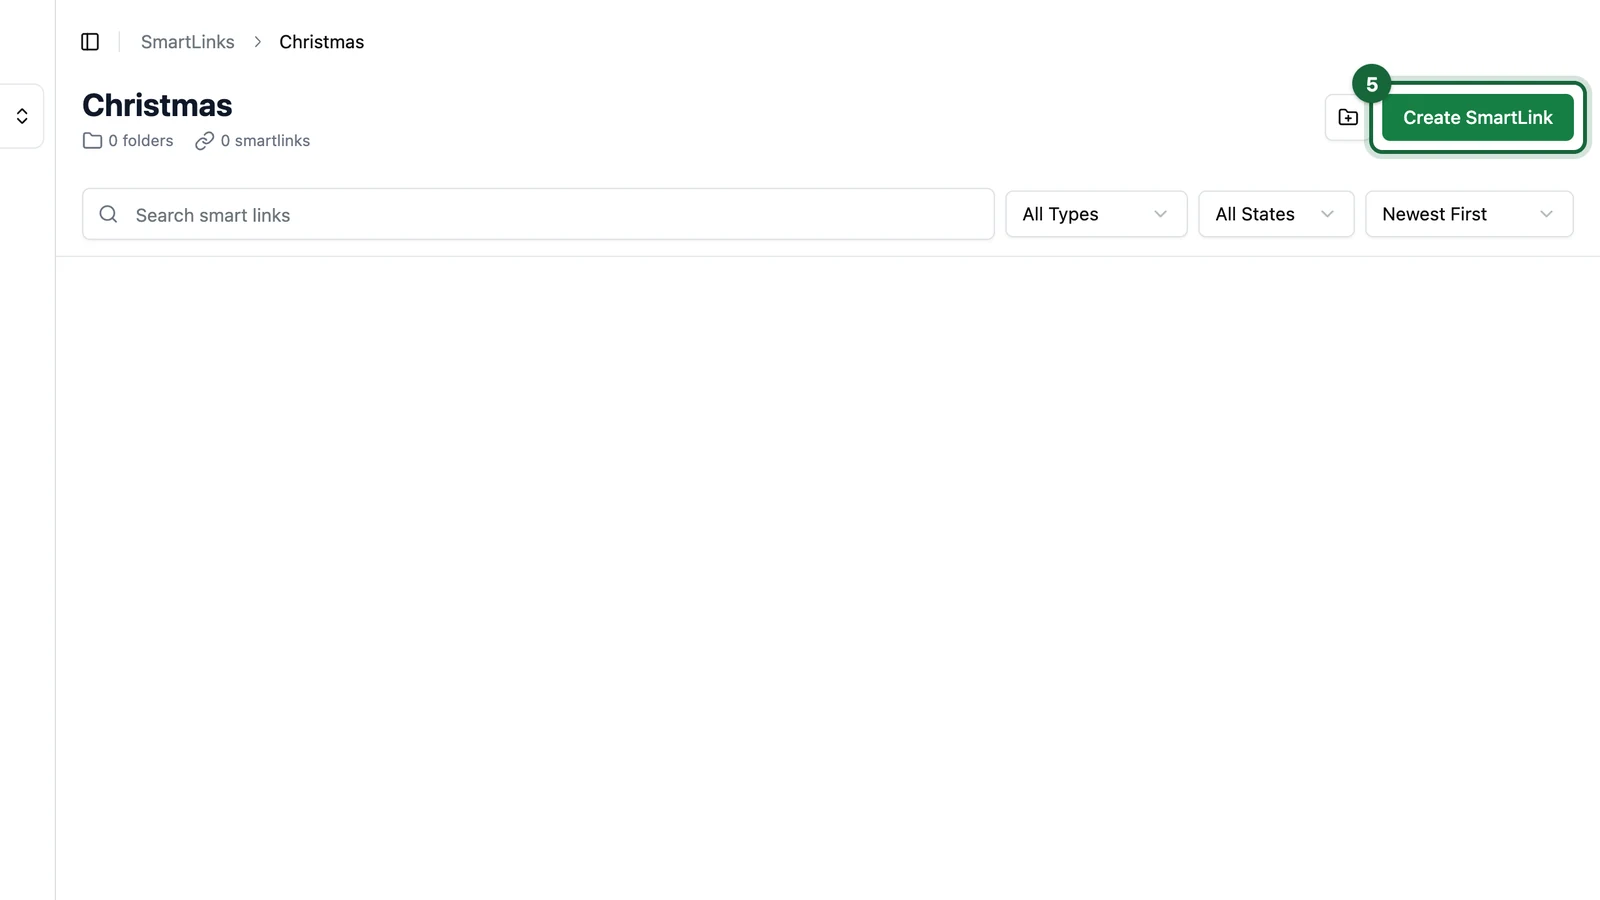
Select Create SmartLink.
-
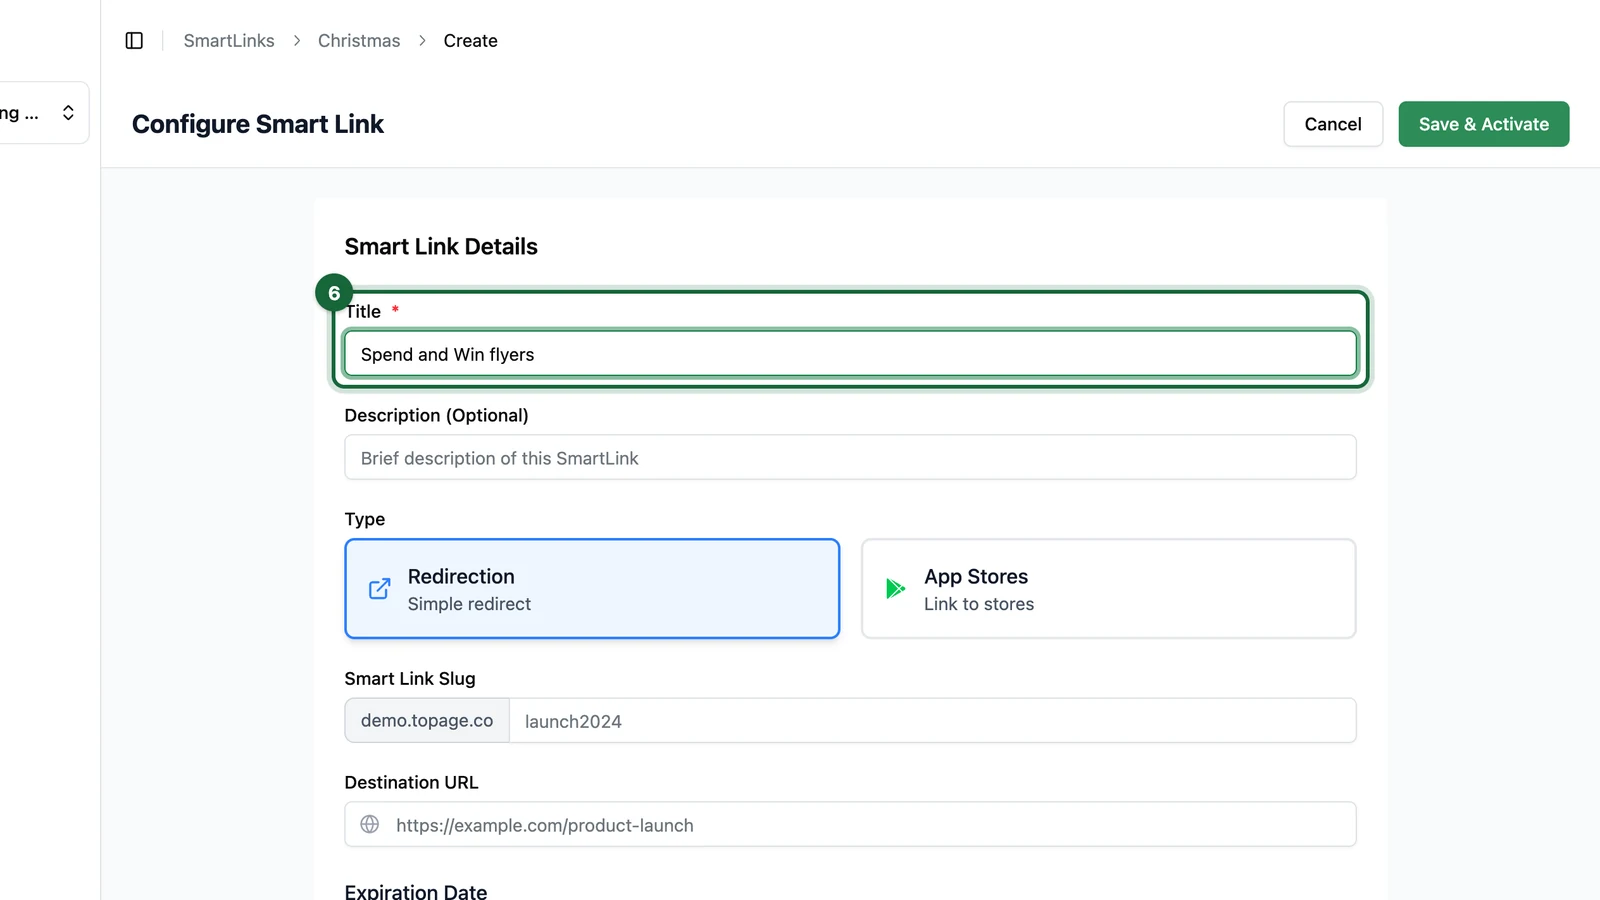
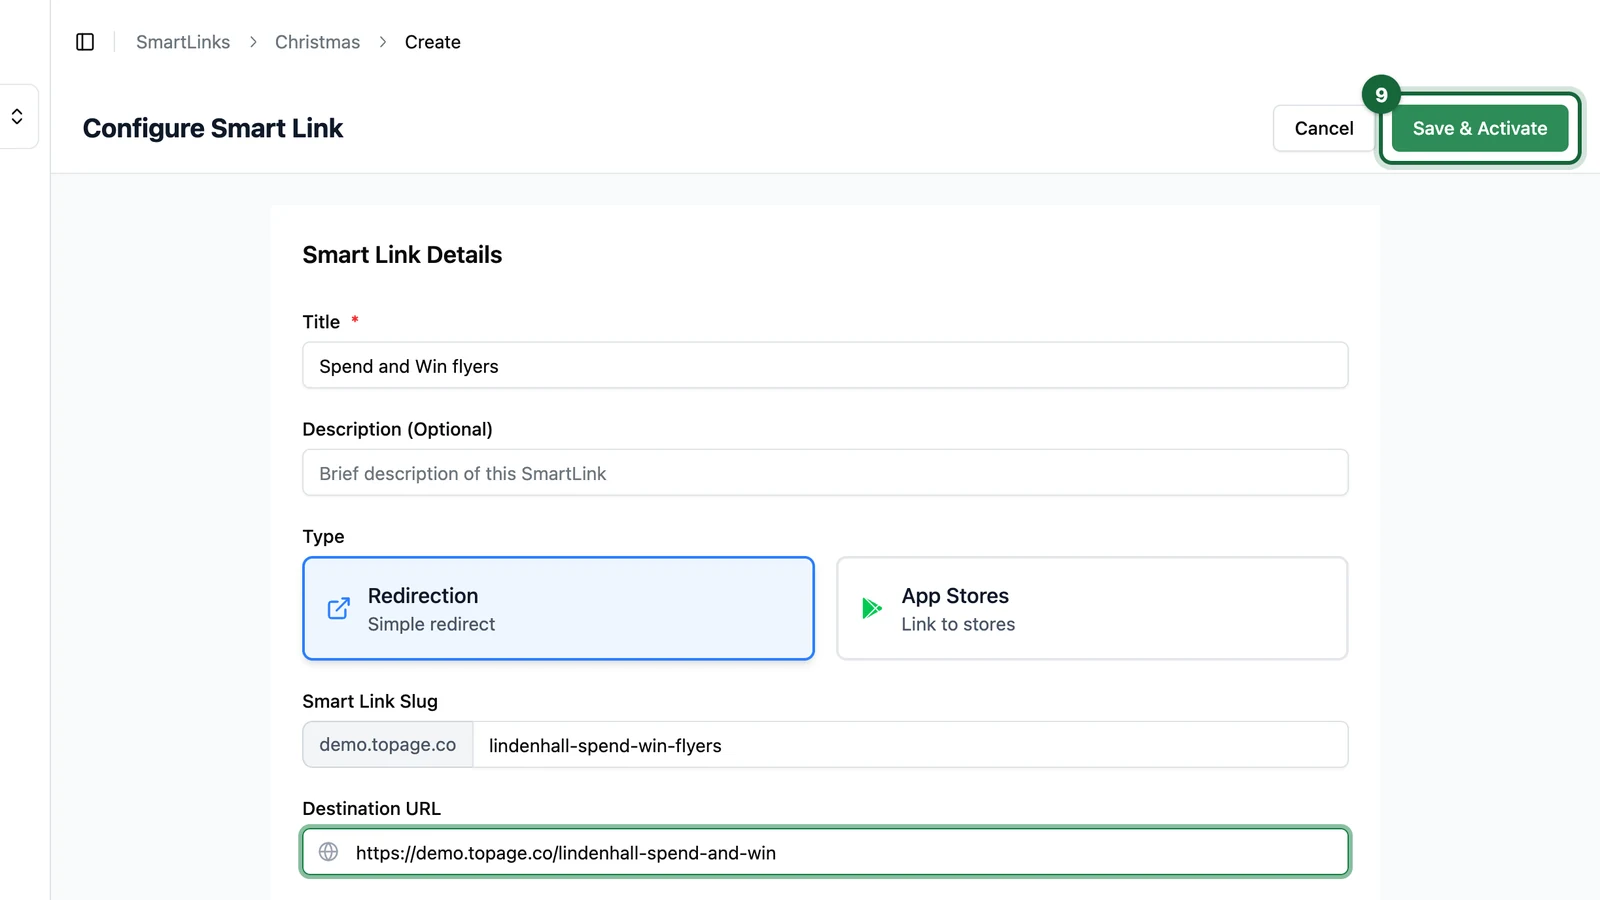
Enter the Title, such as "Spend and Win flyers".
-
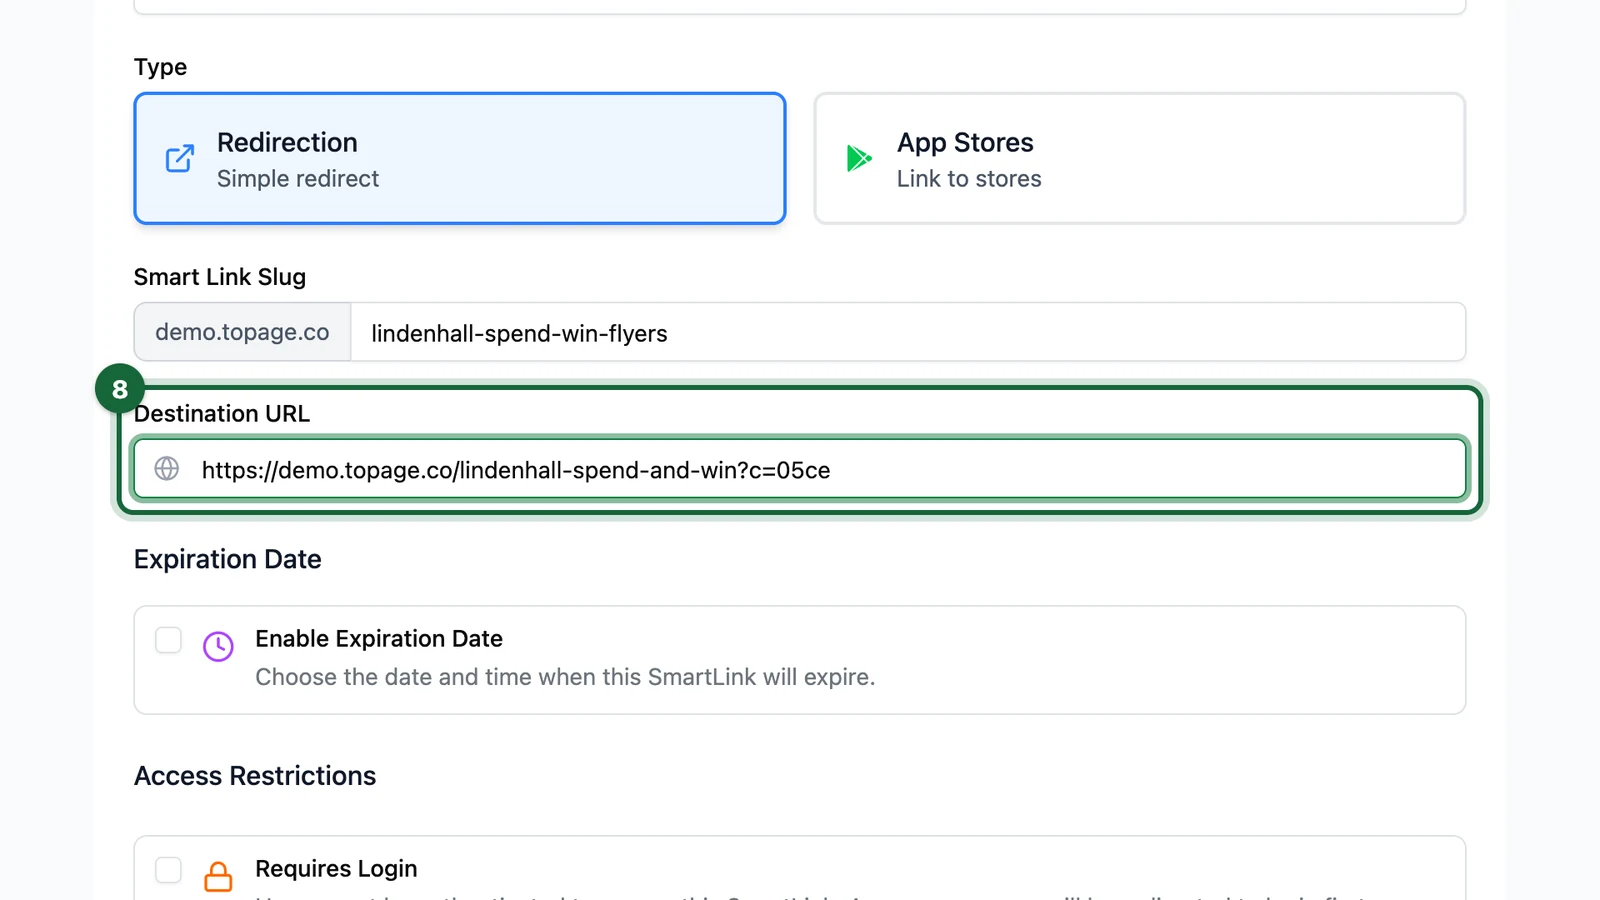
Keep Type on Redirection, then enter the Smart Link Slug.
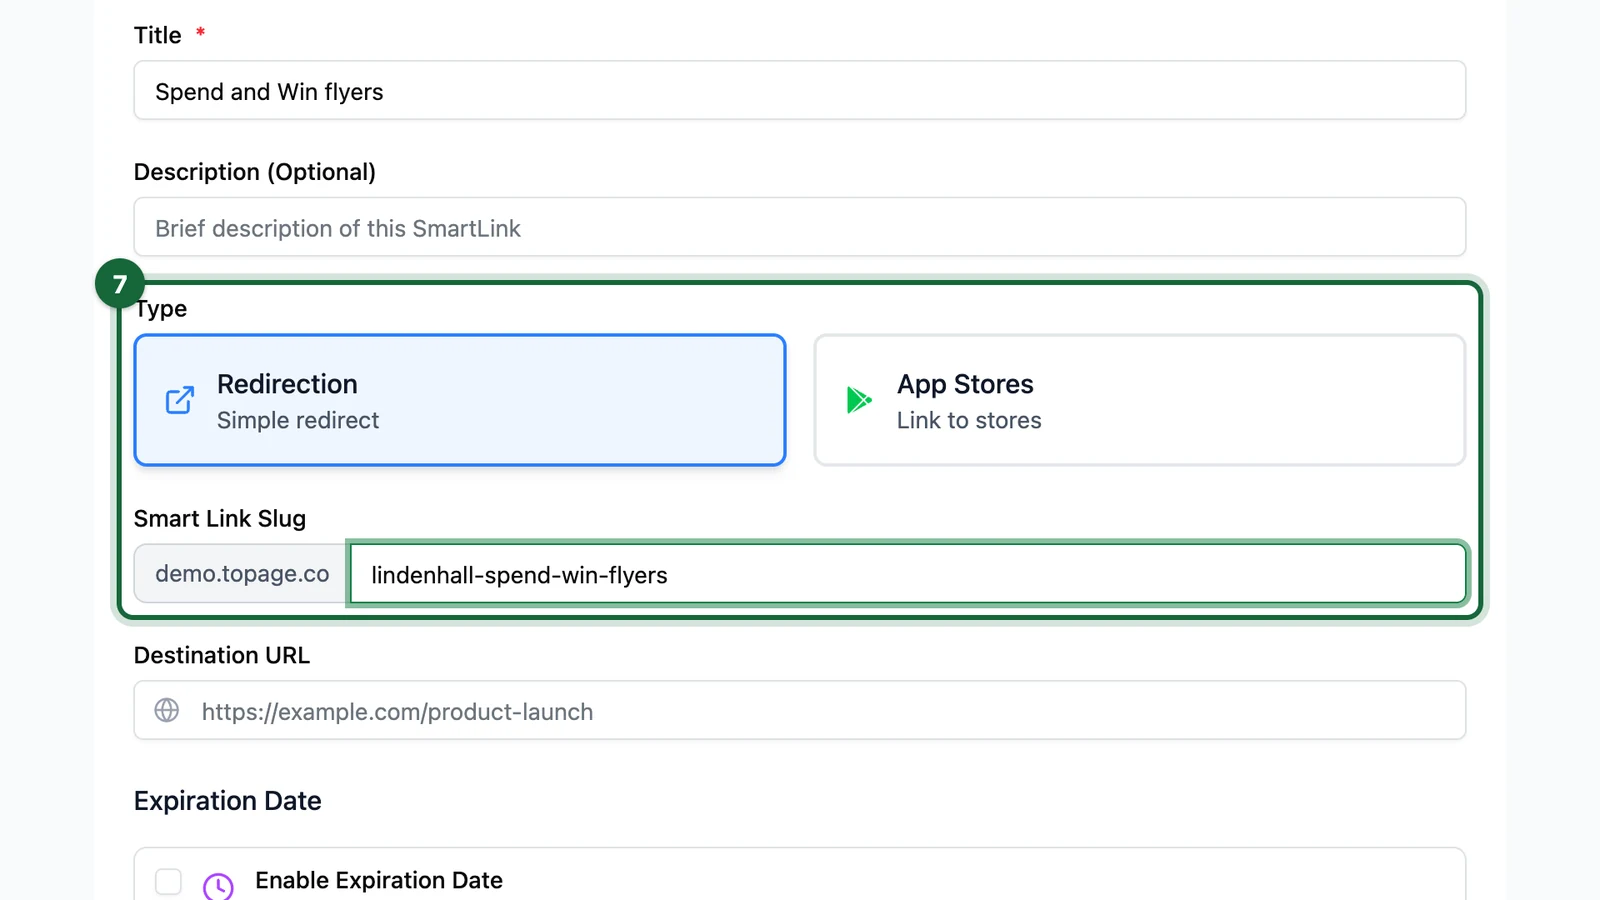
The slug ends the public link, so keep it short, in lowercase, with hyphens: see Slug rules.
-
Paste the touchpoint's link into Destination URL.
-
Select Save & Activate.
Test it and get the QR code
-
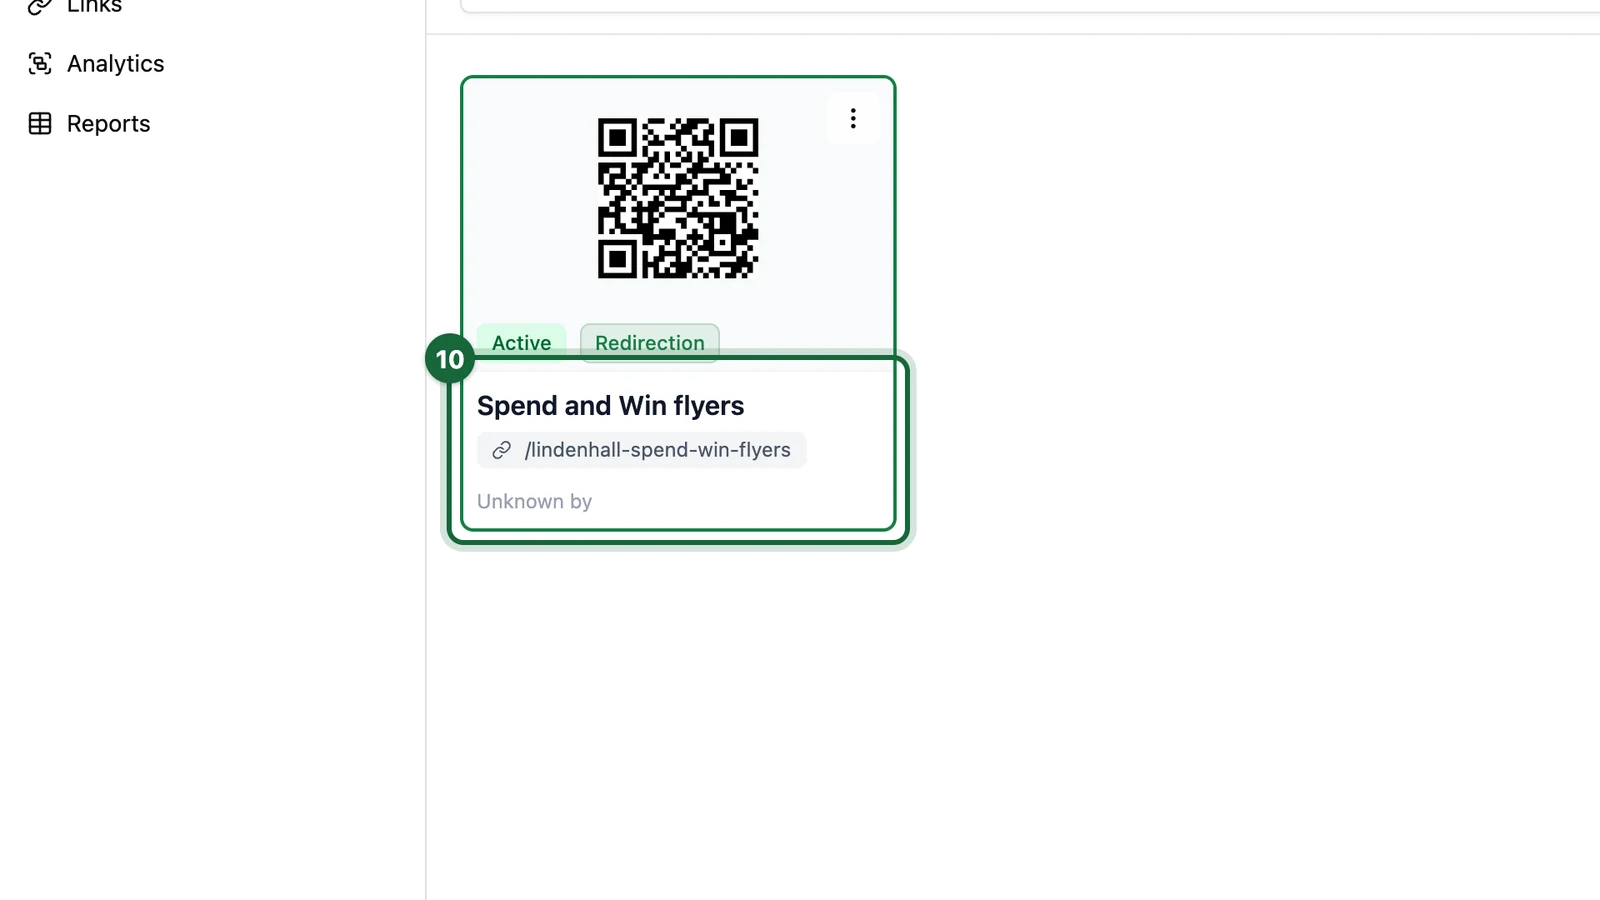
Back in the folder, open the new Smart Link.
-
Select the Smart Link URL, copy it, and open it in a browser.
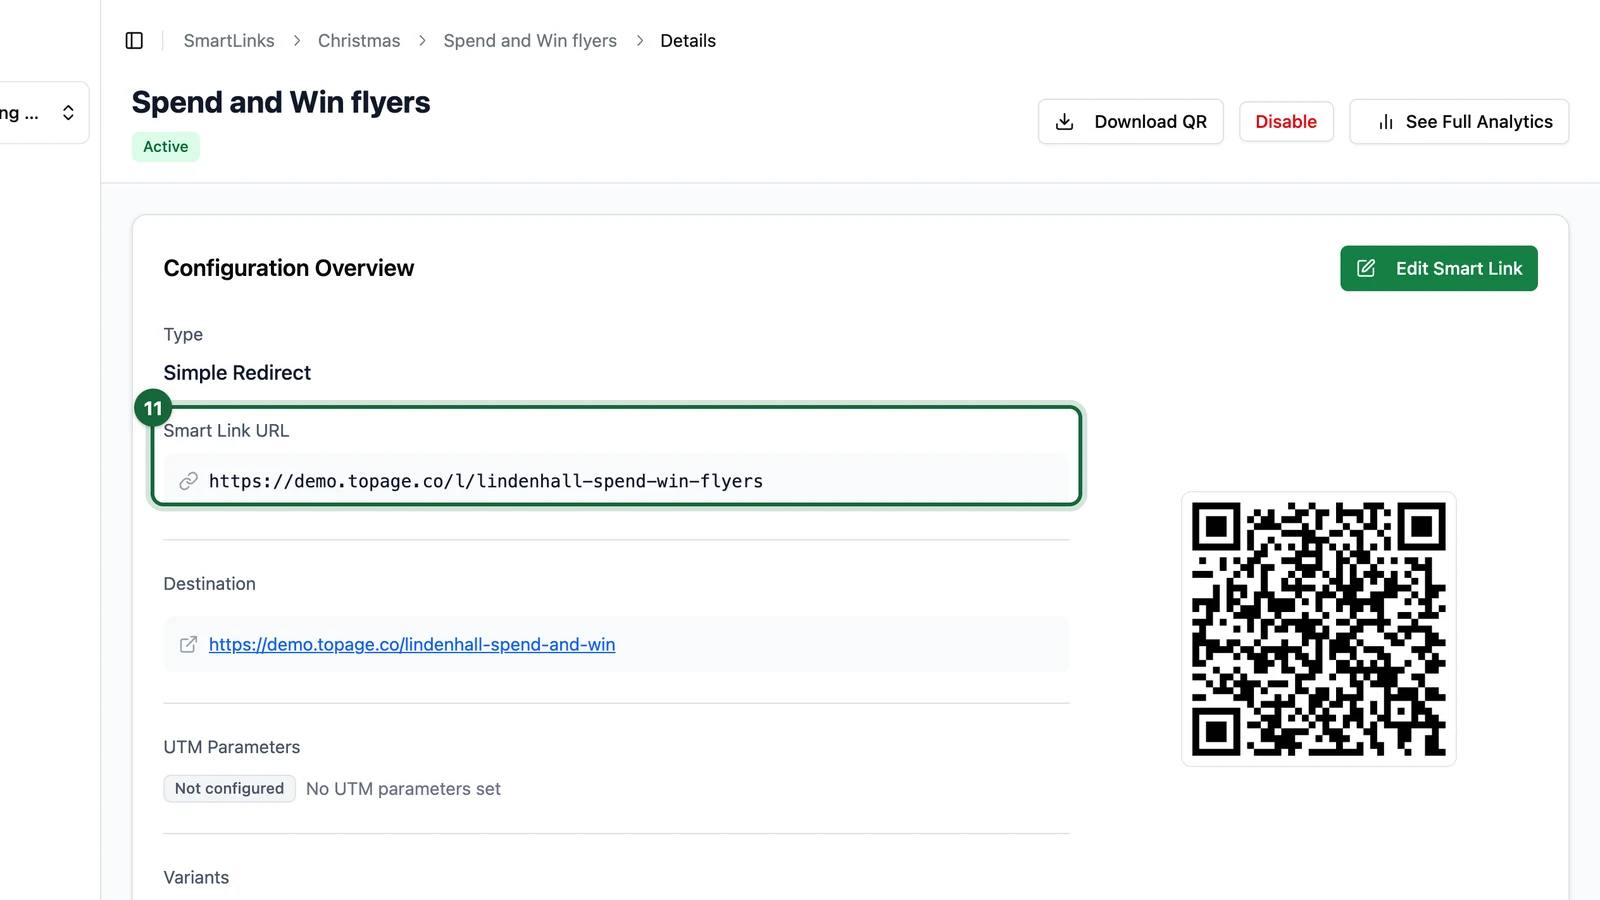
It should open the receipt game. If it doesn't, select Edit Smart Link and check the Destination URL.
-
Select Download QR.
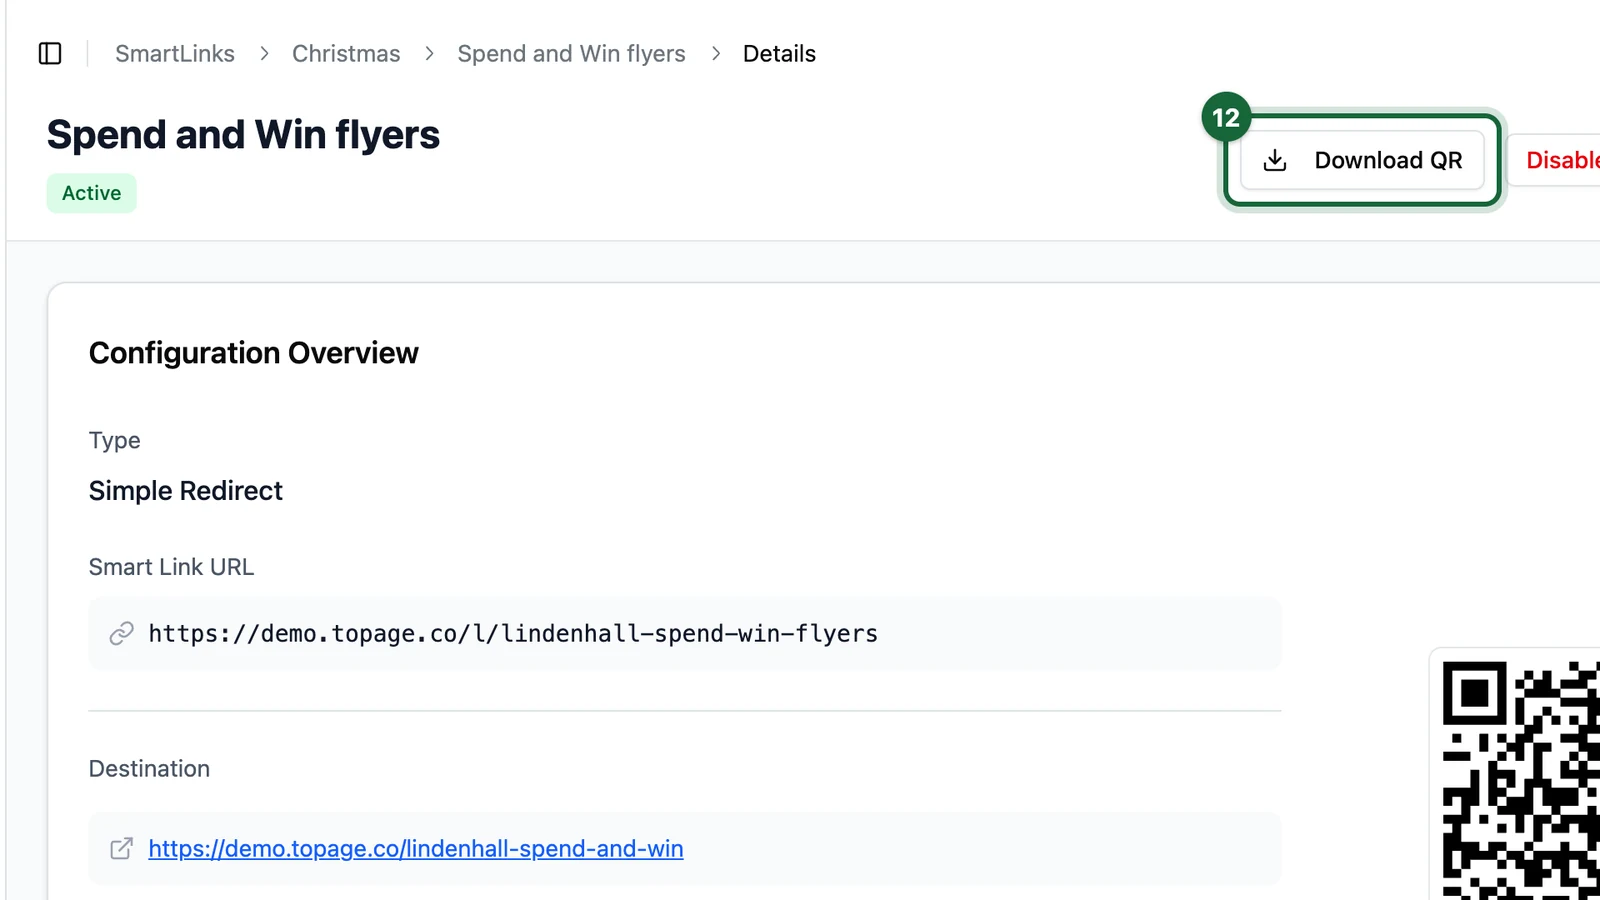
-
Select Download QR Code (PNG).
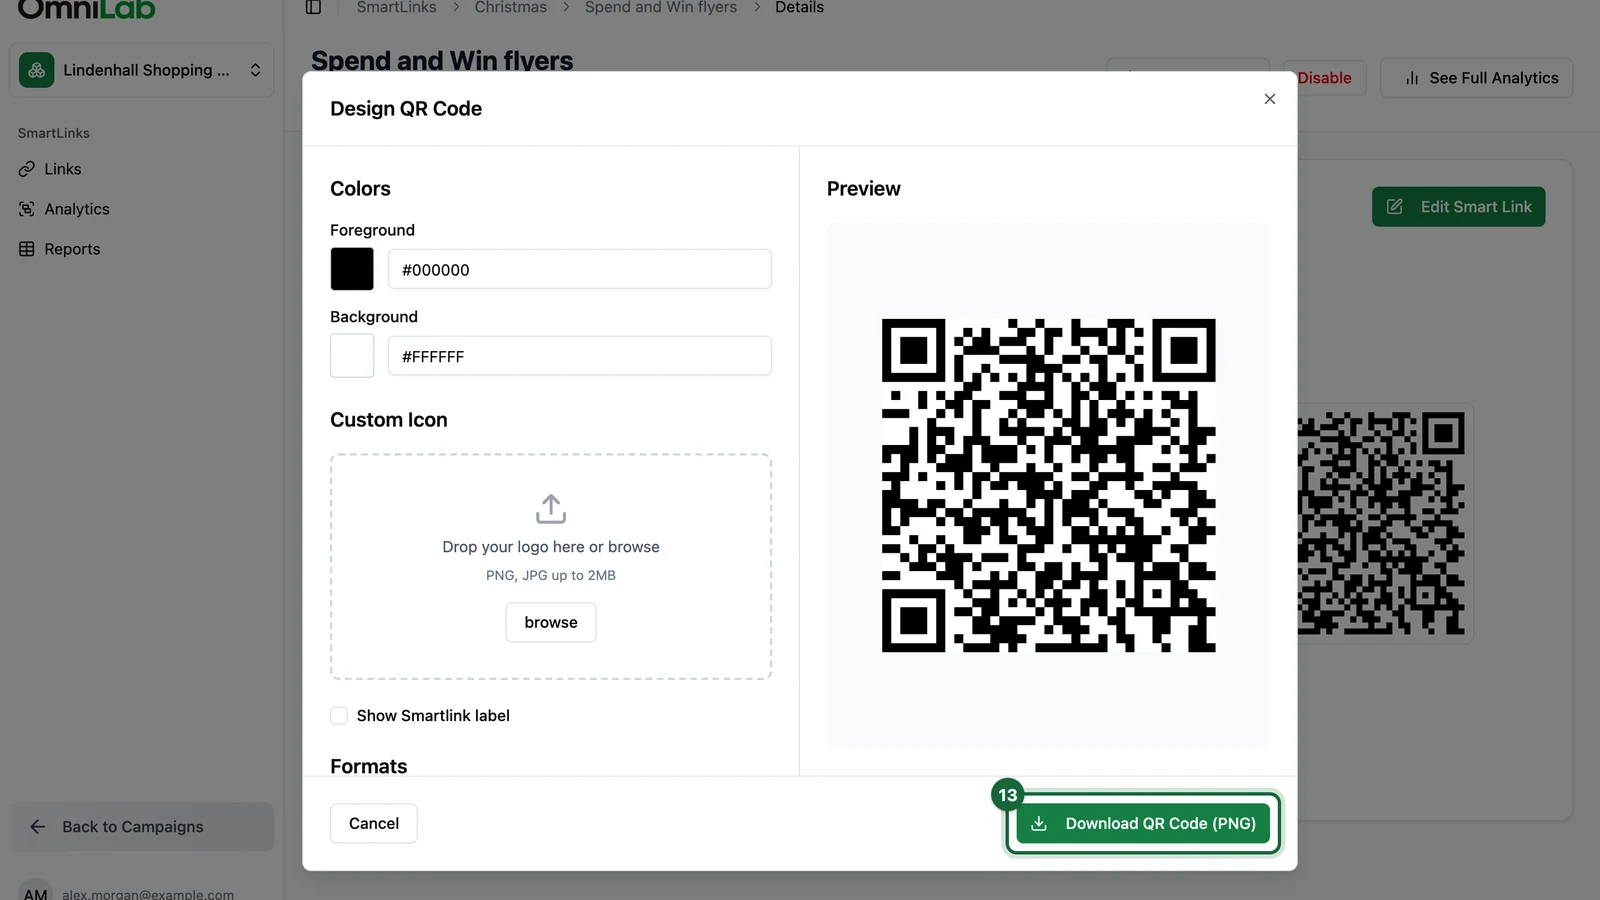
The PNG goes to your Downloads folder, and the window stays open: select Cancel to close it. Scan the file with your phone before you send it to print. To add your colours or logo, see Download the QR code.
See the scans
-
Back on the details page, select See Full Analytics.
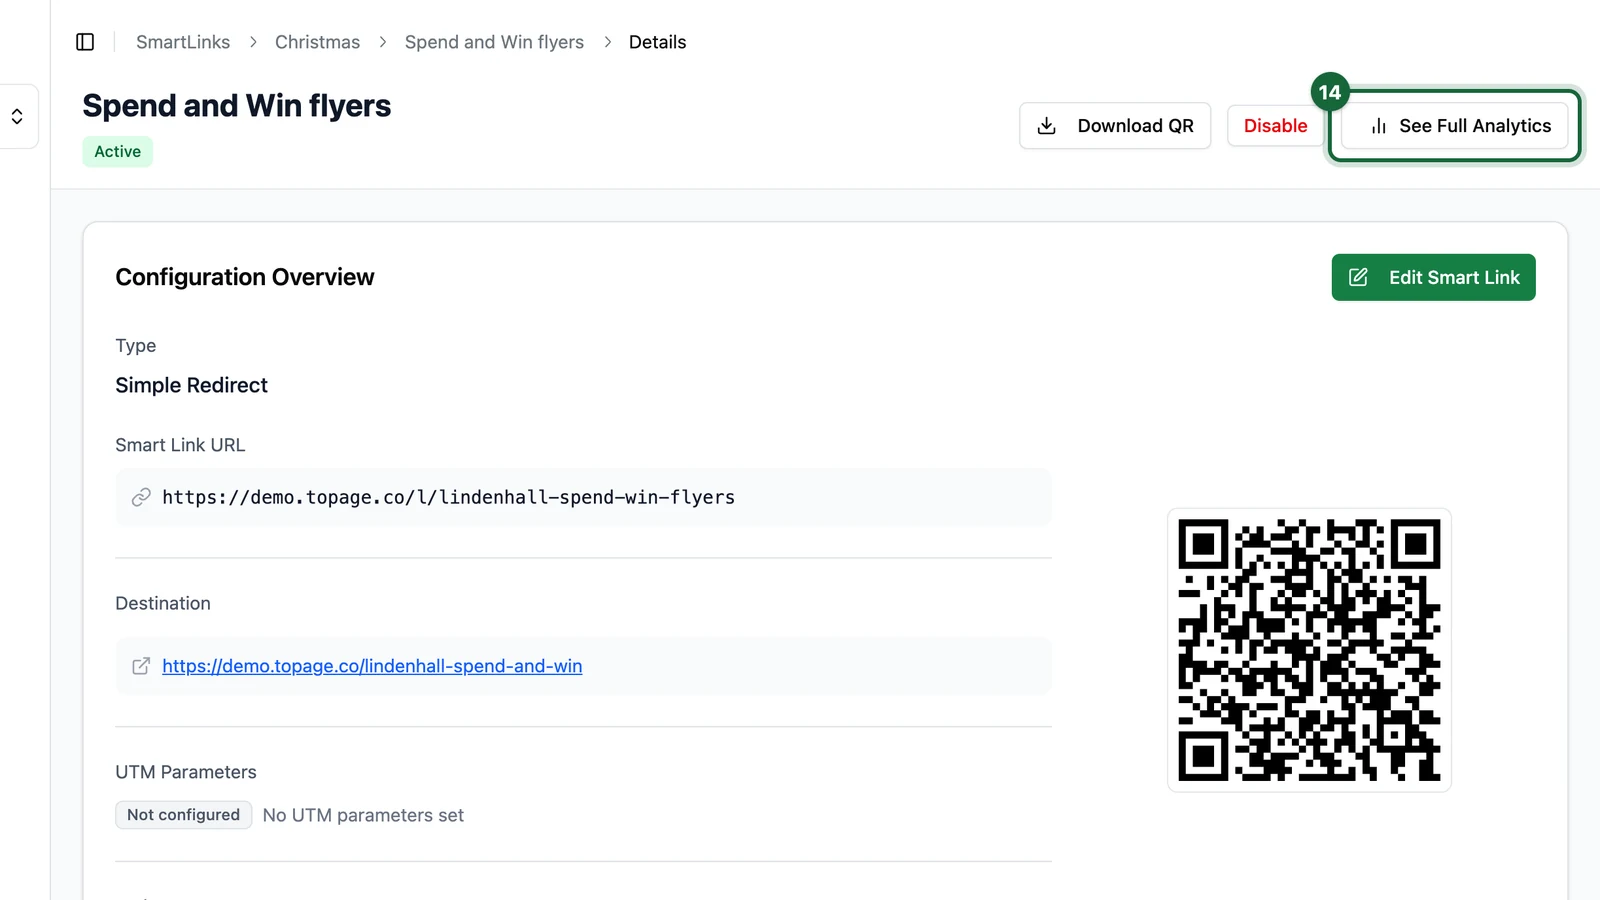
-
Check the Start Date and End Date, then select Run.
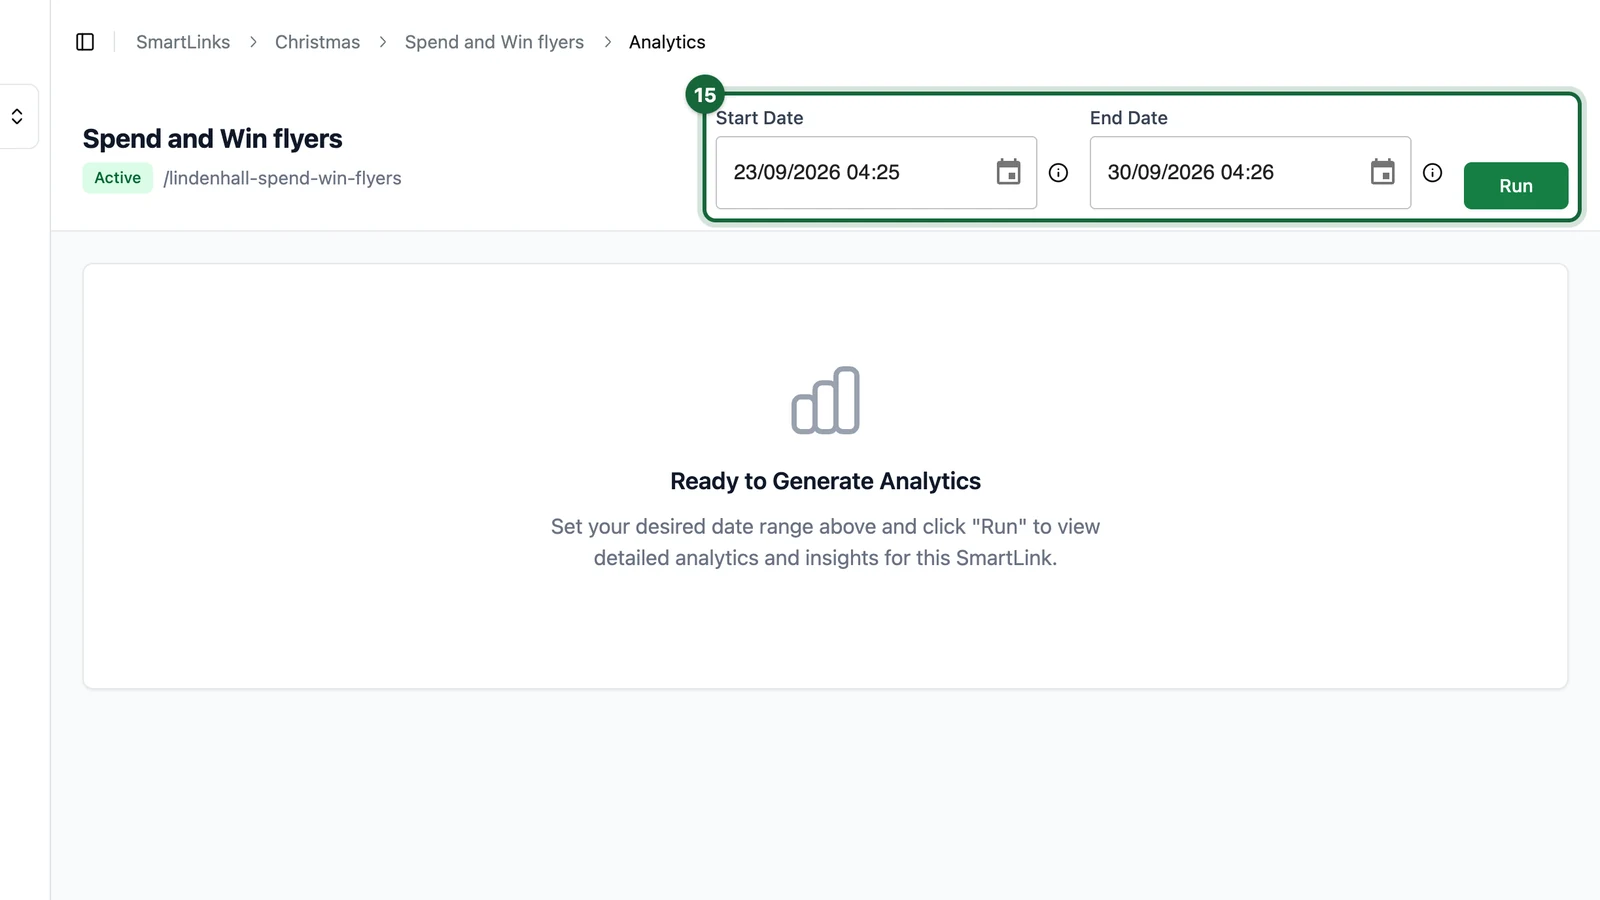
Your test scan counts in Number of scans, a few minutes after the scan. To read the charts, see Smart Link analytics.
Next steps
- Variants: one QR code per flyer stand, counted separately.
- UTM parameters: tag the traffic for your web analytics.
- Test the Smart Link