Create an Activity touchpoint
Add an Activity (event) touchpoint and take it end-to-end — event type, details, schedule, tickets, check-in, badge, and publish.
An Activity is the event touchpoint: a bookable or check-in experience with time slots, tickets, and arrival check-in. This guide is the spine — it walks the whole setup once and links to a dedicated guide for each part.
The screens below come from a Downtown Food Festival, a weekend activation where attendees reserve a free entry time slot and check in with a ticket QR code.
Before you begin
Build the Activity
Add the touchpoint and choose Activity
In Build → Touchpoints, select Add New Touchpoint, then choose Activity — Create a bookable or non-bookable event. Select Create to open it.

Choose the event type
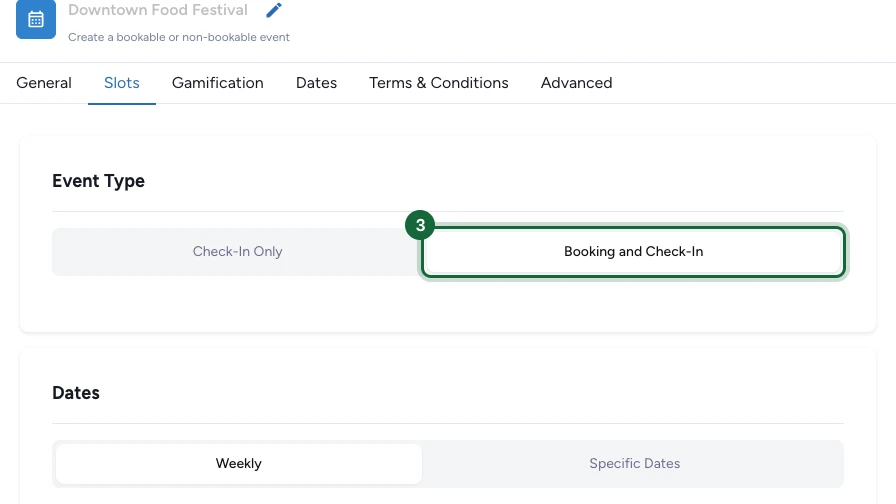
On the Slots tab, set Event Type. Check-In Only is for walk-up events where people just check in on arrival. Booking and Check-In adds reservations and unlocks Tickets — choose it when attendees should reserve a slot in advance.
For the full comparison, see Event types.
Fill the general settings
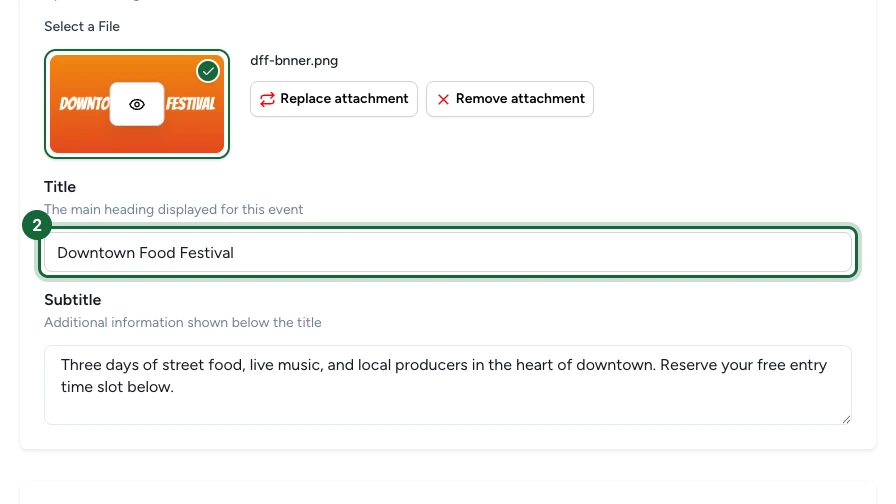
On the General tab, upload the Banner Image and set the Title, Subtitle, description, and location. These are the attendee-facing details people see before they decide to join.
For each field in detail, see General activity settings.
Set the schedule
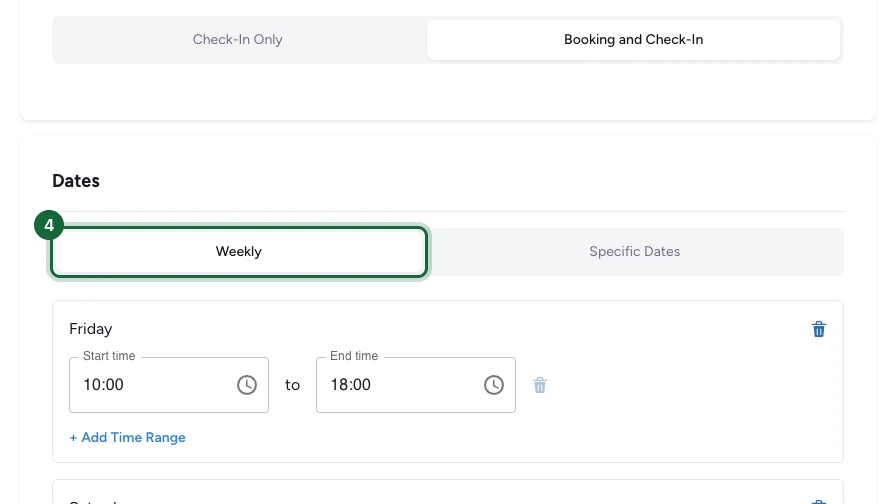
Back on the Slots tab, choose Weekly for recurring days (add each day of the week with a start and end time) or Specific Dates for one-off dates. Use Slots Configuration to divide each day into fixed-duration time slots.
For the schedule patterns, see Configure slots — weekly vs. specific dates.
Add tickets
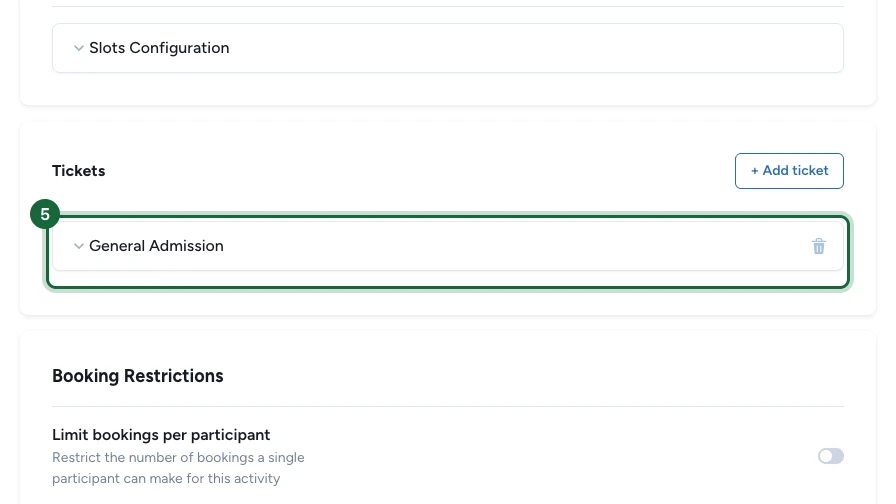
With Booking and Check-In, add the tickets attendees can reserve under Tickets. Each ticket has a name and an optional capacity limit, so you can cap how many people book a slot.
For ticket options and capacity, see Configure tickets.
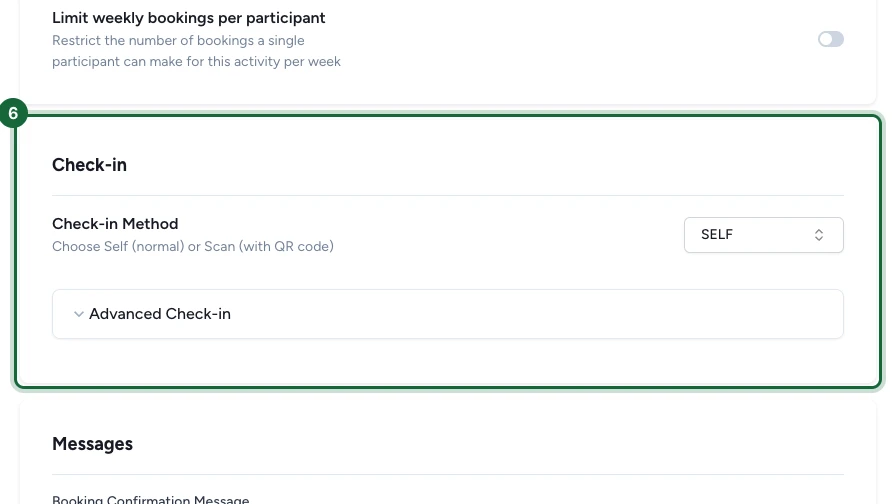
Choose the check-in method
Under Check-in, set Check-in Method. Self lets attendees check themselves in; Scan checks them in by scanning their ticket QR code with the Scanner App on the day.
For both methods, see Configure check-in.
Add the required badge
On the Gamification tab, open Badge Selection and pick a badge. An Activity touchpoint needs a badge before it can publish — it's the visual awarded when someone takes part.
For badges and rewards, see Add badges and rewards to an event.
![]()
Publish
Booking needs a confirmation email
When Booking and Check-In is on, the campaign's Booking Confirmation notification must be active with an email banner, or publishing is blocked. Set it up in Configure booking notifications.
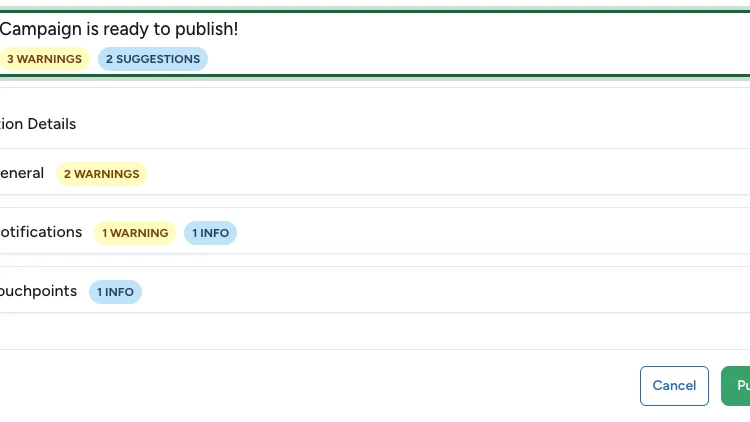
Save the touchpoint, then select Publish. When the dialog reads Campaign is ready to publish, confirm to make the event live. Warnings and suggestions are optional — only errors block publishing.
What attendees see
Attendees open the event page, pick an available time slot, and reserve a ticket (for bookable events). They receive a booking confirmation with a QR code, then check in on the day — by tapping Self check-in or by having their QR code scanned.
Configure the shared settings
An Activity shares the standard touchpoint tabs and a few event-specific ones. Configure them from their own guides:
General activity settings
Appearance, description, location, and display settings.
Event types
Booking and Check-In vs. Check-In Only.
Configure slots
Weekly recurring days vs. specific dates, and time slots.
Configure tickets
Ticket types, capacity, and the booking form.
Configure check-in
Self vs. Scan check-in on the day.
Booking restrictions
Caps and limits on how many slots a participant can book.
Booking notifications
Confirmation, cancellation, and reminder emails.
Participation form
Collect extra details around the booking.