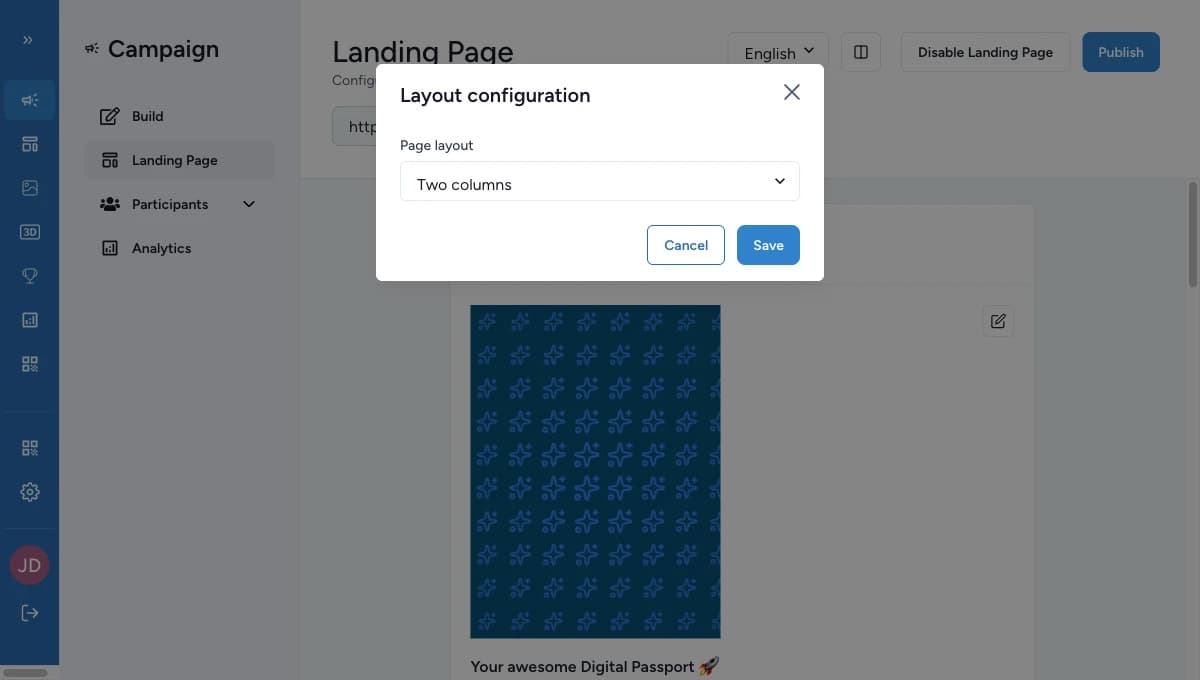
Two Columns layout
Use the Two Columns layout for a split desktop view that collapses into a single column on smaller screens.
Show your campaign intro and your browsable sections side by side on desktop, so visitors understand the experience and explore it at the same time.
Before you begin
- The campaign landing page is enabled.
- The desktop view matters for this campaign.
- You want a clearer visual split between the intro content and the participant-facing sections.
Set it up
Keep the left-side content focused
Set up the Header, Instructions, and Call to action sections so participants understand the campaign before browsing the rest of the page.
Arrange the right-side sections
Reorder or hide the rewards, activities, games, and interactive totems sections based on what should appear first in the browsable area.
Test desktop and mobile
Review the page on a large screen and again on a smaller screen. The side-by-side view only appears on wide desktop screens.
Desktop versus mobile
On wider screens, Two columns splits the page into two areas side by side:
- Left side — the campaign header and entry content (instructions and the call-to-action button).
- Right side — participant-facing sections such as rewards, games, activities, and interactive totems.
On smaller screens, the layout stacks into one vertical column.
What the side-by-side view emphasizes
- The header and entry content stay grouped together.
- The browsable sections get their own area, which helps when the campaign has several rewards or Touchpoints.
- Your content stays the same. Two columns changes how the page looks, not what's in it.
How it behaves across screen sizes
- The side-by-side view appears on wide desktop screens (about 1224 pixels and up).
- On narrower screens, the page falls back to a single column.
- Because of that fallback, always review a Two columns landing page on mobile too.
When to use Two columns
Choose Two columns when the landing page needs to do two jobs at once: introduce the campaign clearly and let participants browse several sections without burying them below a long header.
Related
Choose a layout
Compare the three layouts before committing to the split view.
Configure the header
Refine the header that anchors the left side of the layout.
Configure instructions
Add the instructions block that supports the entry content.
Configure the call to action
Add the optional button that remains part of the entry path.
One Column layout
Use the simpler stack if the split view does not add enough value.