Import a campaign template ZIP file
Upload a template ZIP into another organisation, generate a campaign from it, then review the destination settings before you publish.
Reuse a campaign that already works by importing its template ZIP into another organisation, instead of rebuilding the whole setup by hand.
When to use the ZIP route
Use a template ZIP when you received an exported template file and need to bring it into a different organisation. If you have direct access to both organisations, sharing the template is faster — see Share a template across organisations.
The import takes three stages: create a template entry from the ZIP, generate a campaign from that template, then reconcile the destination-specific settings before publishing.
Before you begin
- You have the exported template ZIP file saved on your computer.
- You have access to the destination organisation that should receive the campaign.
- You know the destination details you will need: campaign title, public link key, language, and timezone.
- You are ready to review add-on settings after generation, because reusable structure does not make every destination value correct on its own.
Create the template from the ZIP
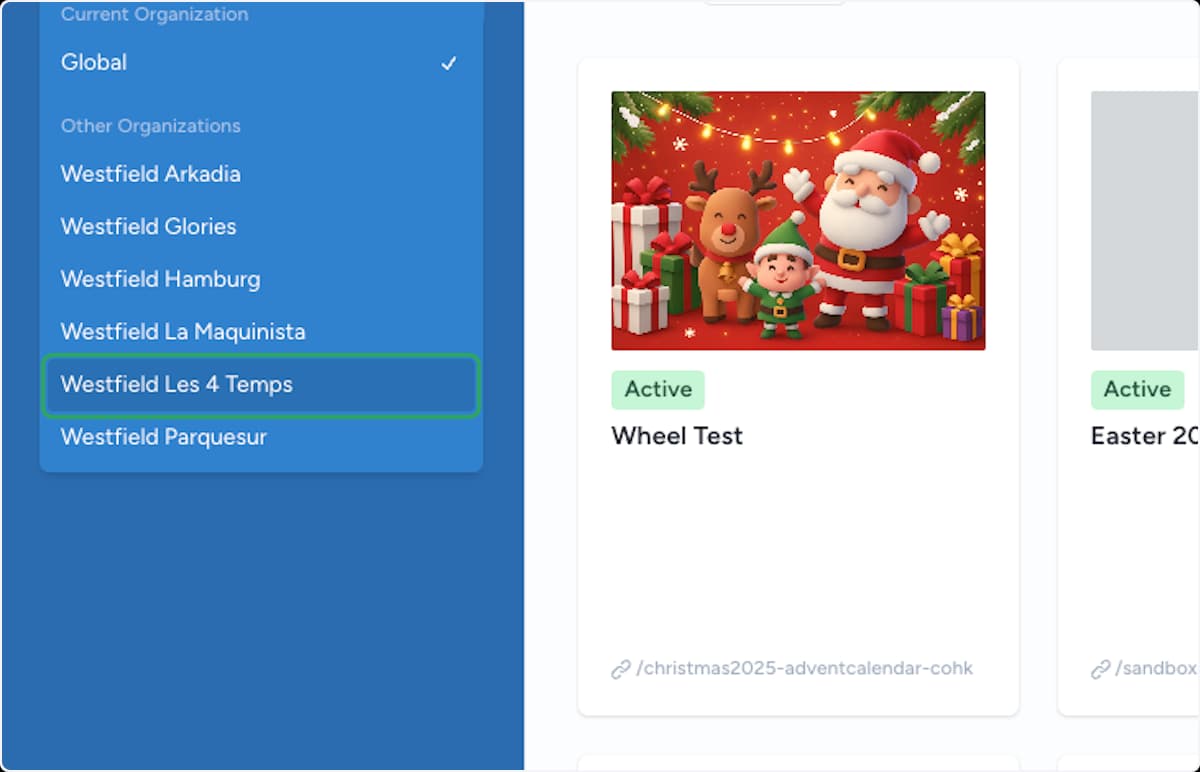
Switch to the destination organisation
Open the organisation switcher at the top of the sidebar and select the organisation that should receive the campaign. Everything you create next lives inside this organisation.
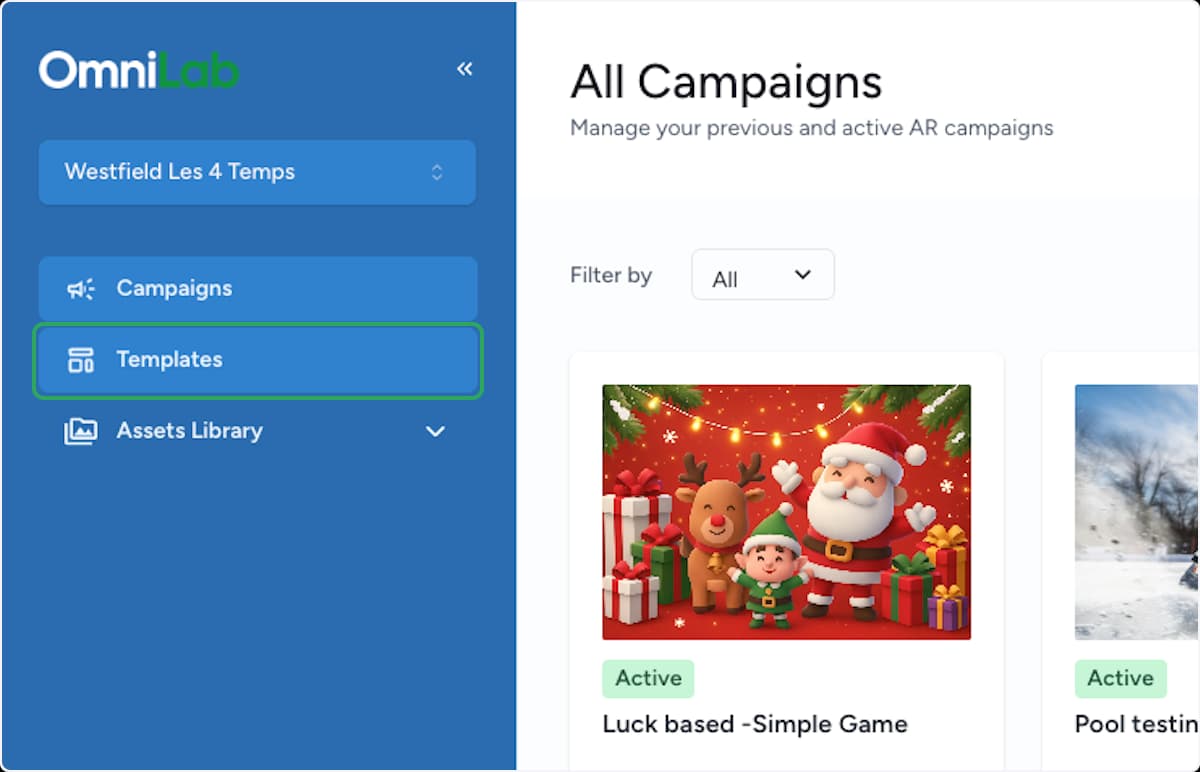
Open Templates
In the sidebar, select Templates. This is where reusable campaign templates live for the current organisation.
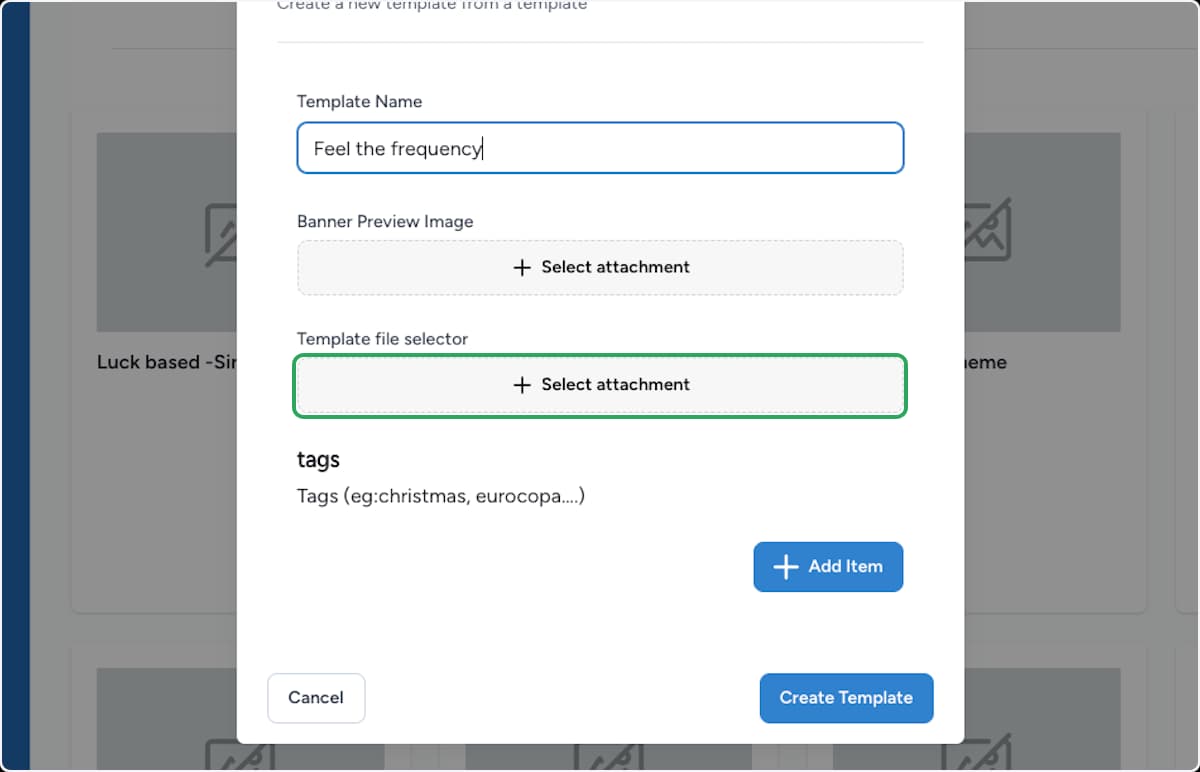
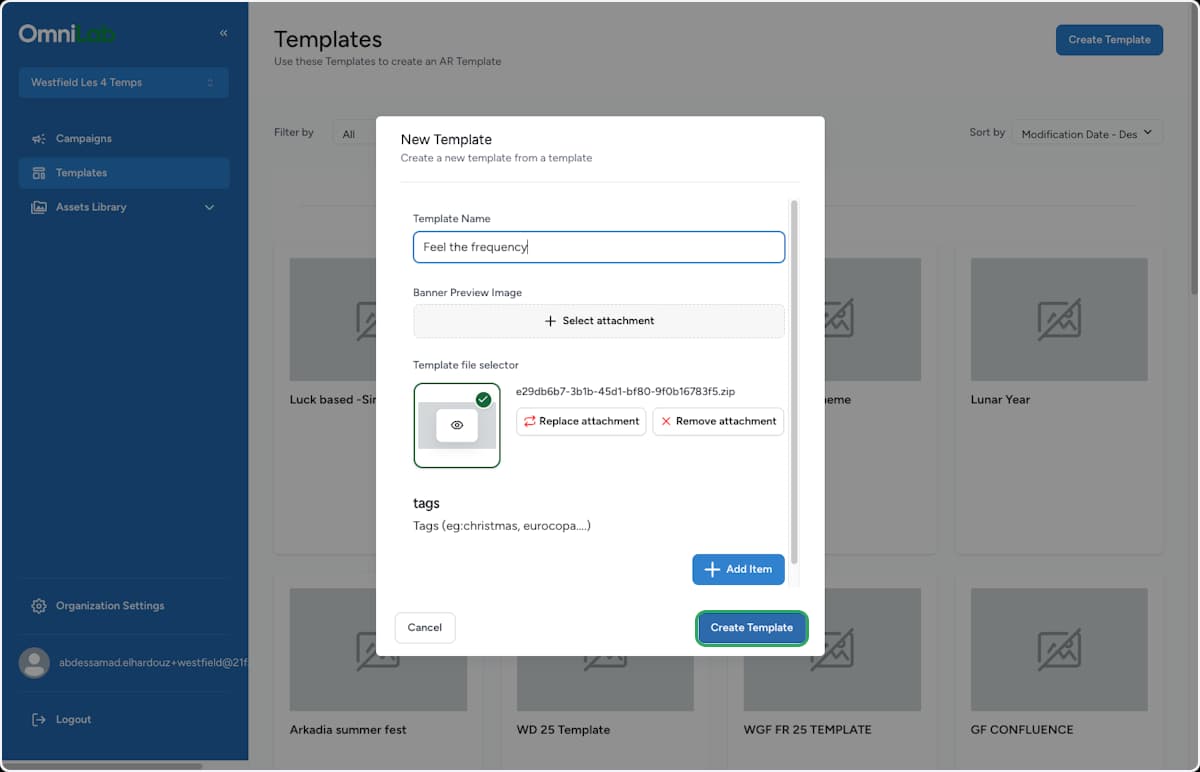
Name the template
In the New Template panel, type a clear name in the Template Name field so you can recognise it later.
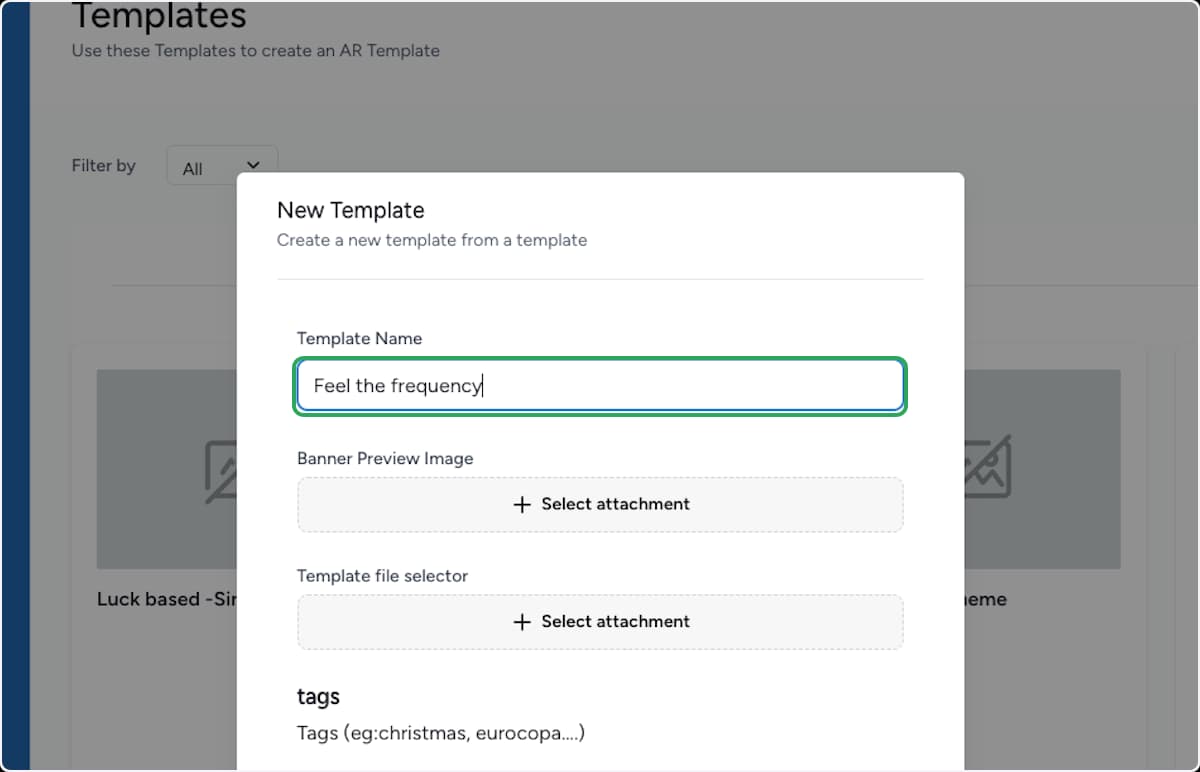
Open the file selector
Under Template file selector, select Select attachment to choose the ZIP that holds the campaign structure.
The Banner Preview Image above it is optional — it only sets the thumbnail shown on the template card.
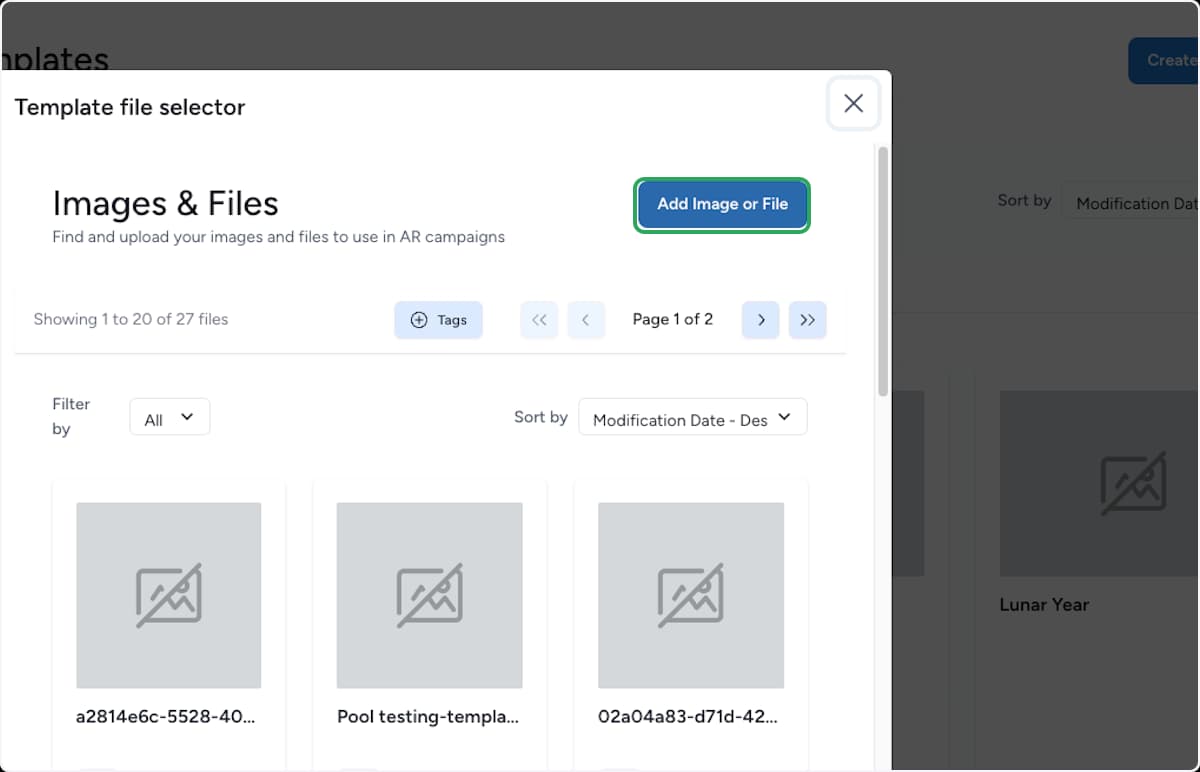
Add the file to the library
The Template file selector opens your Images & Files library. Select Add Image or File to bring in a new ZIP from your computer.
Choose the ZIP to upload
In the Add an Image or File dialog, select Click to upload and pick the template ZIP from your local files.
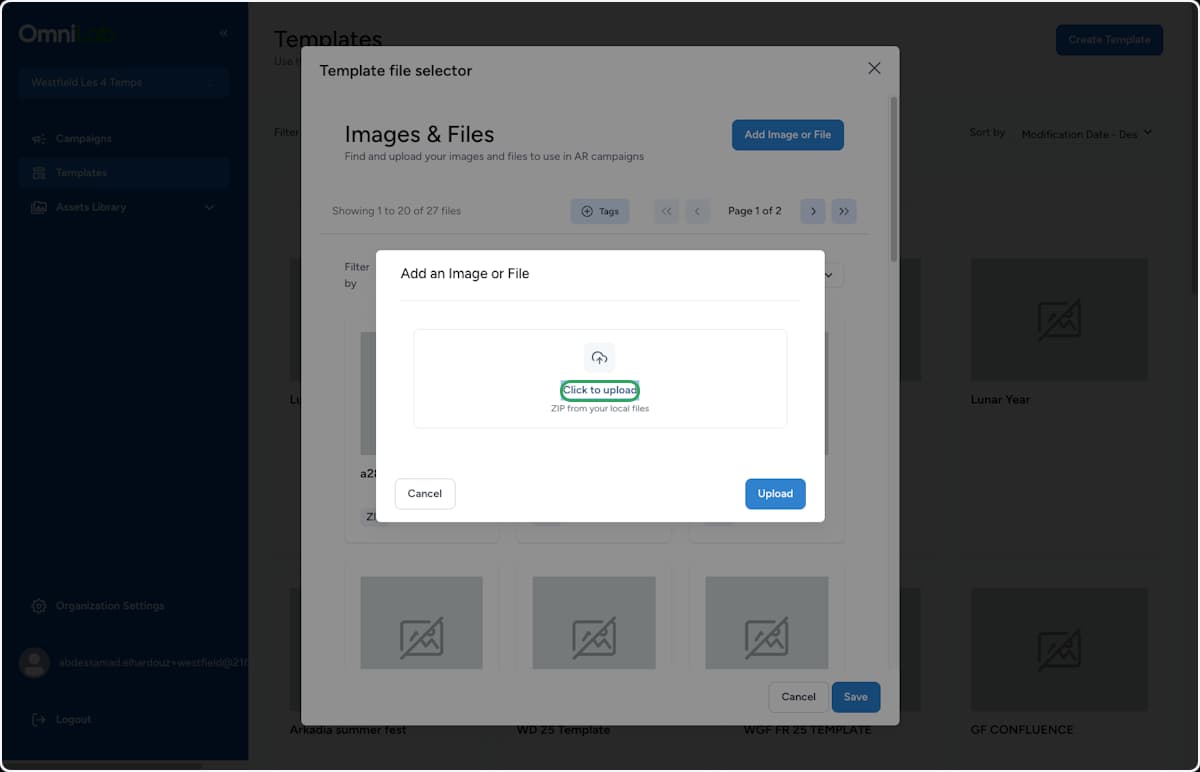
Upload the file
Once the ZIP name appears under the upload area, select Upload to add it to the library.

Select the uploaded file
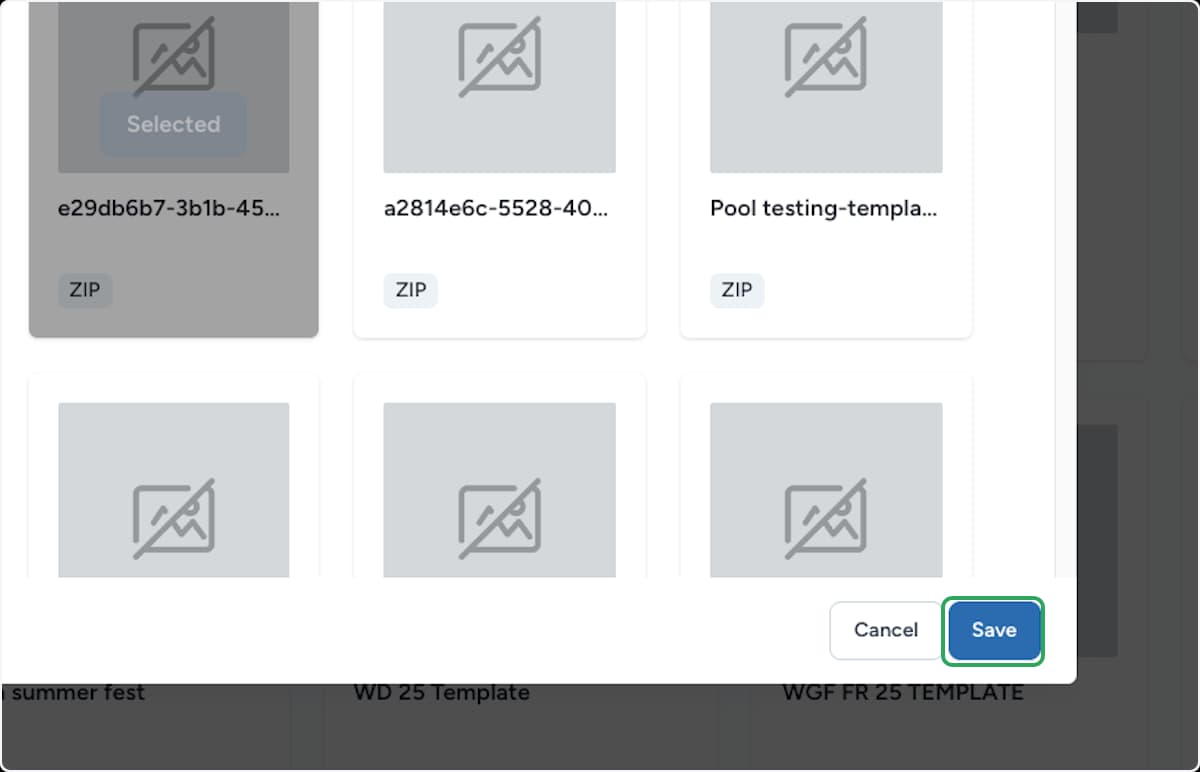
A confirmation appears once the file is added. Find the new ZIP in the library grid and select Select File on its card.
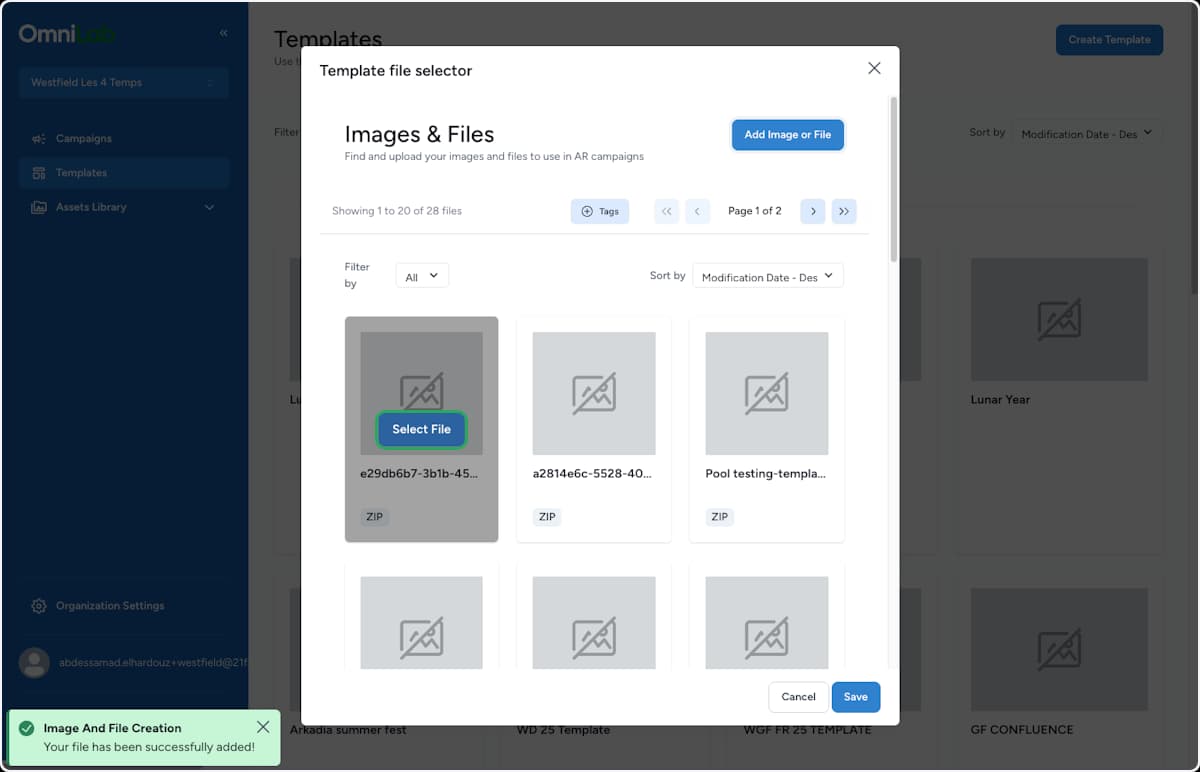
Confirm the selection
The card now shows as Selected. Select Save to return to the template form with the ZIP attached.
Create the template
Back in the New Template panel, the ZIP appears under Template file selector. Select Create Template to save the template entry.
Generate a campaign from the template
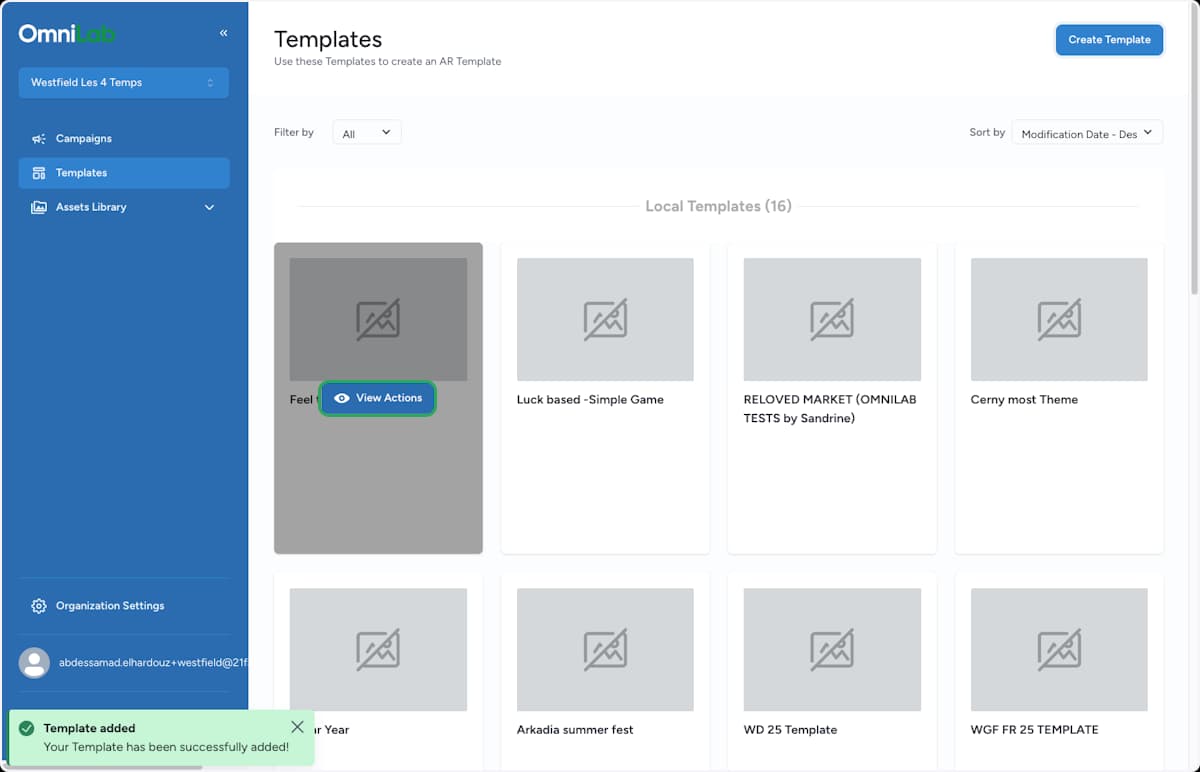
Open the template actions
The new template now appears under Local Templates. Select View Actions on its card to open the template options.
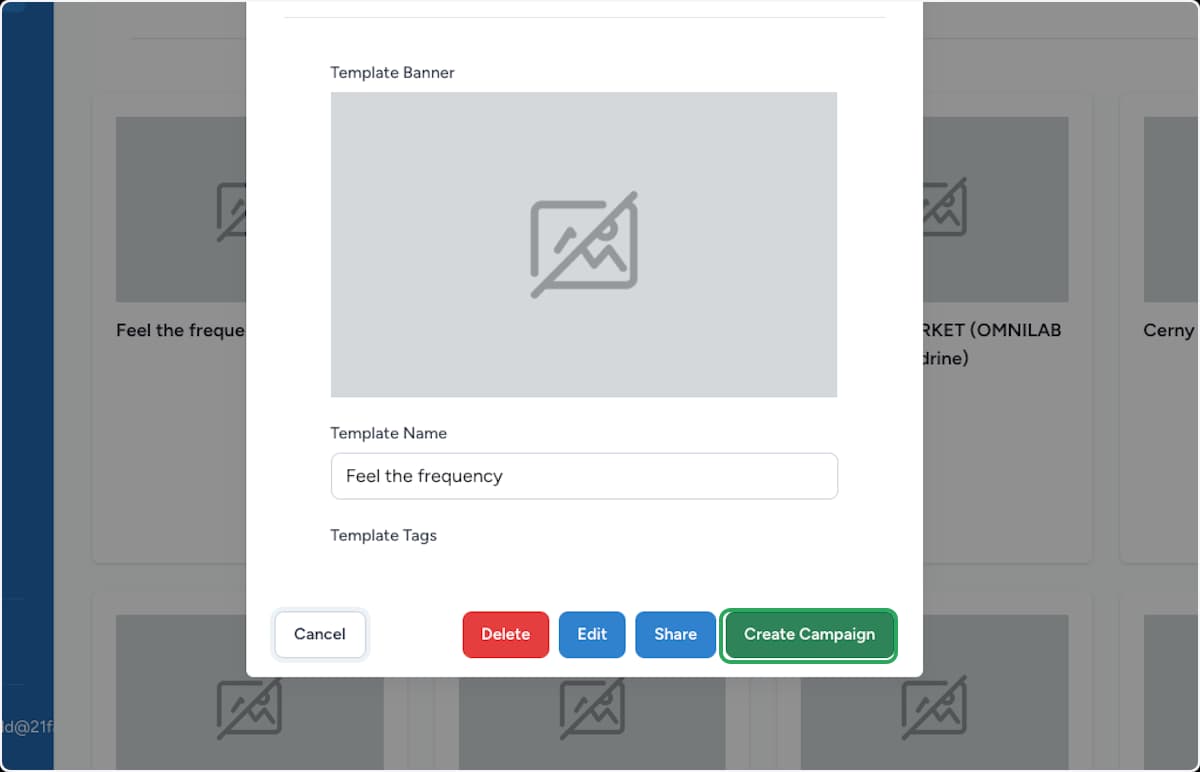
Choose Create Campaign
In the template detail view, select Create Campaign. (The same view also offers Edit, Share, and Delete.)
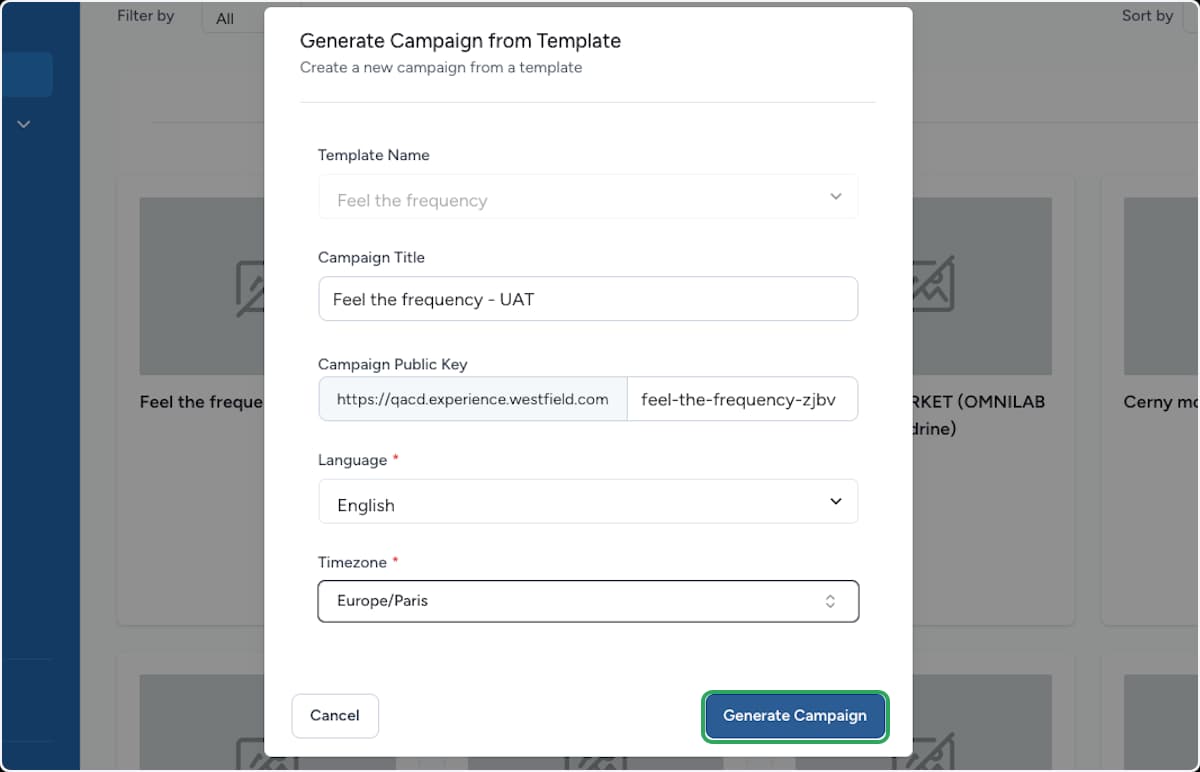
Fill in the campaign details
In the Generate Campaign from Template dialog, complete the destination details, then select Generate Campaign:
- Campaign Title — the name for the new destination campaign.
- Campaign Public Key — the part of the public link that is unique to this campaign; keep it distinct within the organisation.
- Language (required) — the language served to participants.
- Timezone (required) — the timezone used for scheduling.
The dialog will not generate the campaign until both Language and Timezone are set.
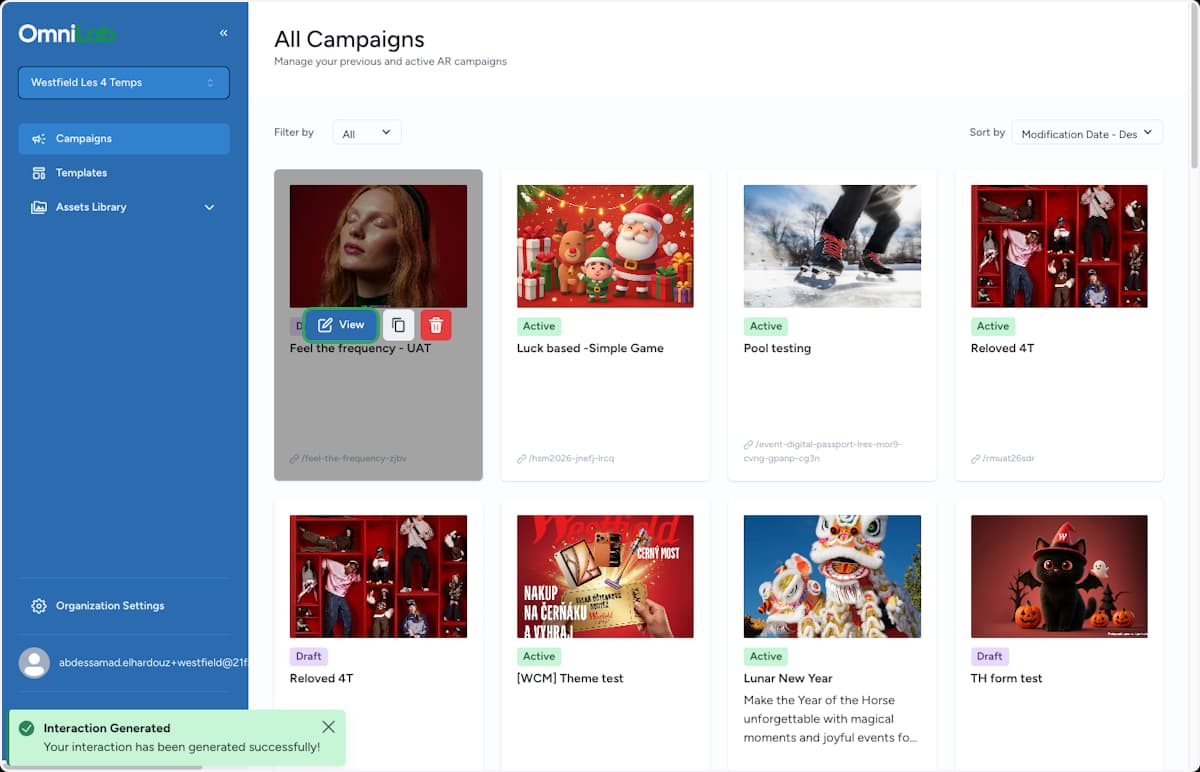
Open the generated campaign
A confirmation appears and the new campaign shows in All Campaigns as a draft. Open it to start the destination review.
Reconcile the destination settings
The template carries the campaign structure forward, but values tied to the source organisation — such as add-on integrations — still need to match the destination. The campaign opens with validation flags until you reconcile them.
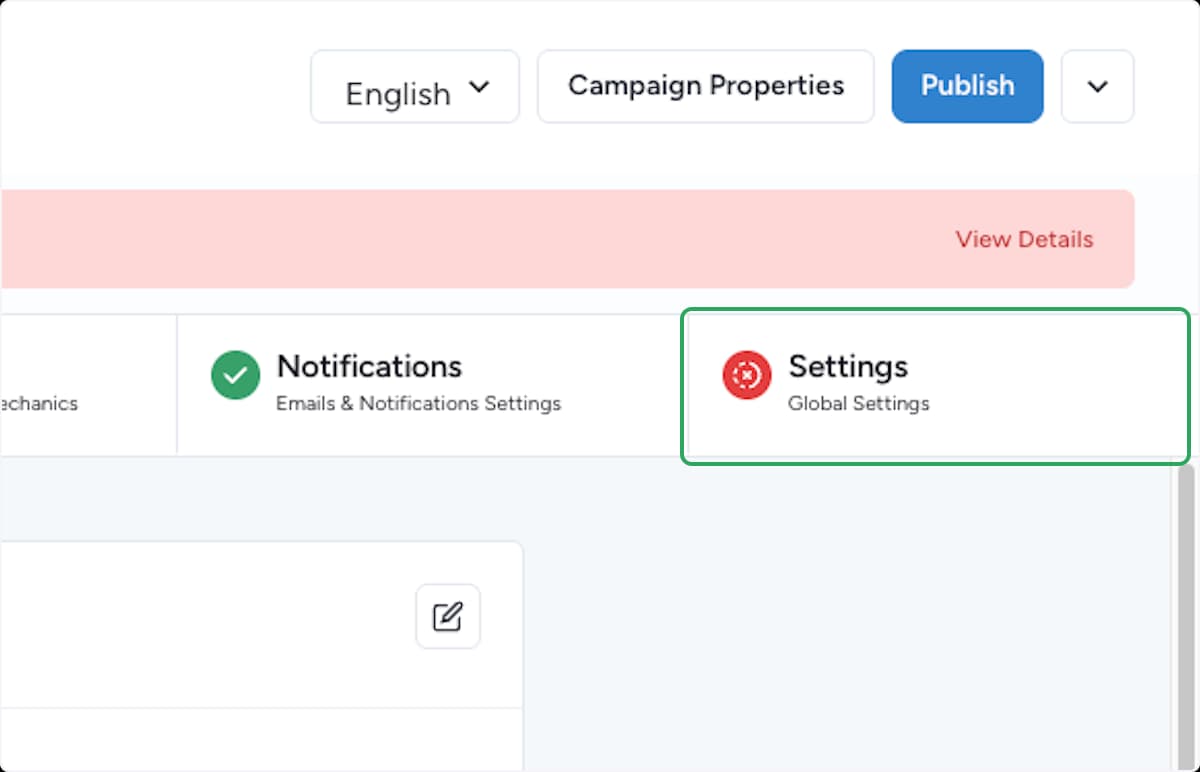
Open Settings
In the campaign editor, open the Settings tab. A red marker on the tab means there are settings to resolve before publishing.
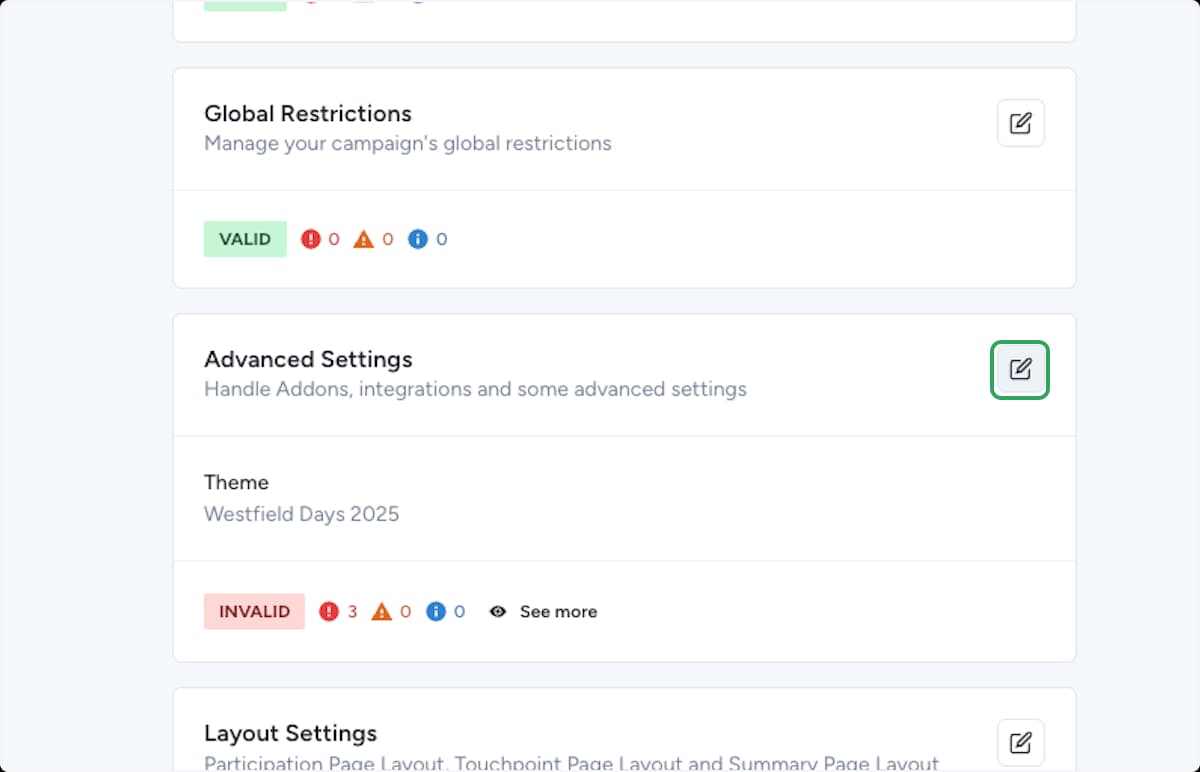
Open Advanced Settings
Scroll to the Advanced Settings section and select its edit icon. This section handles add-ons and integrations, which are the most common destination-specific values to fix.
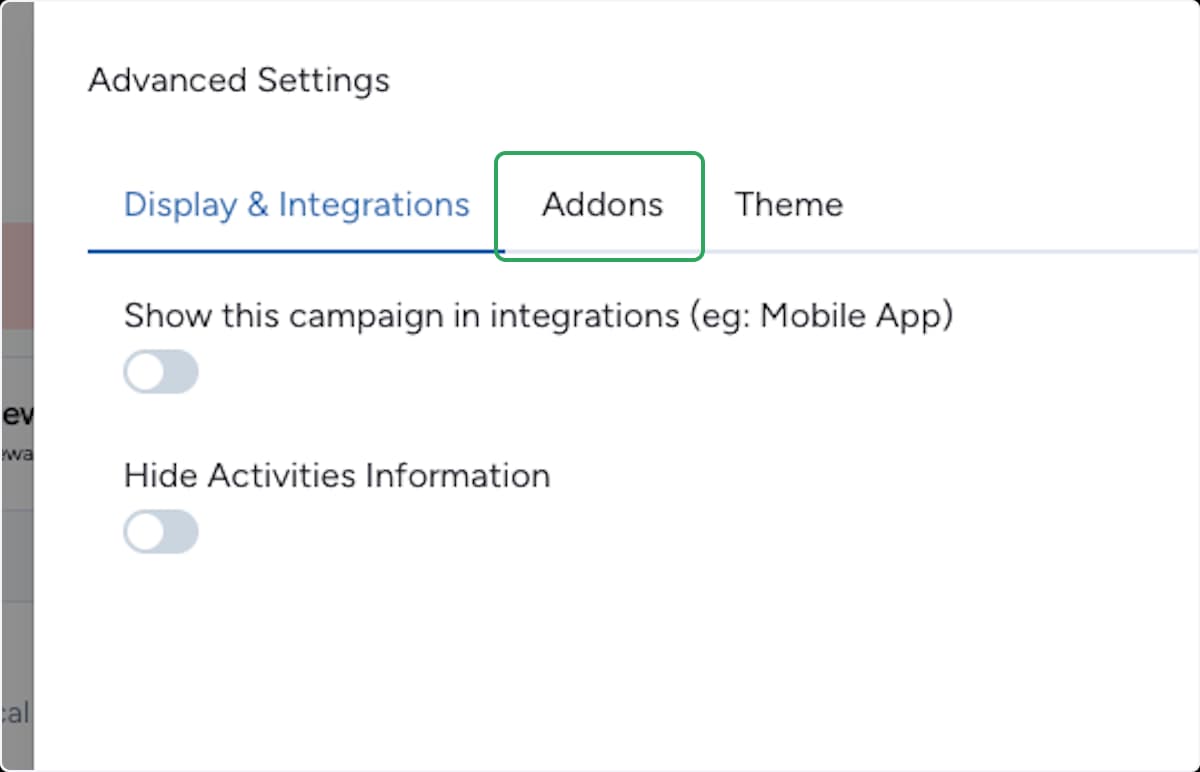
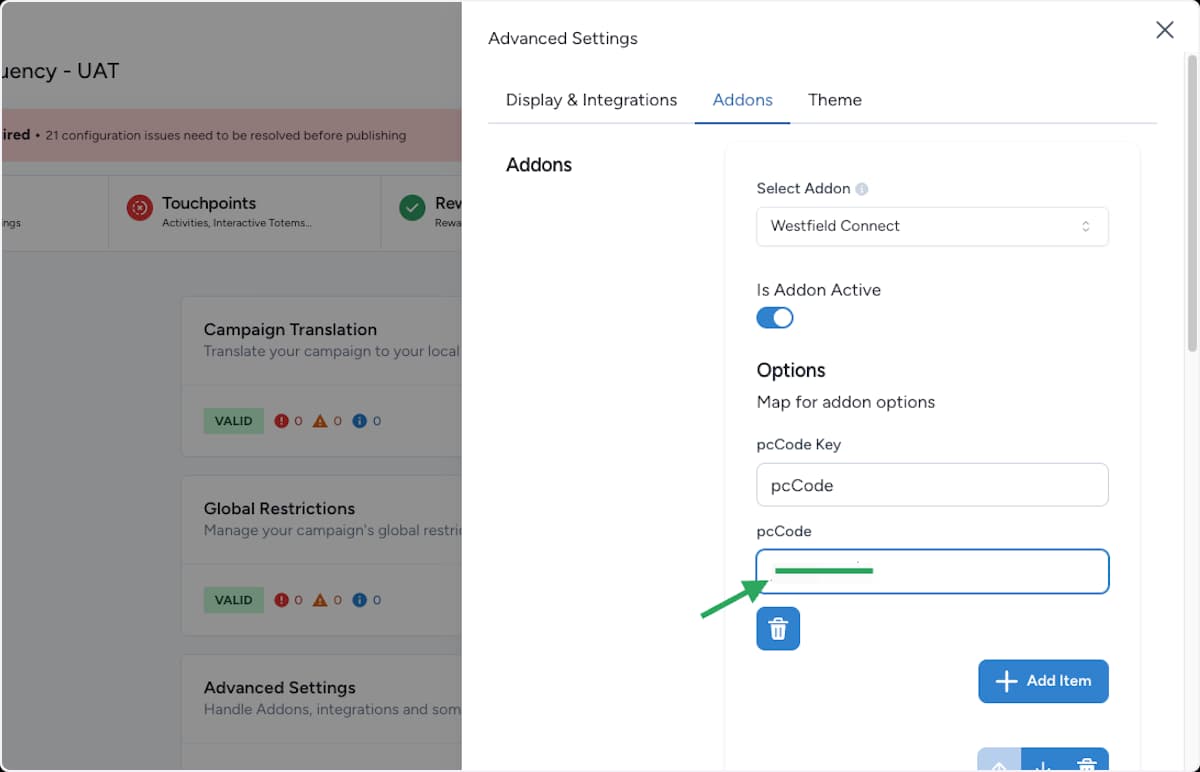
Update the add-on values
For each add-on, confirm the setup matches the destination organisation:
- Select Addon — the integration this campaign should use.
- Is Addon Active — turn it on if the add-on should run.
- Options — the key/value pairs (such as a location or store code) must use the destination organisation's own values, not the ones inherited from the source.
Use Add Item to add a missing mapping.

Publish the campaign
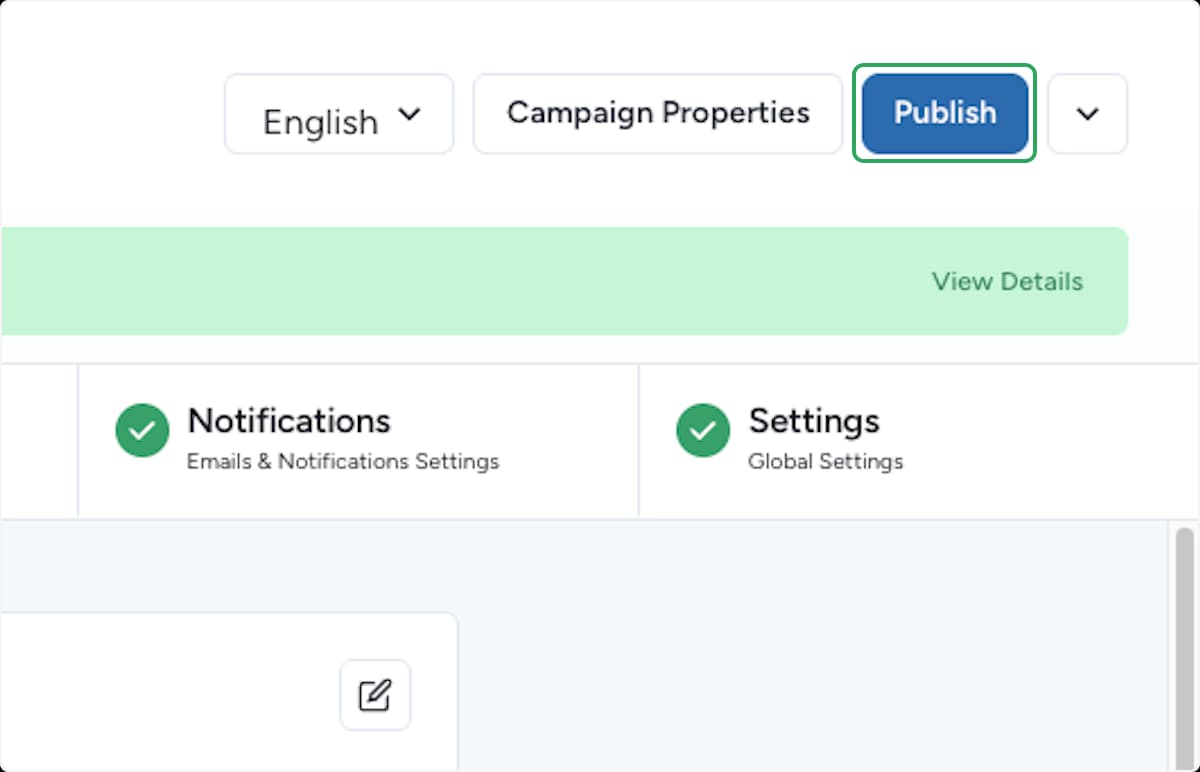
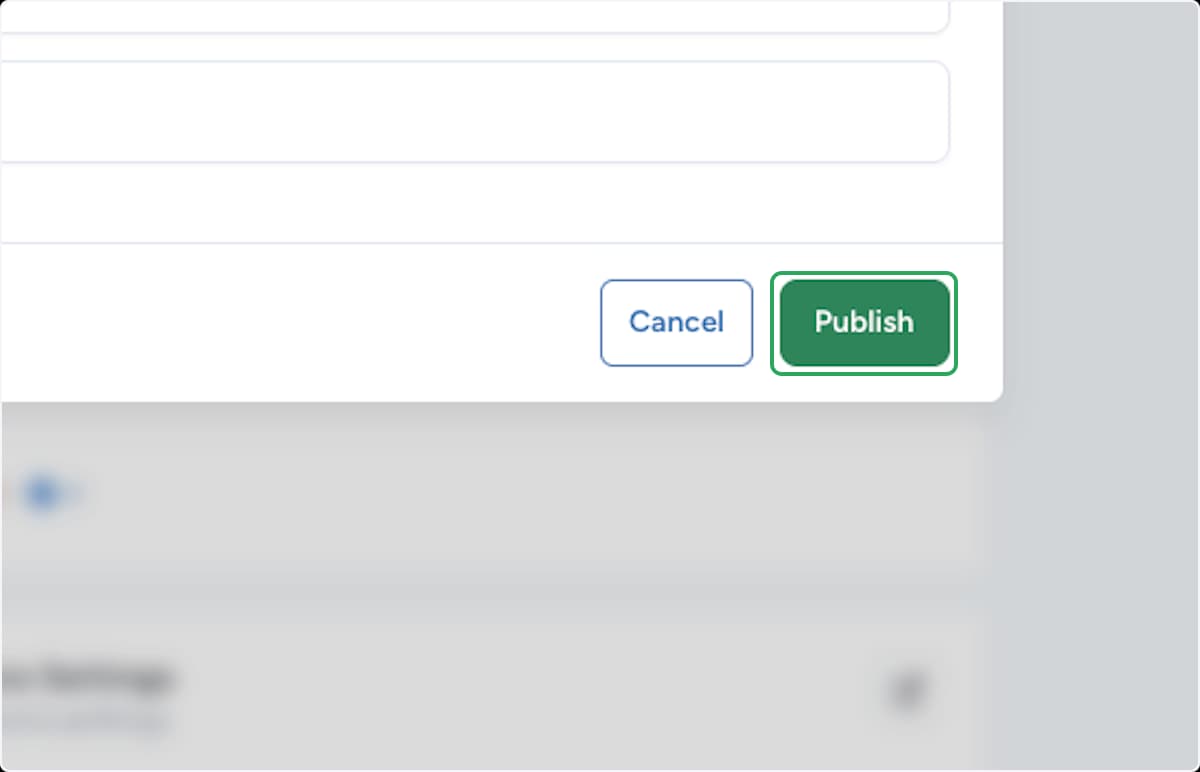
Confirm the publish
Review the confirmation dialog, then select Publish to make the campaign live in the destination organisation.
Result
The destination organisation now has its own campaign, built from the imported template ZIP, with destination-specific add-on values, language, and timezone — and it is published.
Because every organisation has its own variables, integrations, and scheduling context, a template can be fully reusable while still needing a short destination-specific pass. Before launch, double-check that:
- the public link is correct for the destination campaign
- the language matches the content you intend to serve
- the timezone matches the destination audience
- add-on values use the destination organisation's own settings
- rewards and redemption setup still match the destination launch
If publishing is blocked
A few common reasons and how to fix them:
- A settings section is still marked invalid — open Settings, expand the flagged section, and resolve each issue listed there.
- An add-on is missing its destination values — open Advanced Settings > Addons and fill in the Options for the destination organisation.
- The language or timezone is empty — reopen the generated campaign details and set both required fields.
Related
Templates: export, import, and reuse
See the full template lifecycle, including how to export a campaign as a ZIP.
Share a template across organisations
Use direct sharing when you have access to both organisations.
Validation & publishing
Check the generated campaign before it goes live in the destination organisation.